
Managing an Asset's Media
Updated
The Media tab shows every file currently available for an asset — including HLS, MP4, MOV, or MP3 — depending on which media profiles the asset has been transcoded into. This article walks through adding a new media file, changing the default file, editing a file's name, copying a media file's URL, and creating downloadable links for an asset.
The Media tab provides you with all of the available media files on the asset. Depending on how you have transcoded your asset, this could include m3u8 (HLS), .mp4, .mov, or .mp3 (audio) files.
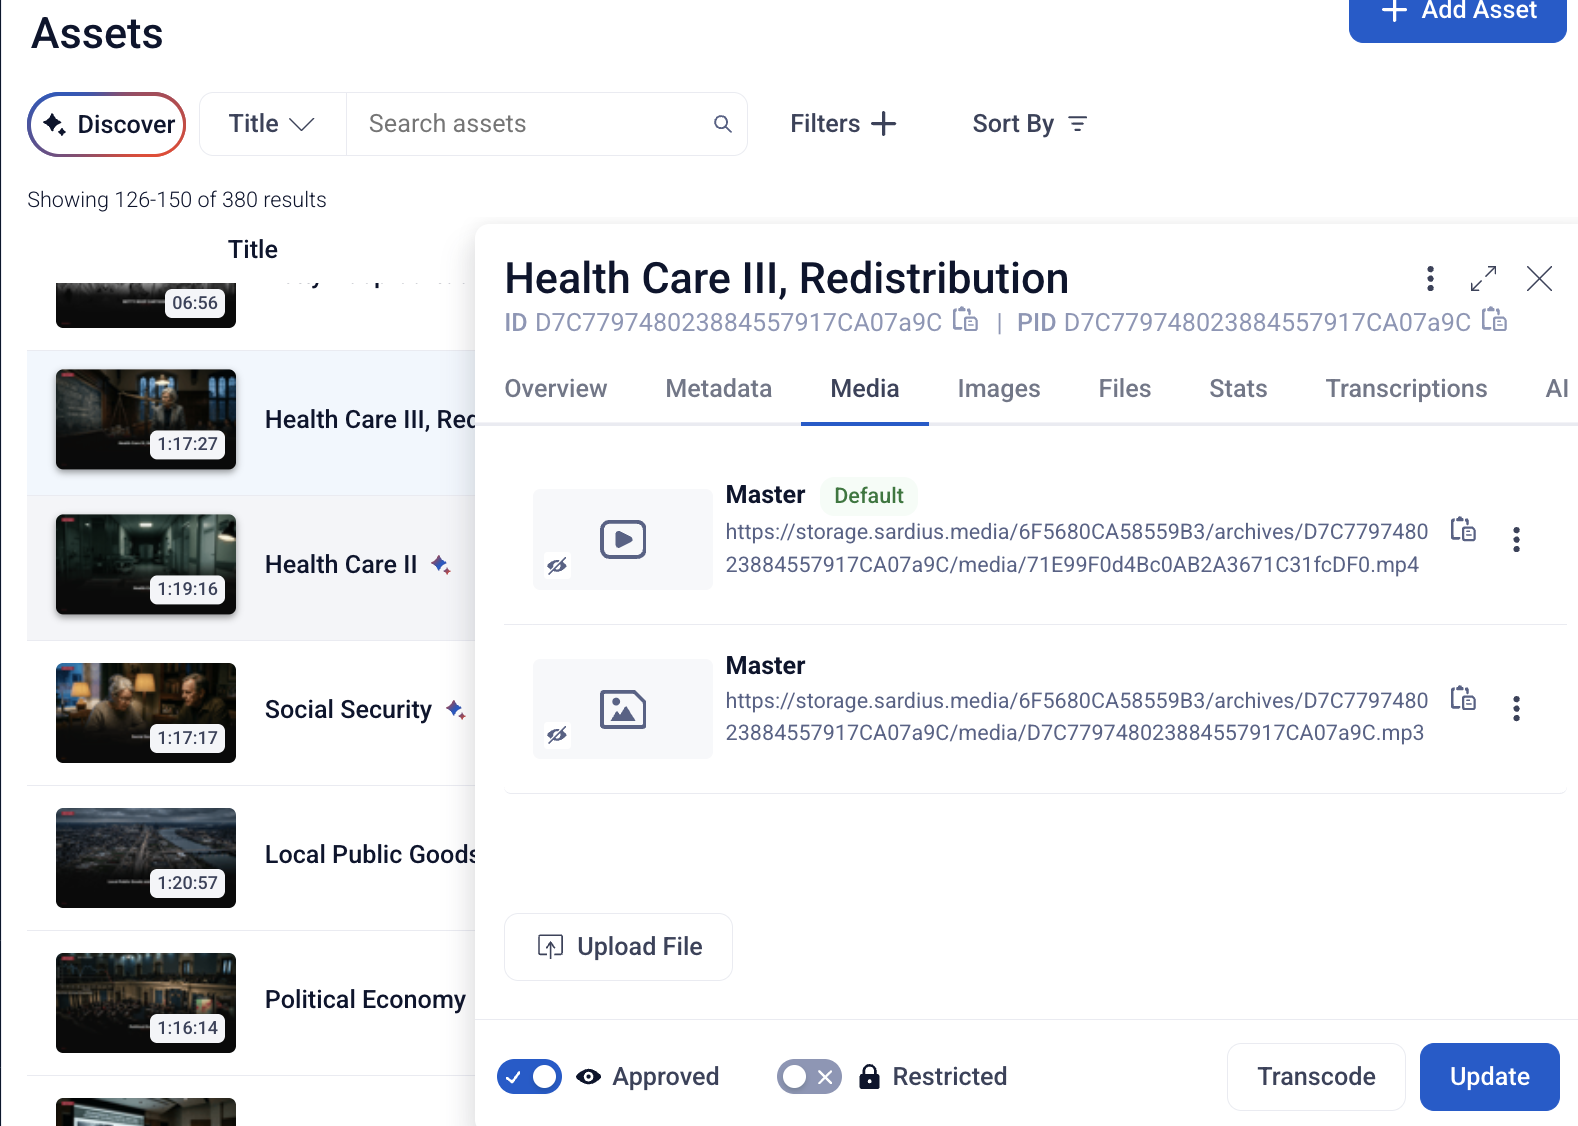

In order to see the different bitrates available for a video asset, you would need to transcode the file as HLS to create the m3u8s with different bitrates.
Once the asset has completed the transcode process, you will have access to the different bit rates as well as the audio file. The Master file combines all of it together and is seen as the Default file shown at the top of the list for a transcoded asset.
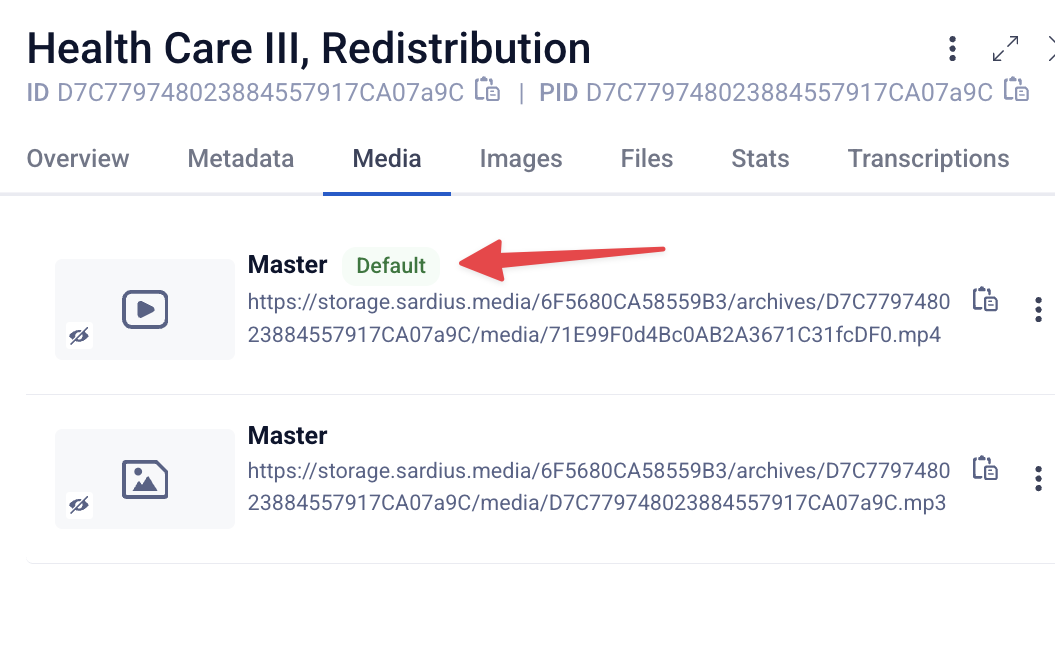
Adding a New Media File
You can add a new Media File (mp4 or mp3) to an existing asset by clicking the Upload File button at the bottom of the Media window.
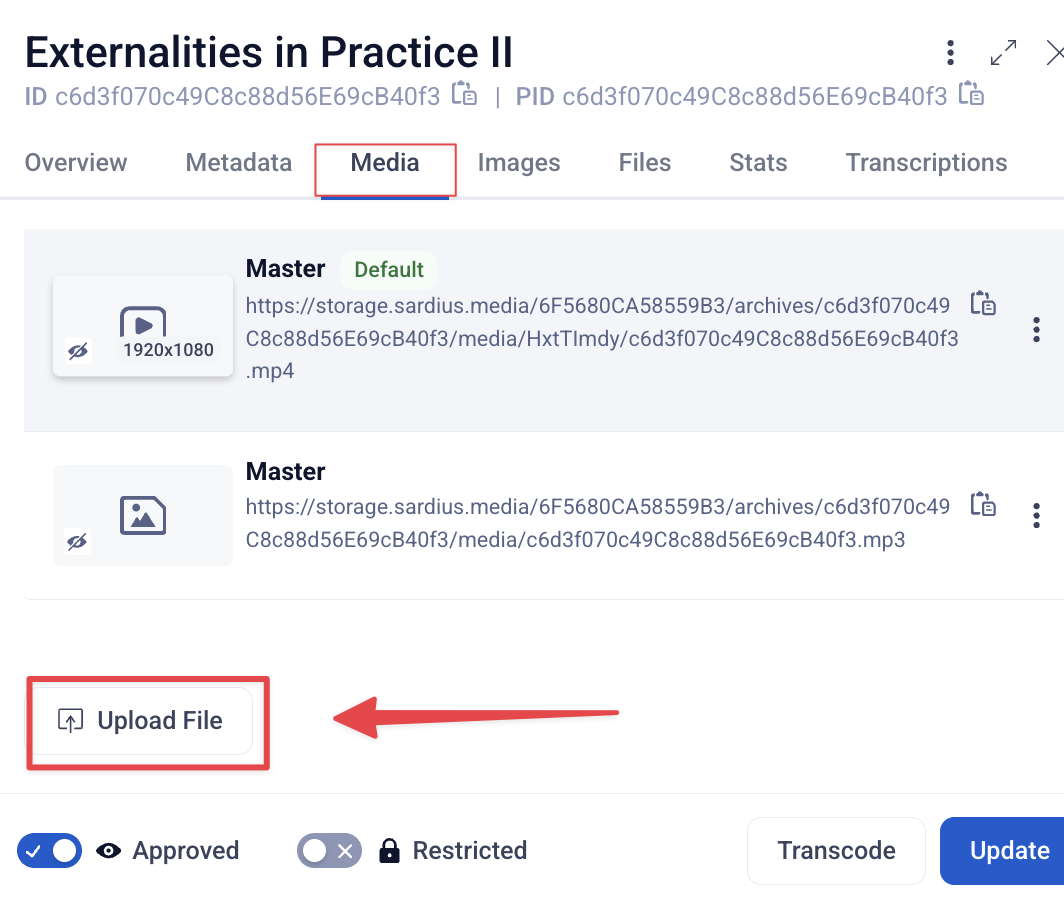
Changing the Default File
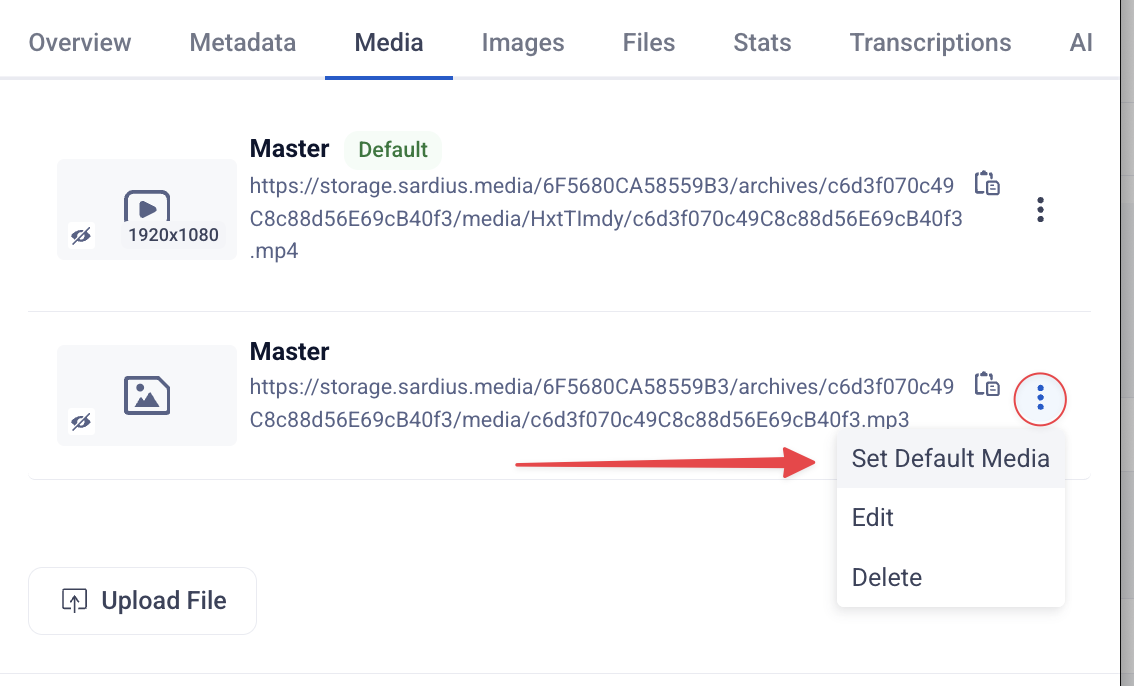
If you need to change the Default file (ie. to a lower bitrate available), you can do this by clicking on the hamburger menu of the file that you want the default to be and selecting Set Default Media.
Editing a Media File
If you want to change the name of a media file, click on the hamburger menu and select Edit.
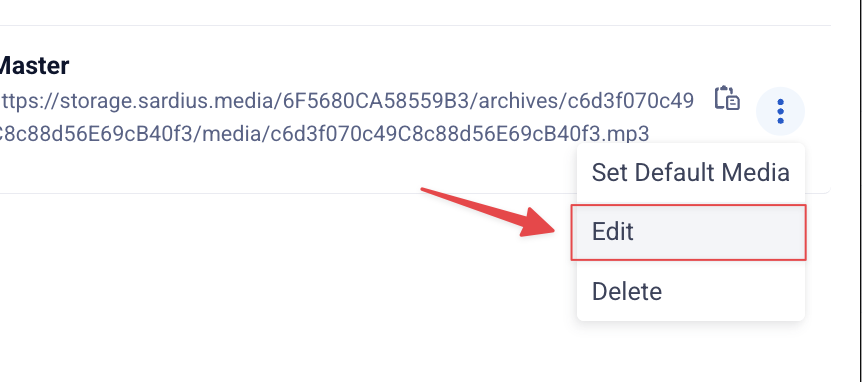
This will open a modal where you can add a custom title for your file.
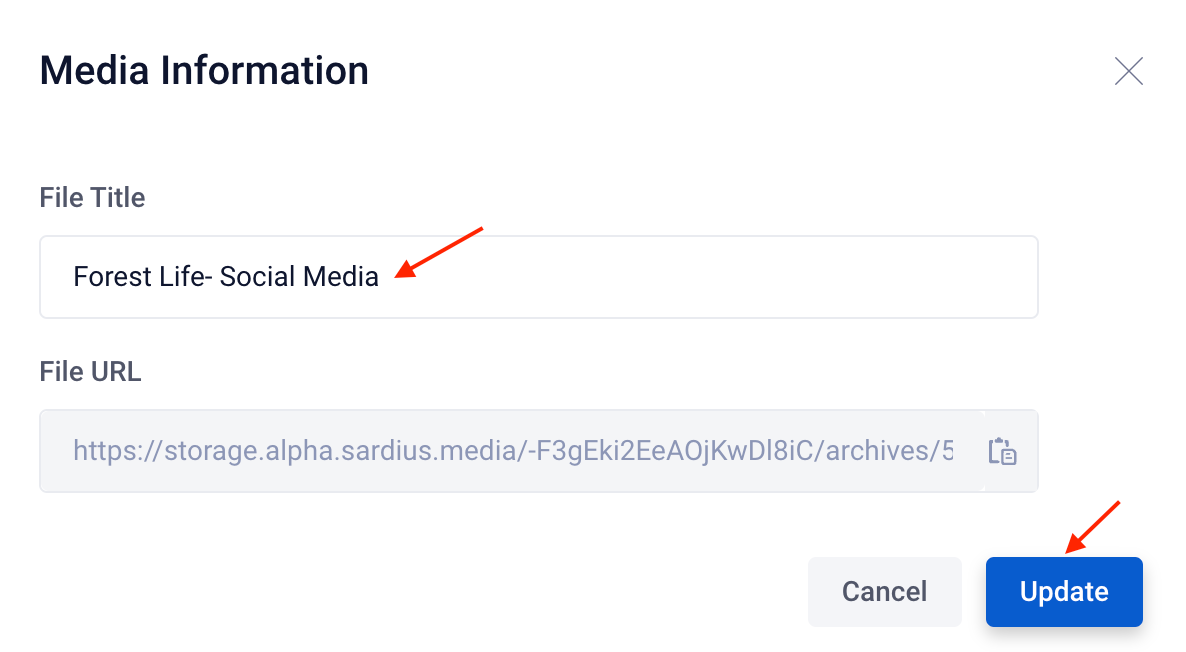
To update, type your name in the File Title field and click the blue Update button.
Your new file name will then display in the list view:

Copying the URL for a Media File
There are two ways you can copy a media file URL:
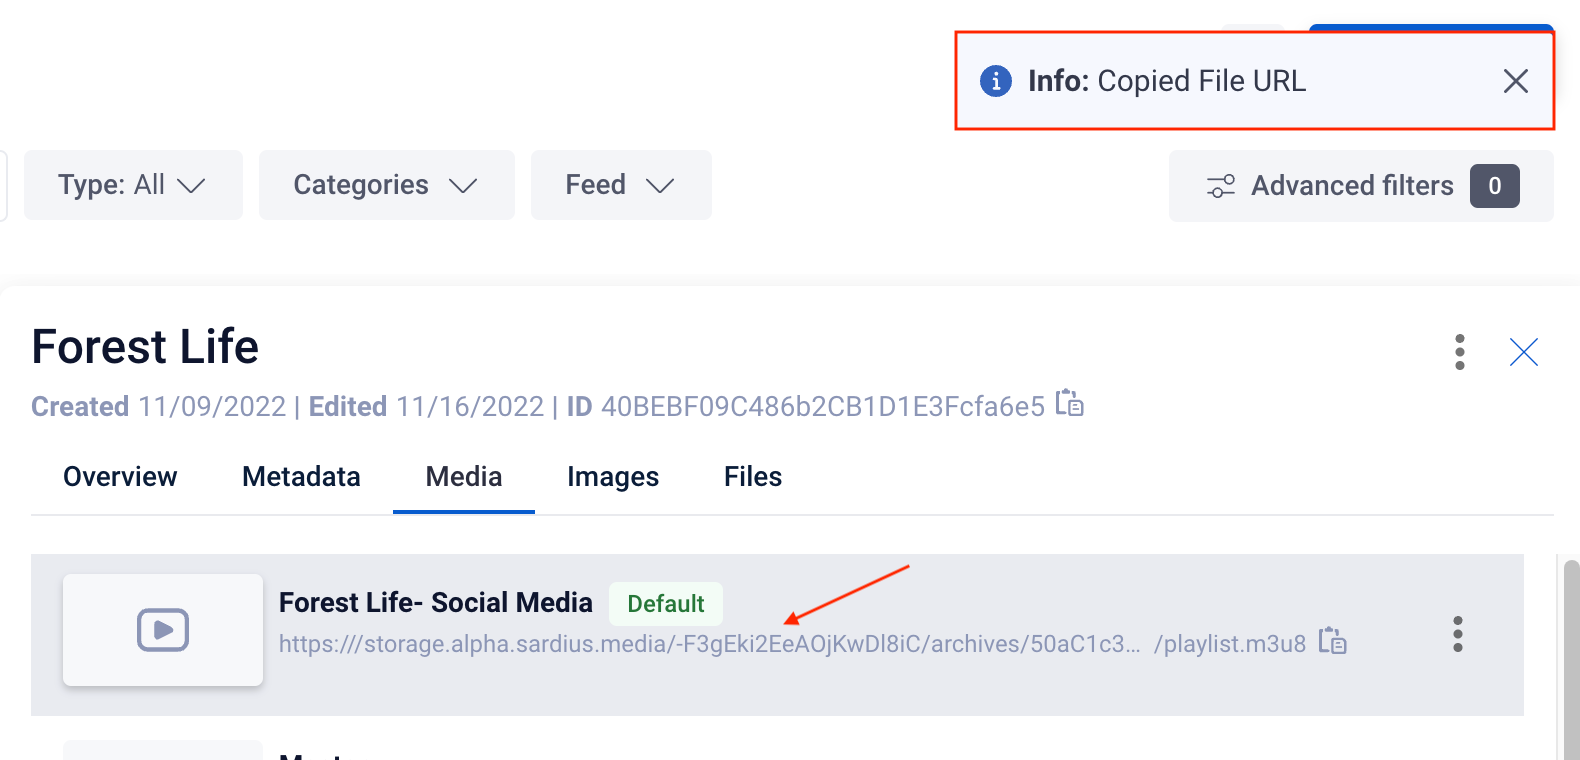
- Simply click on the file URL from the list view to copy the URL to your clipboard. You will see a confirmation message appear in the upper right hand corner indicating the link has been copied.
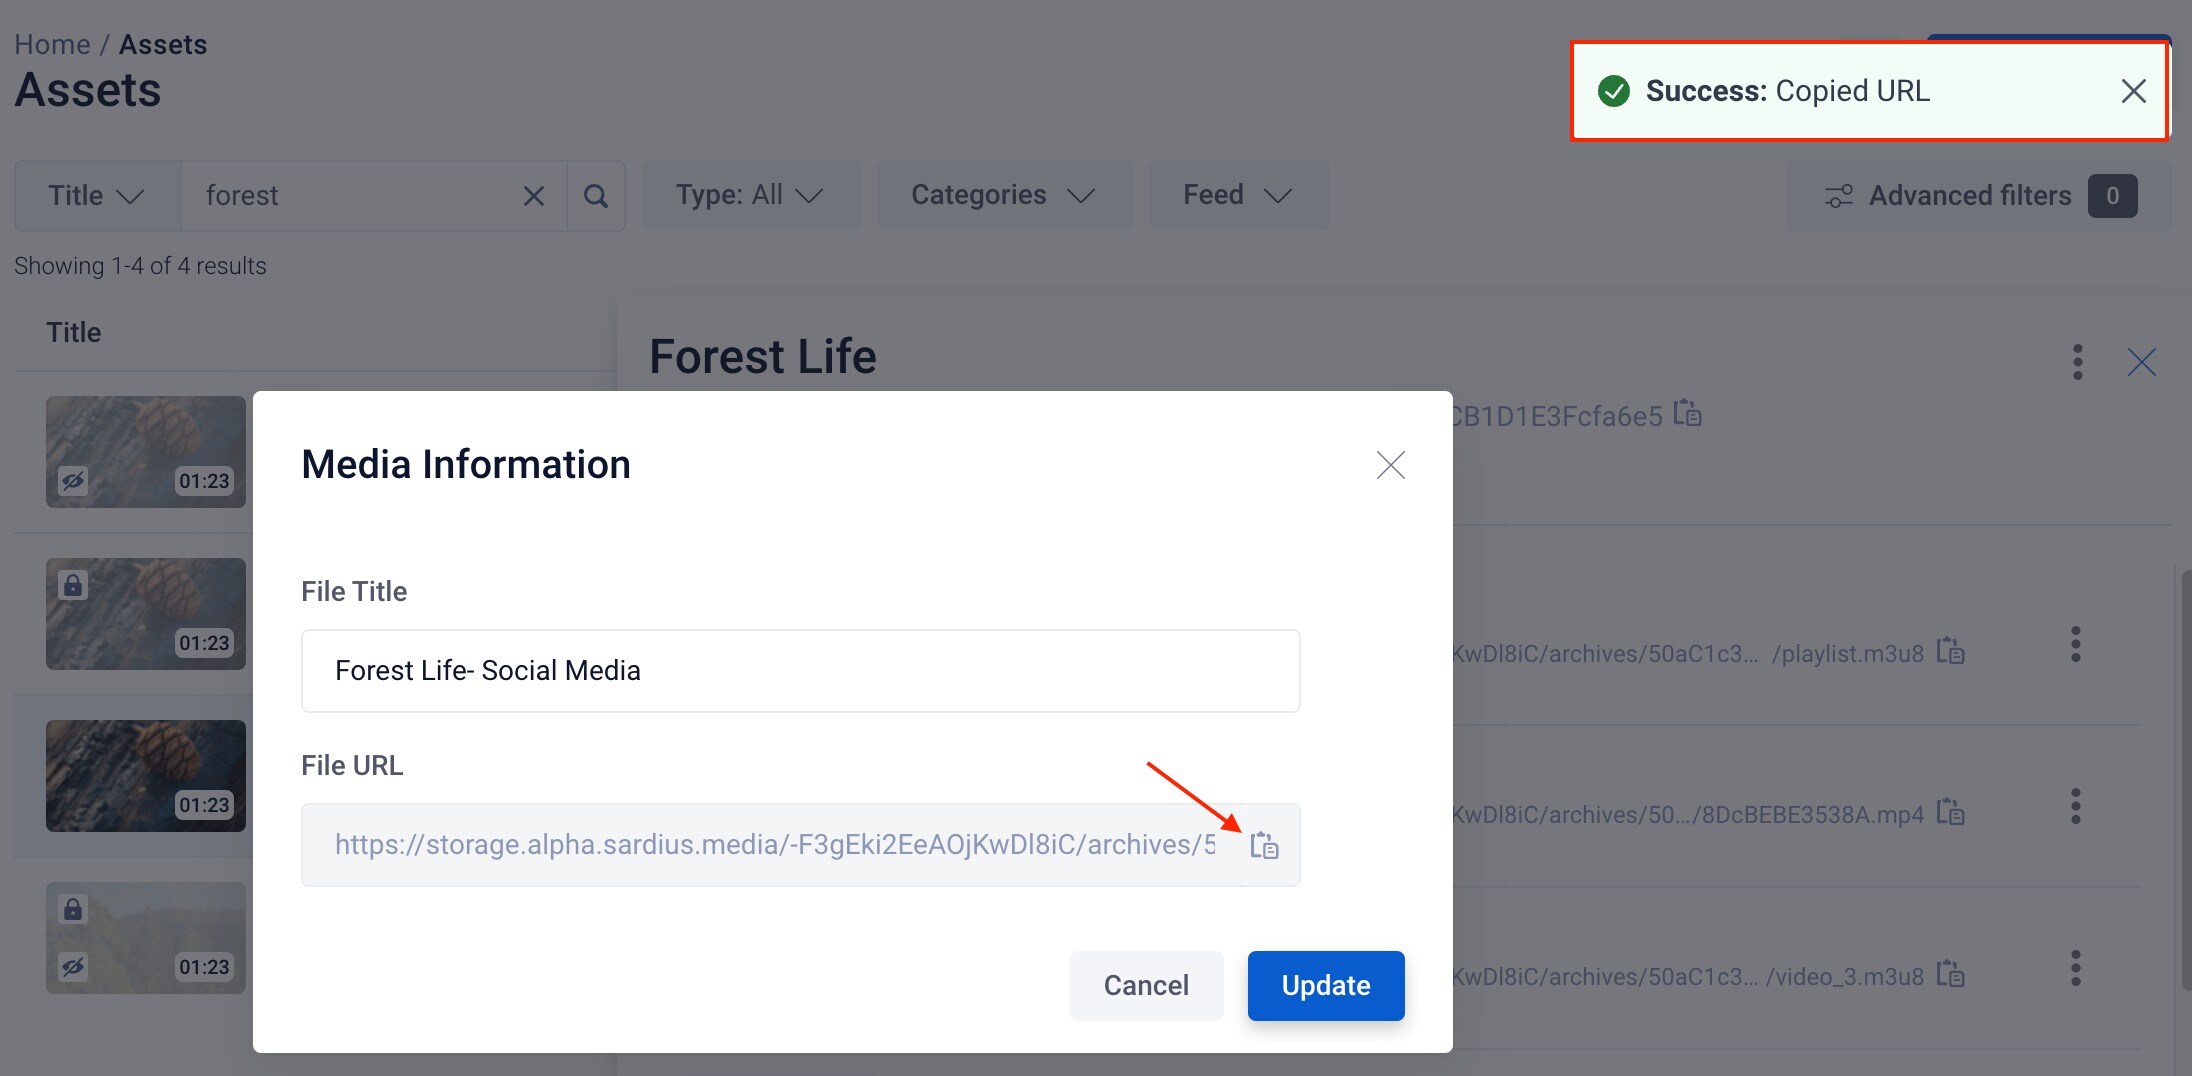
2. Click on the hamburger menu and select Edit to see the modal containing the File URL.

This will open a modal with the File URL. Click on the clipboard icon to the right of the URL to copy it to your clipboard. You will see a confirmation message appear in the upper right hand corner indicating the link has been copied.
Downloadable Links
To create a downloadable link, you will first need to ensure you have transcoded your asset in the desired MP4 format (Ref. Transcode Asset).
After you have done so, you can download your media using the appropriate process using these articles: