Header Settings (Slate)
Customizing the Header allows you to apply your organization's brand identity to the Channel layout. Aside from providing a clickable logo in the header, we can also add a navigation menu with internal and external links.

Enable Header
By default, the header is enabled. If you would like to disable the header and remove the space for the logo and menu navigation, you can turn the toggle switch to OFF.

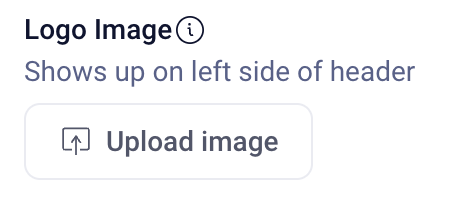
Logo Image
You can add a logo for your organization or event's brand identity. By default, we show a sample 150x50 image to give you an idea of where this will be placed.

- To upload an image, click on the "Upload image" button.
- Select an available image from your library and click Add Image, or
- Click the "Upload" tab to upload an image from your computer.
To remove the image you assigned, click on the X next to the image name.
Note: For best results, we recommend using an image that has a minimum size of 150x50 or an aspect ratio of 16:9.
You can adjust the height of the logo image by entering a number into the Logo Height field. The width of the image will adjust accordingly.

You can set an external URL for the logo image, such as directing clicks from the Channel site to your organization's home page. To set a URL, enter it into the Logo Link field. Be sure to include http:// or https:// in order for the link to work. To remove the link, clear the field.

Nav Links
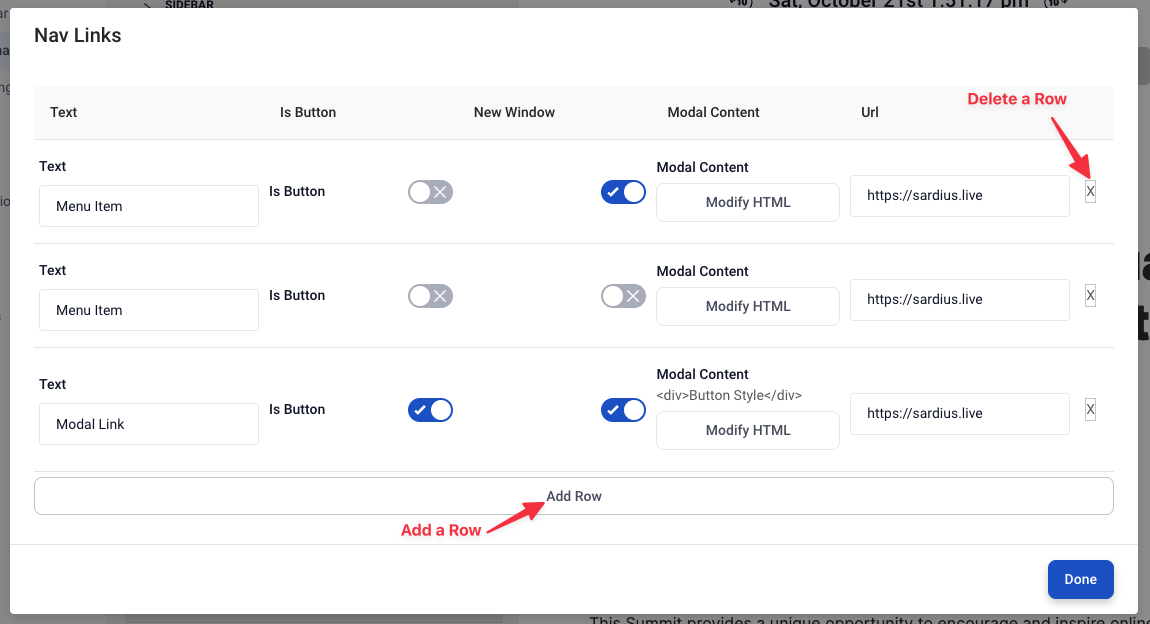
Customizing the nav menu allows you to set various internal or external links to your organization or conversion goals. Nav links can be either simple text or buttons, and they can also trigger modals. To edit your Nav Links, click on the "Edit" button.

A modal will appear and allow you to structure your menu. To add an item, click on "Add Row" at the bottom of the modal. To remove a row, click on the X at the right side of the row you wish to remove.

The options for each link are:
- Text: the name of the link that will show in the menu
- Is Button: when enabled, the link will appear as a clickable button
- New Window: when enabled, the link will open its URL in a new window
- Modal Content: you can add HTML to create a pop-up modal when the Nav link is clicked
- URL: the destination URL for your Nav Link
When you are finished editing your Nav Link menu, click on Done to close the modal.
Once you have finished customizing this section, click "Update" at the bottom of the page to commit all of your changes. You also have the option to undo all changes you've made to the layout since the last update.
Slate Layout Overview
- Next Article: Speakers Settings
- Previous Article: Sidebar Settings
