
Sections Setting - VOD (Turnkey)
Updated
Use your Sections Setting to design the framework for each Section on your Site. Sections can include different elements such as your Schedule and how it will be displayed, a Speaker/bio section, Video on Demand (VOD) and Sponsors. You are also able to create new or remove sections.
How to update Videos on Demand
Design the layout for ‘Archives’ or ‘Videos on Demand’ for your event. Determine when and where these assets will be displayed on the Site
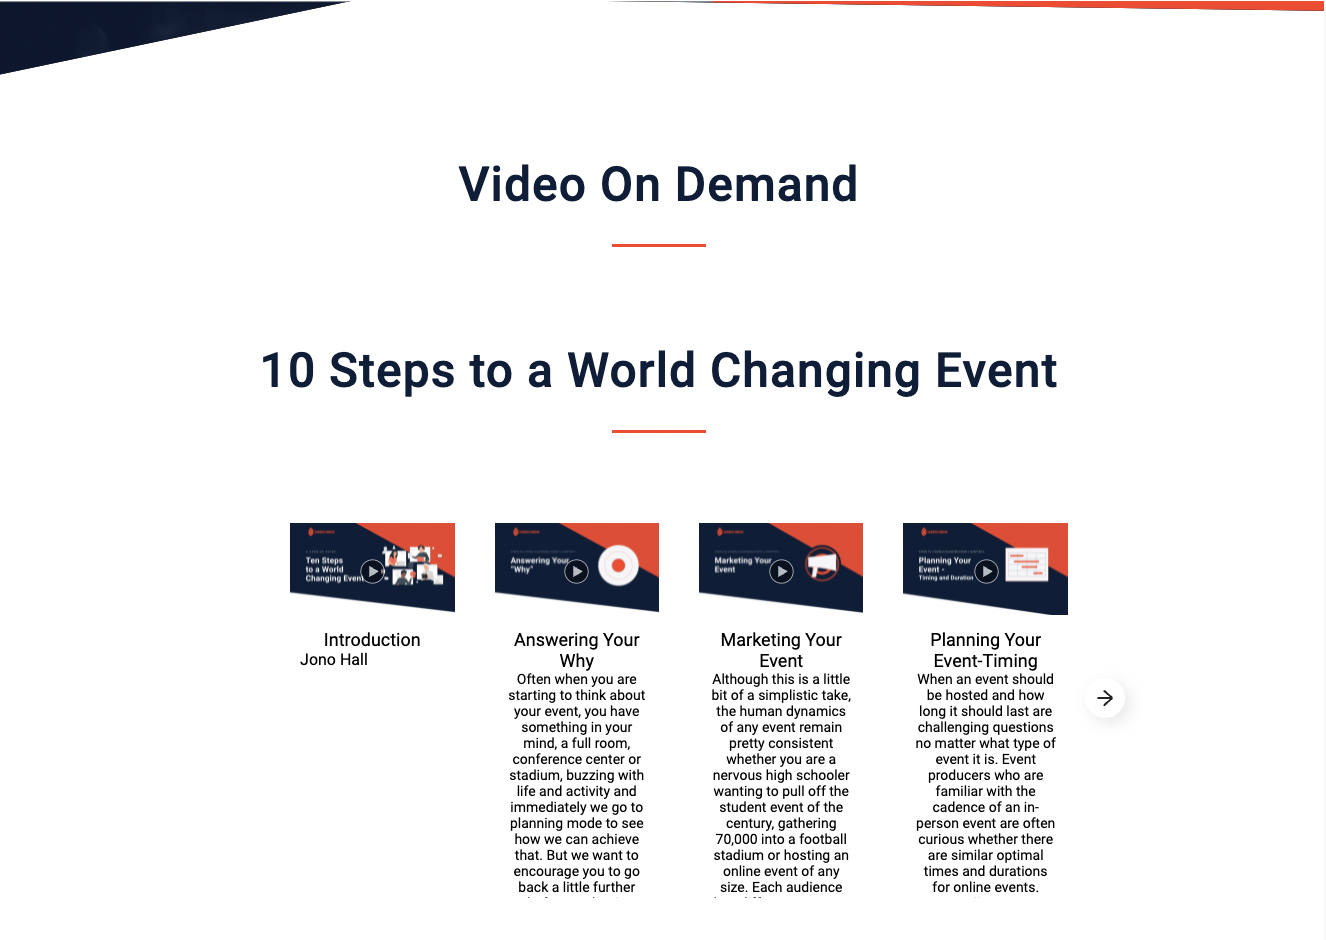
To begin updating your Video on Demand Section, click on the Pencil Icon to get started
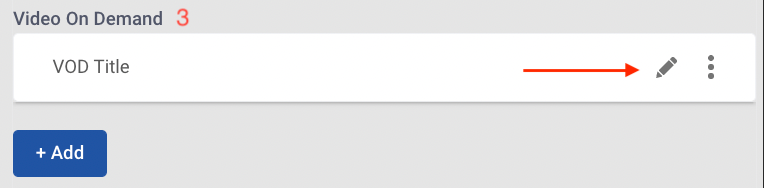
Next, click Edit under Section Details to begin updating this section
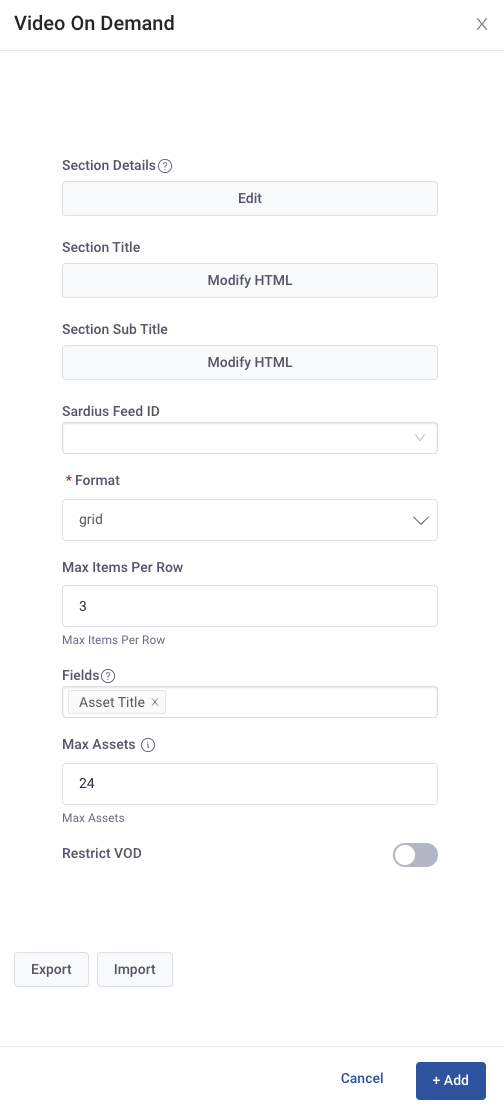
- VOD Details Section
This will open a pane for you to begin updating your Section Details
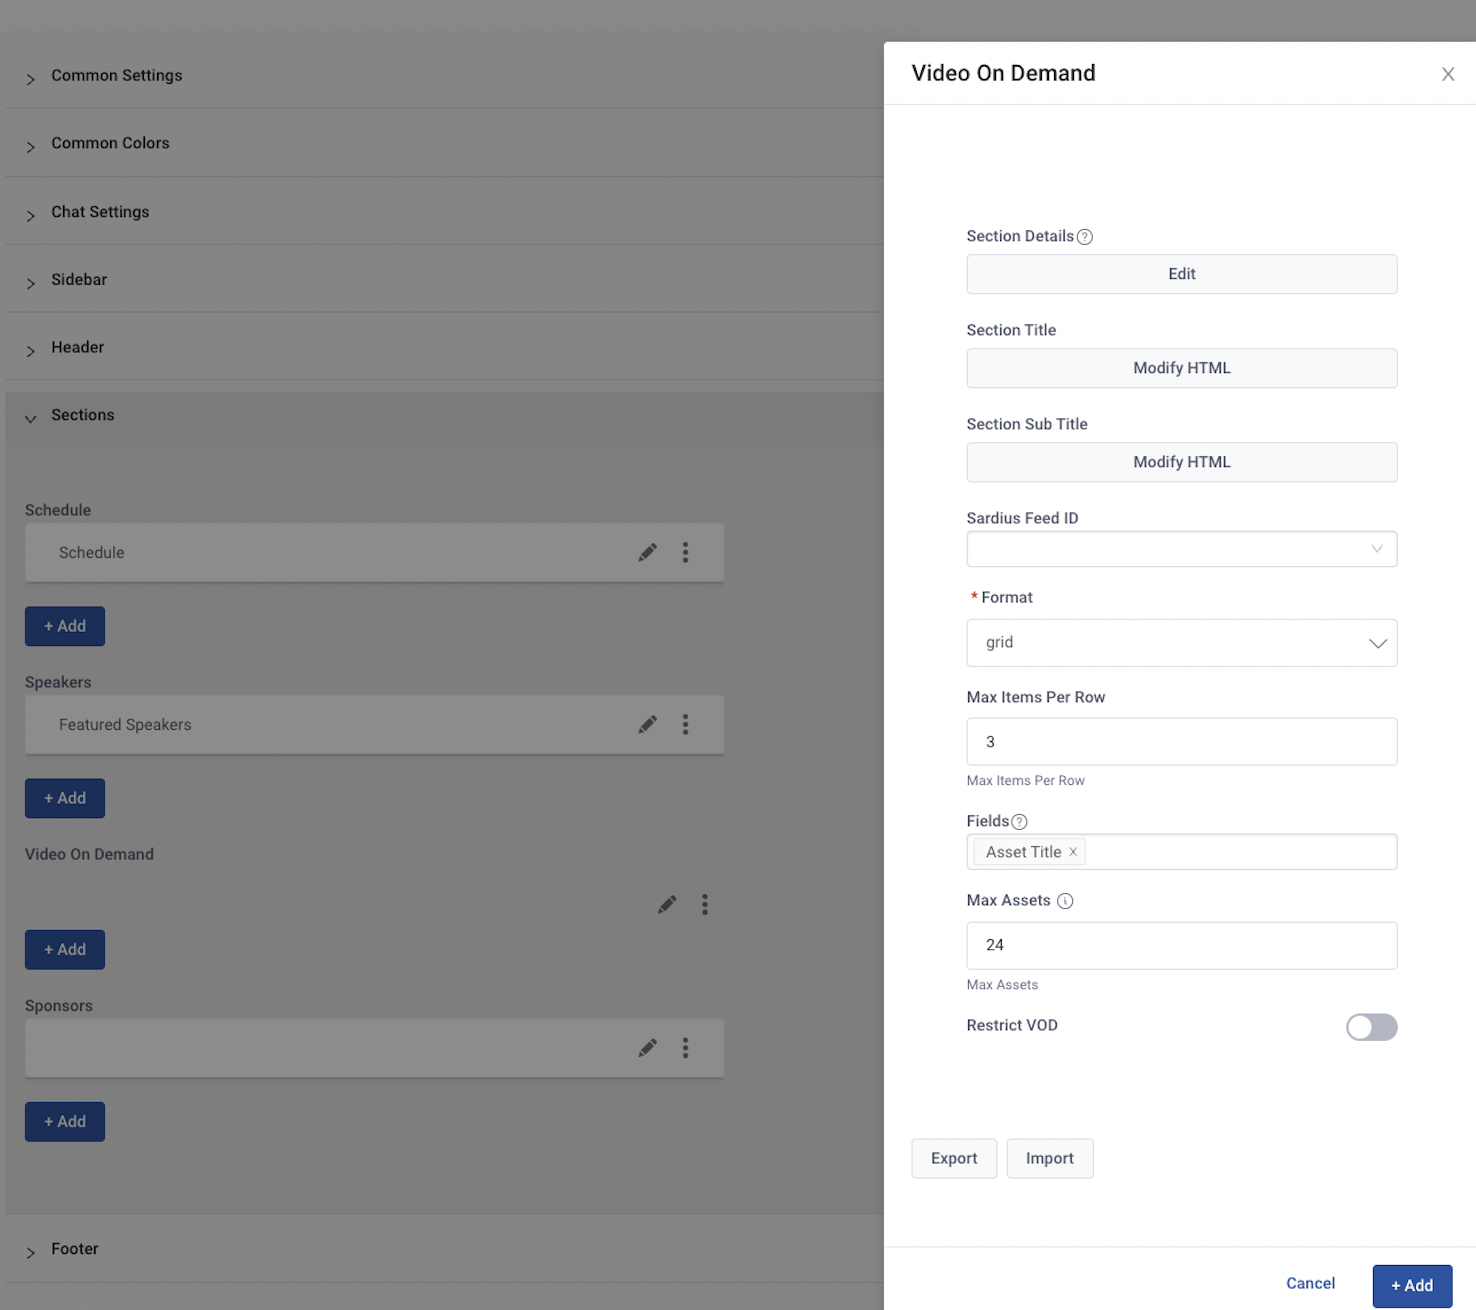
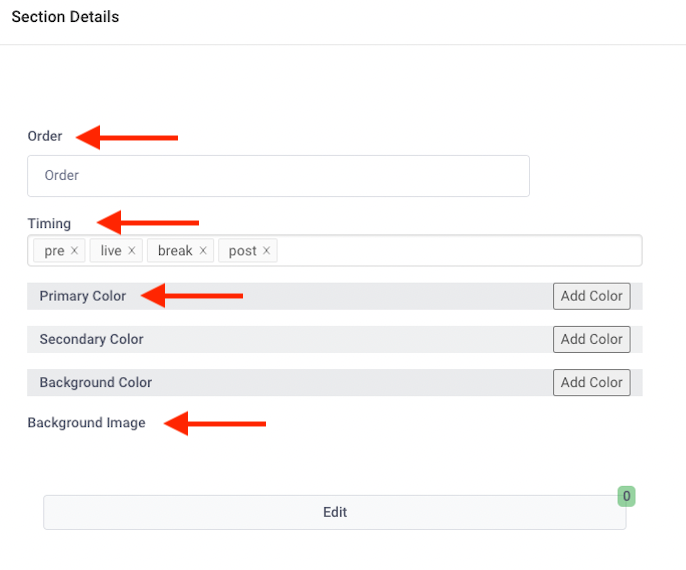
Begin with setting the Order for your VOD Section
-
Order: this determines where the schedule will be located on the page
-
As you adjust numerically the Order of Sections on your Site while setting up your layoutt is important to note that each Section will need a numerical spot. You will insert additional sections above or below each section by adding or subtracting the number. We recommend setting the Player at 10 as it is generally at the top of your Site. Use lower numbers to put the section above the Player (example: if you would the schedule above the player, you would note it the number 5)
-
- Order Recommendation
- Player - 10
- Featured Speakers - 20
- Schedule - 30
- Sponsors - 40
- VOD - 50
- Order Recommendation
-
Timing: select the event statein which the schedule will be displayed
- To add an event state (example: live, post), select the state from the drop-down menu
- To remove an event state (example: pre, break, post), click on the x to remove it
-
Event States Defined:
- PRE event state: what the site looks like, prior to the event starting
- LIVE event state: what the site looks like during the scheduled Live event
- BREAK state: what the site may look like during longer breaks in the schedule
- POST event state: what the site looks like after the live event concludes
To update your Primary, Secondary, and Background Color, click on the color box next to each field to select a new coloror add your Hex#
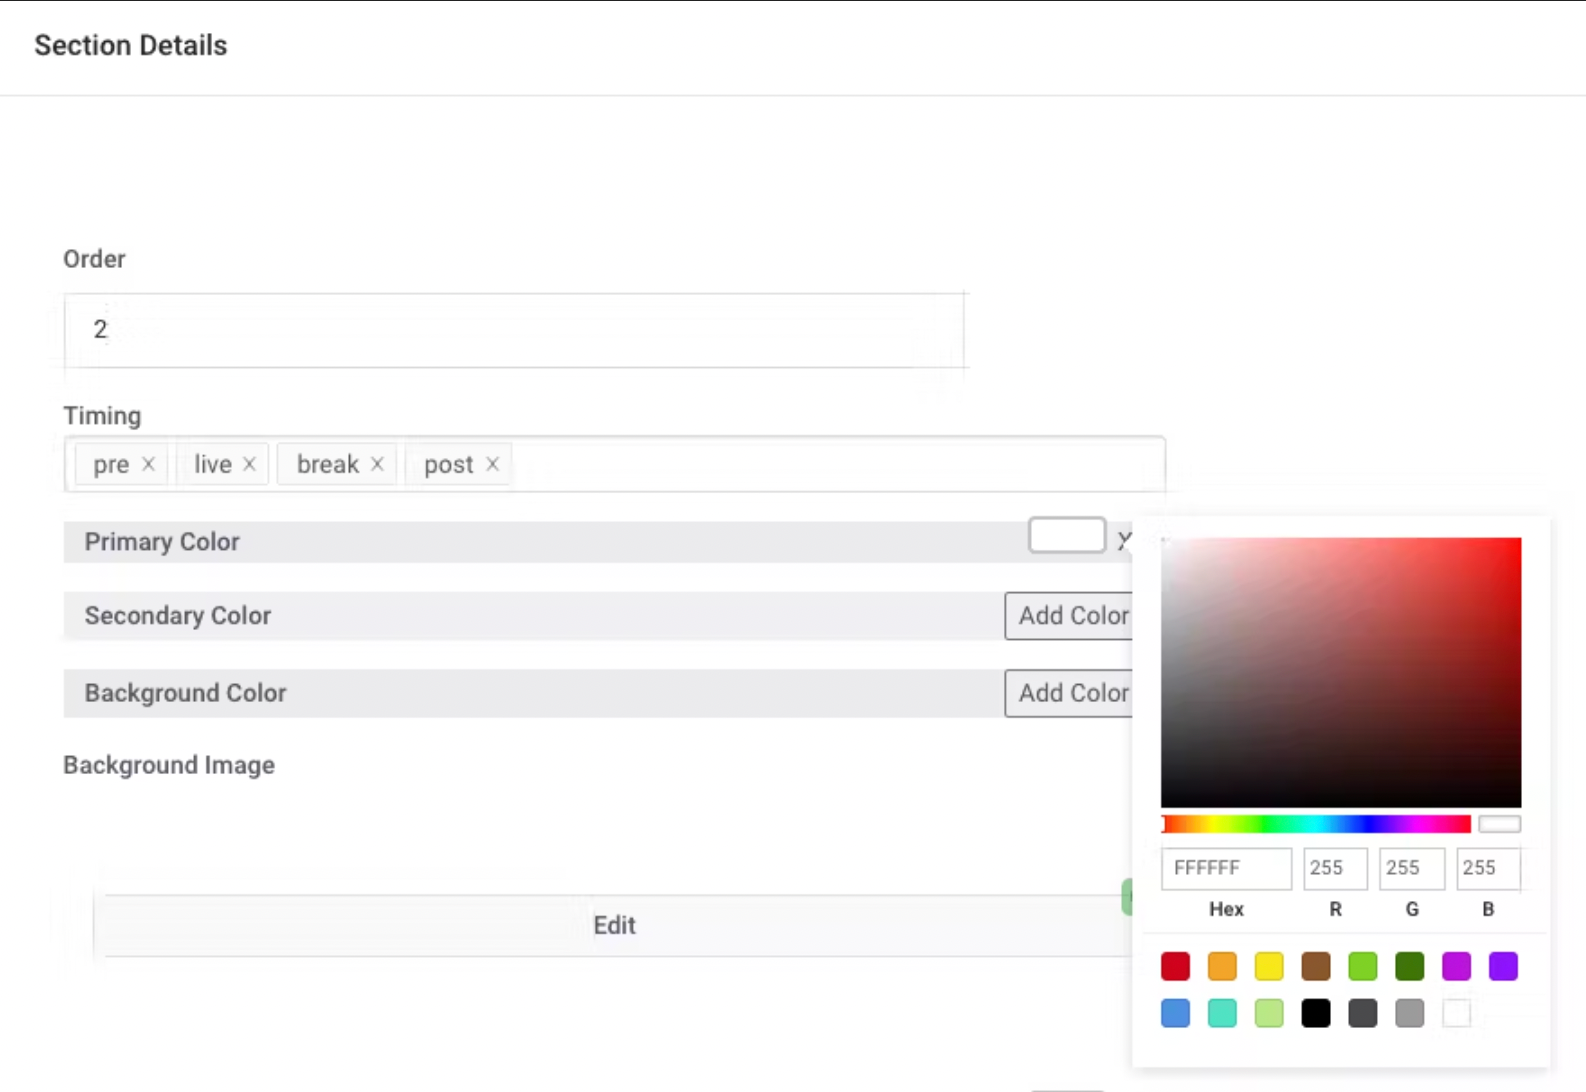
To update your Background Image, click Edit to add an image
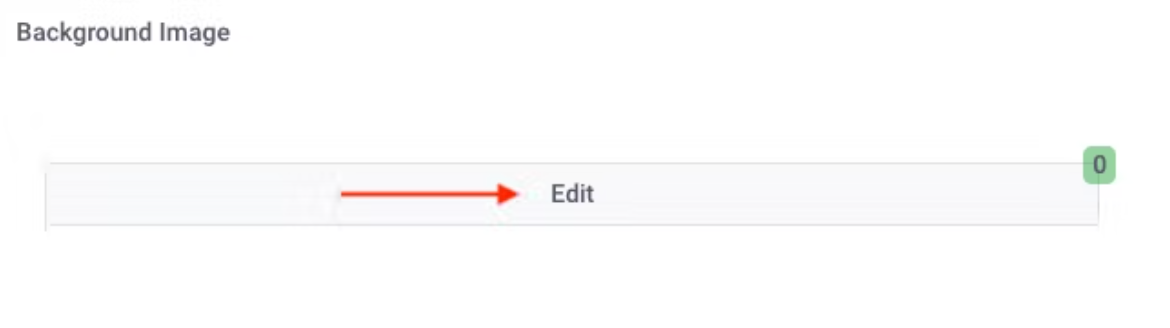
A new pane will open, click Add Row

Click on the Image icon to choose from your library or to upload a new image

Select Done when complete

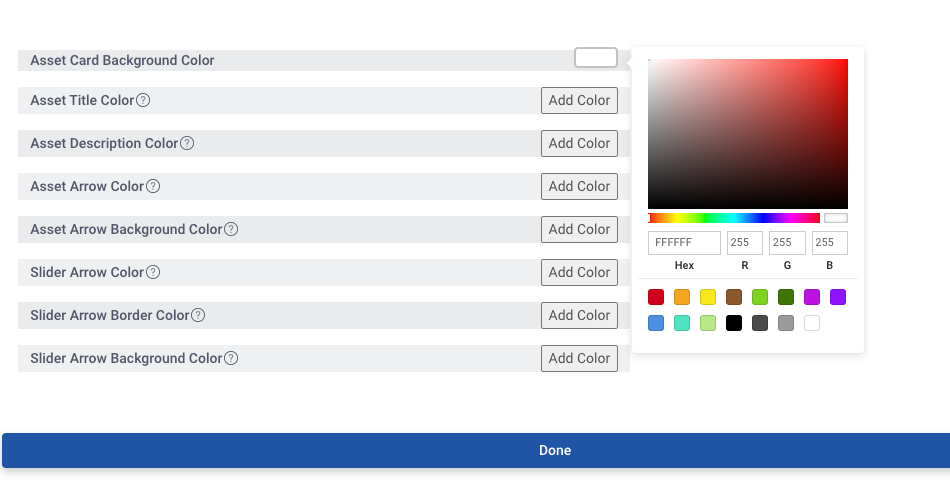
Next, select the Add Color color box next to each field to select a new color or add your Hex# for the Asset and Slider Arrow Colors
Click the Done button to save your changes
VOD - Updating your Title and Section Sub Title 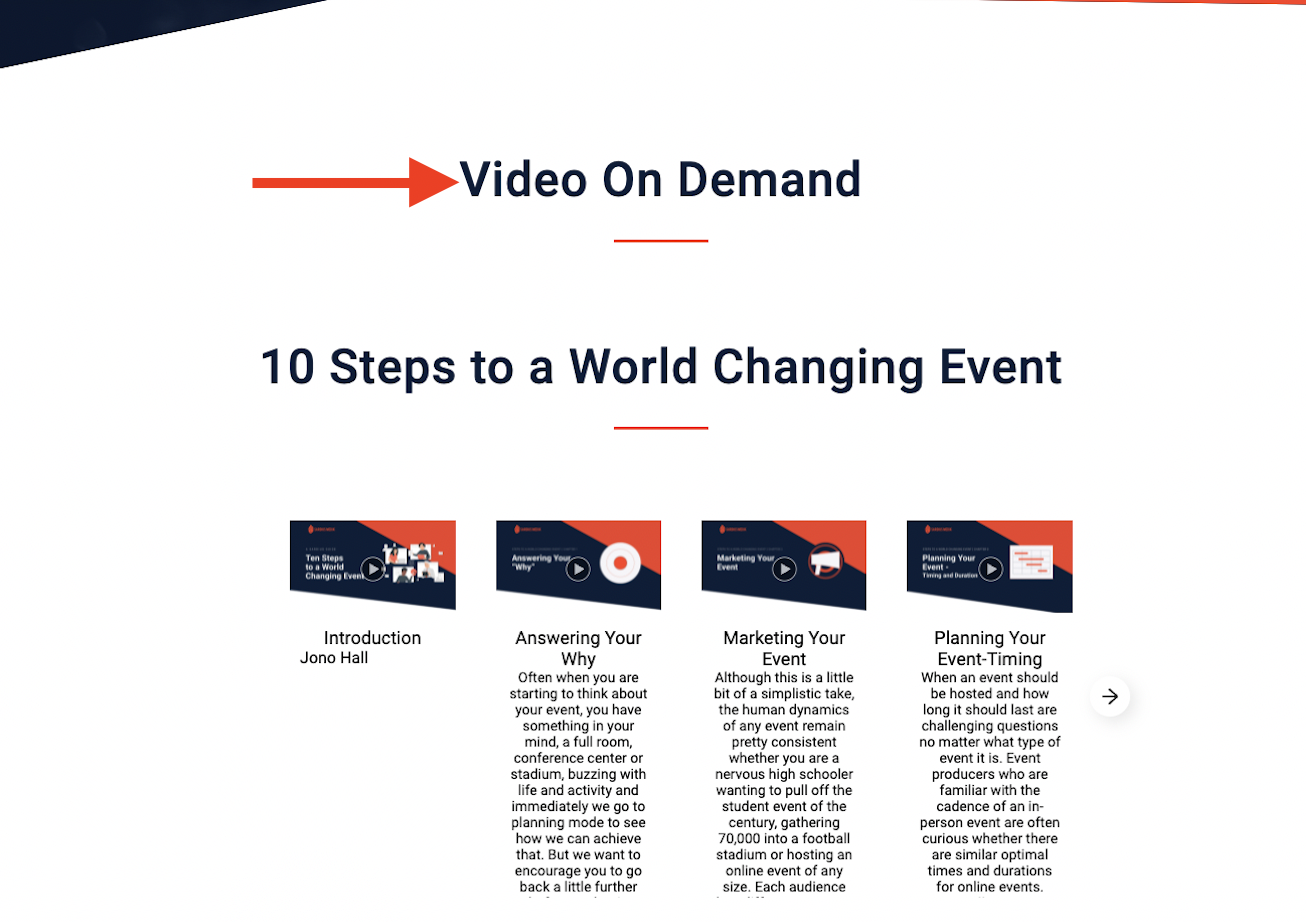
To update the VOD Section Title and Subtitle, Select the Modify button
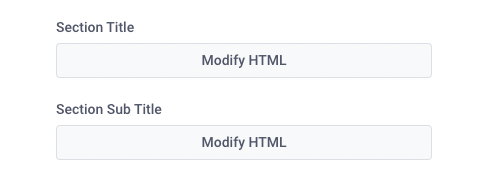
A new pane will open where you can modify the HTML code to update your Section Title and Sub Title. Once you have made your edits, click on the Done button to save your updates
Select the Feed ID

VOD Format
Using the drop-down list, select how you would like to display the video assets on the page
Options:
- Grid: all of the video assets on the page
- Sliders: scrollable (this format is recommended for larger quantities)
Next, enter the maximum number of video assets that will be displayed per row
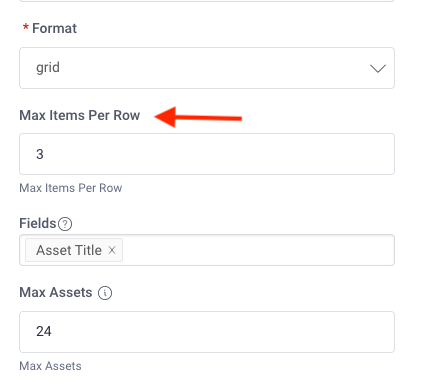
VOD Fields and Maximum Assets
Determine if you will include the Asset Title and the Asset Description which will be displayed under the video asset
- These fields are populated from the Live Asset library when you upload or create an asset
- If the field is empty, no text will be displayed on your Site
Restricting VOD
It is possible to restrict video assets for the purpose of limiting VOD for specific ticket types (example: videos only VIP experiences)or Viewer Segments
Unrestricted VOD: will allow all viewers to access the VOD

Restricted VOD : restricting by Ticket, Viewer Segment, and Viewer Metadata
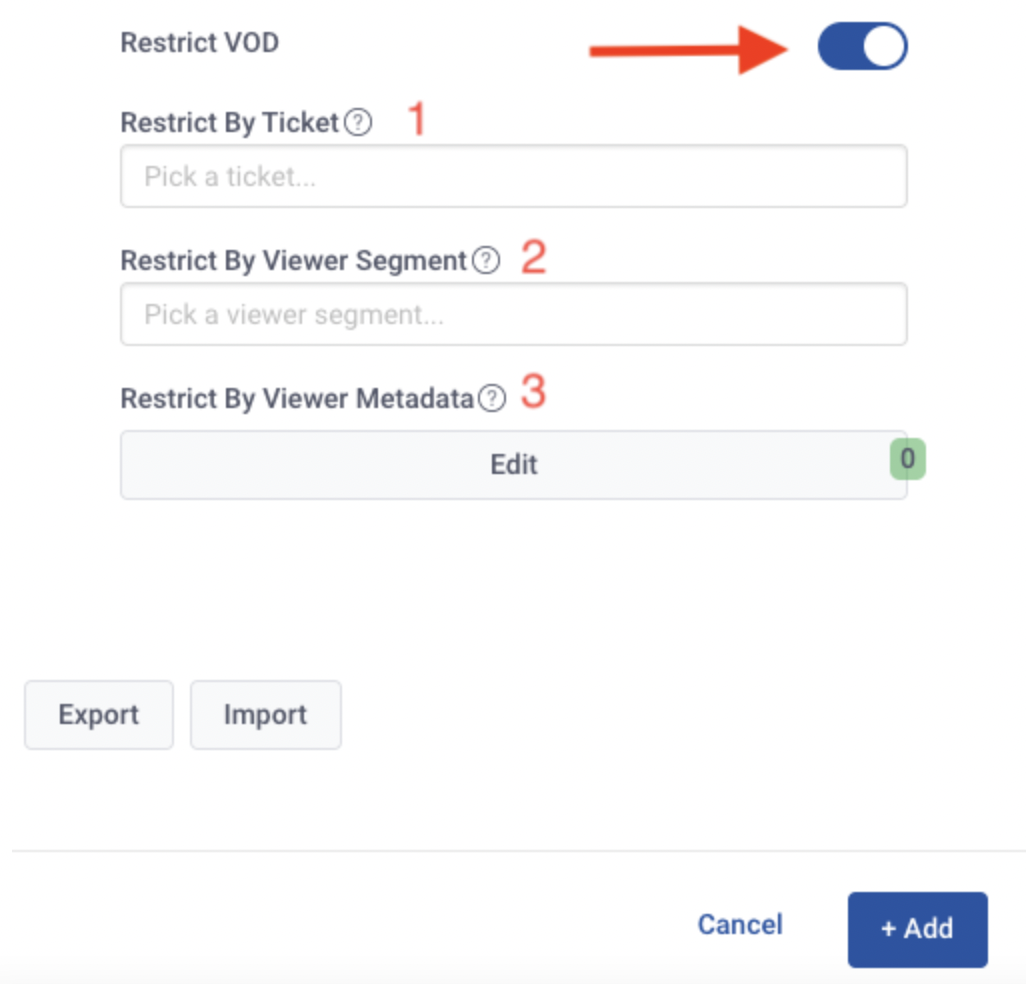
- Restrict By Ticket: if you have different ticket types (free, paid, VIP, etc.), you will be able to restrict whp sees that section based on ticket type. To do so, select the ticket type in the drop-down list
- Restrict By Viewer Segment: if you have created additional viewer segments for your event, you will be able to select the segment that has visibility of the videos
- Restrict by Viewer Metadata: provide rules in the operation field and viewers who pass one of the rules will have visibility to the video assets
Click on +Add to save your changes to your Video on Demand settings
Restrict by Viewer Metadata:
Click Edit to begin the process

Next, select Add Row and enter the Metadata Key, Operation, and Metadata Value
Select Done to save your changes

The Metadata Key must contain the exact same text that was entered in for the ‘key’ in Custom Registration Fields