Sections Setting - Sponsors (Turnkey)
Use your Sections Setting to design the framework for each Section on your Site. Sections can include different elements such as your Schedule and how it will be displayed, a Speaker/bio section, Video on Demand (VOD) and Sponsors. You are also able to create new or remove sections.
How to Update Sponsors Section
Update your Sponsor section by setting the Details, Title, Sponsor List, and Format

To begin updating your Sponsors Section, click on the Pencil Icon to get started

To update the elements of your Sponsors section, click on Edit under Section Details
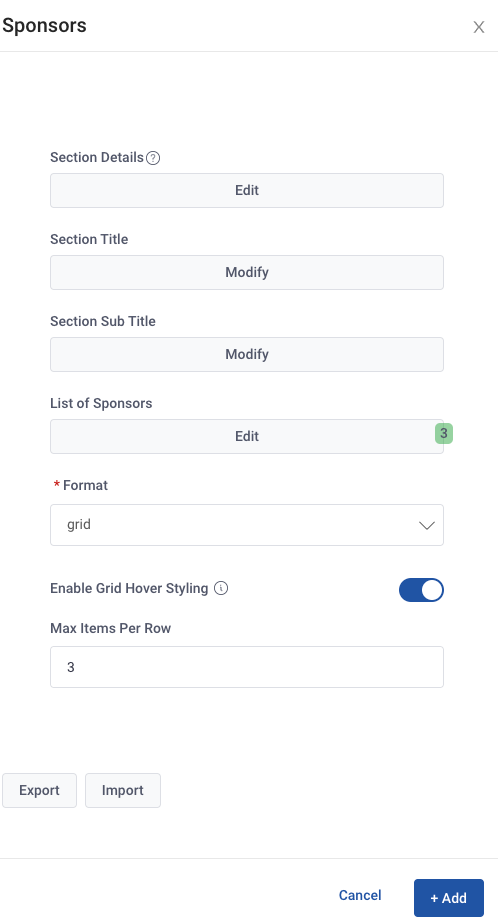
This will open a pane for you to begin updating your Sponsor Details
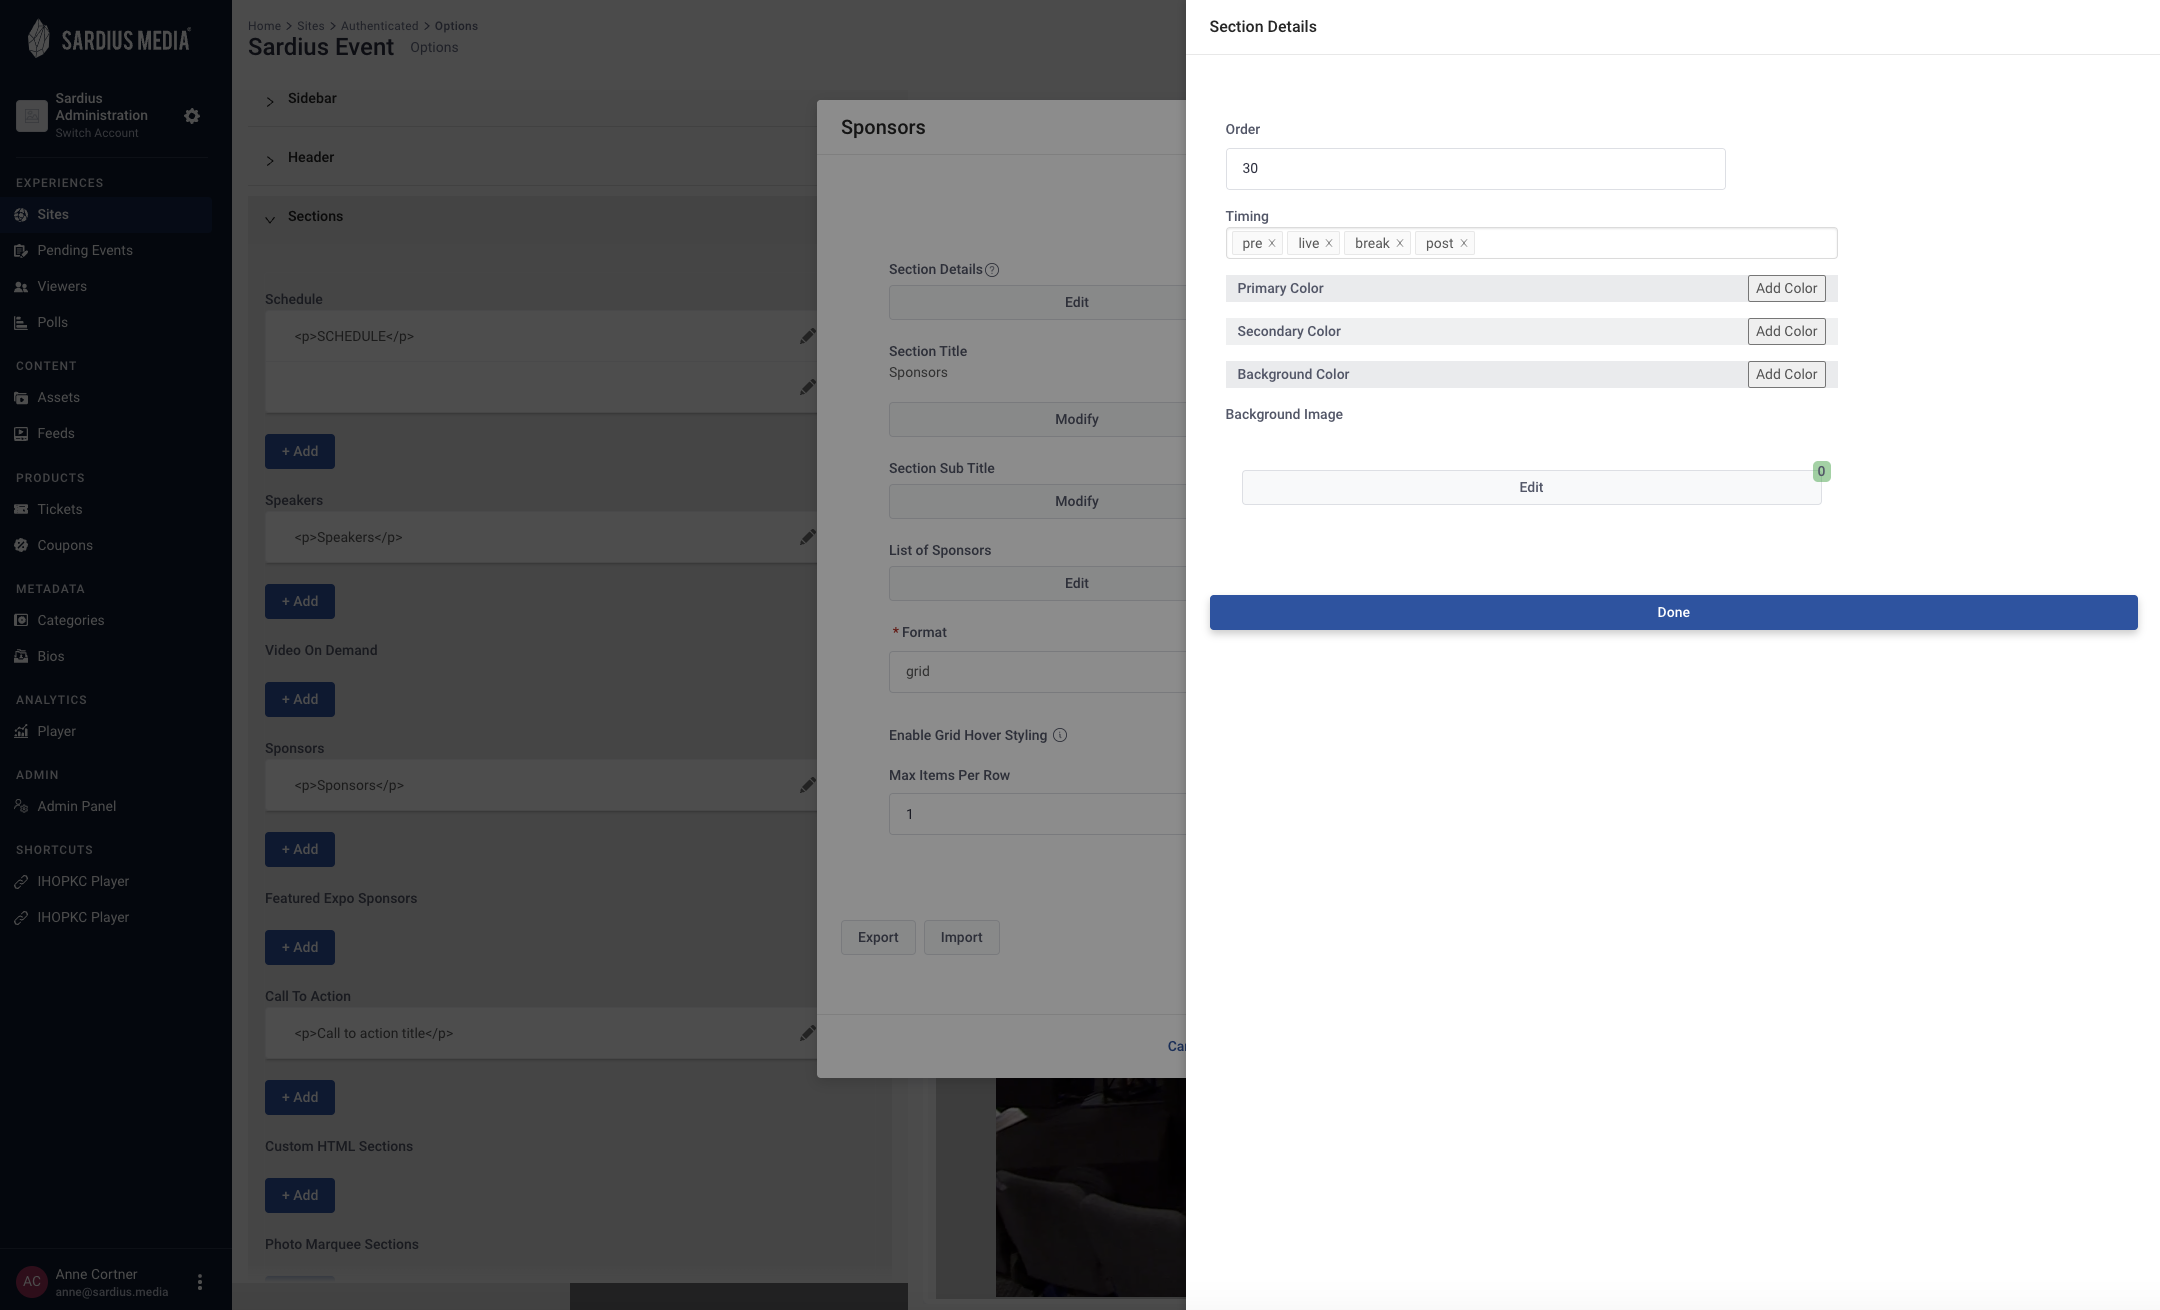
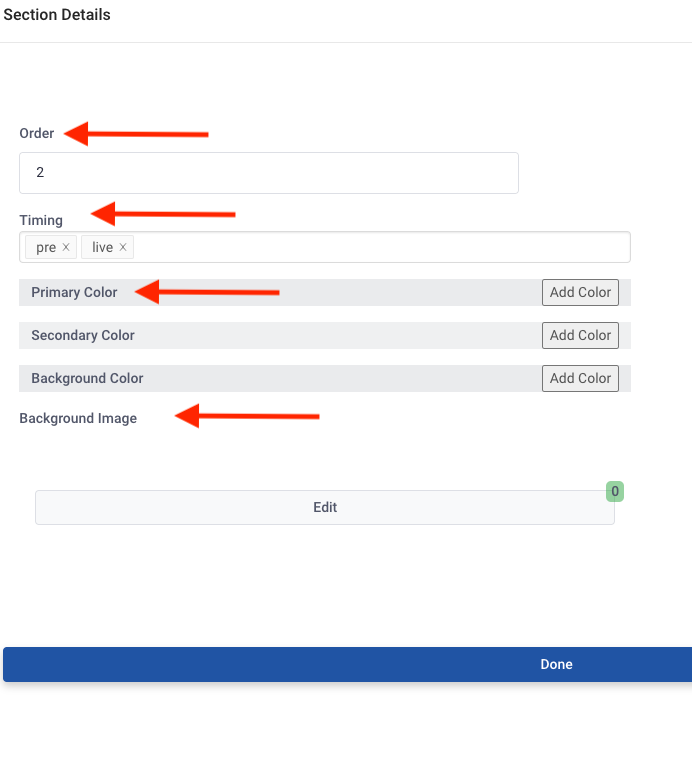
Begin with setting the Order for your Schedule Section
- Order: this determines where the schedule will be located on the page
- Helpful Tip: You will adjust numerically the Orderof Sections on your Site as you are setting up your layout. It is important to note that each Section will need a numerical spot. You will insert additional sections above or below each section by adding or subtracting the number. We recommend setting the Player at 10 as it is generally at the top of your Site. Use lower numbers to put the section above the Player (example: if you would the schedule above the player, you would note it the number 5)
- Order Recommendation
- Player - 10
- Featured Speakers - 20
- Schedule - 30
- Sponsors - 40
- VOD - 50
- Order Recommendation
- Timing: select the event state in which the schedule will be displayed
- To add an event state (example: live, post), select the state from the drop-down menu
- To remove an event state (example: pre, break, post), click on the x to remove it
- Event States Defined:
- PRE event state: what the site looks like, prior to the event starting
- LIVE event state: what the site looks like during the scheduled Live event
- BREAK state: what the site may look like during longer breaks in the schedule
- POST event state: what the site looks like after the live event concludes
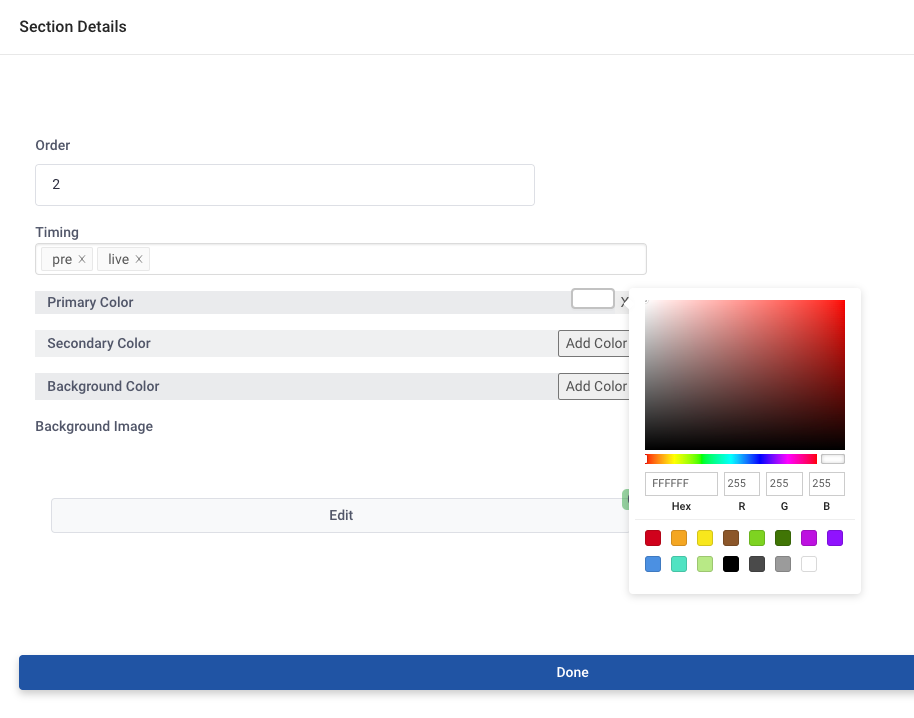
To update your Primary, Secondary, and Background Color, click on the color box next to each field to select a new coloror add your Hex#
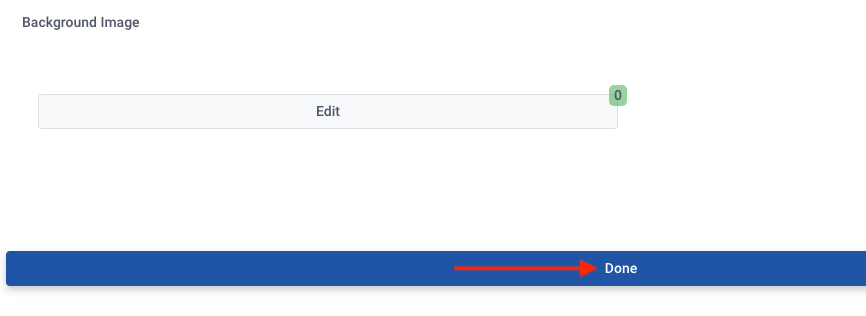
To update your Background Image, click Edit to add an image

A new pane will open, click Add Row

Click on the Image icon to choose from your library or to upload a new image

Select Done when complete

Helpful Tip: If you have any issues or questions updating your background image, don’t hesitate to reach out to the Sardius team for assistance
Once you have updated your Background Image, click on Done to continue
Sponsor - Updating your Title and Section Sub Title
To update the Sponsor Section Title and Subtitle, Select the Modify button
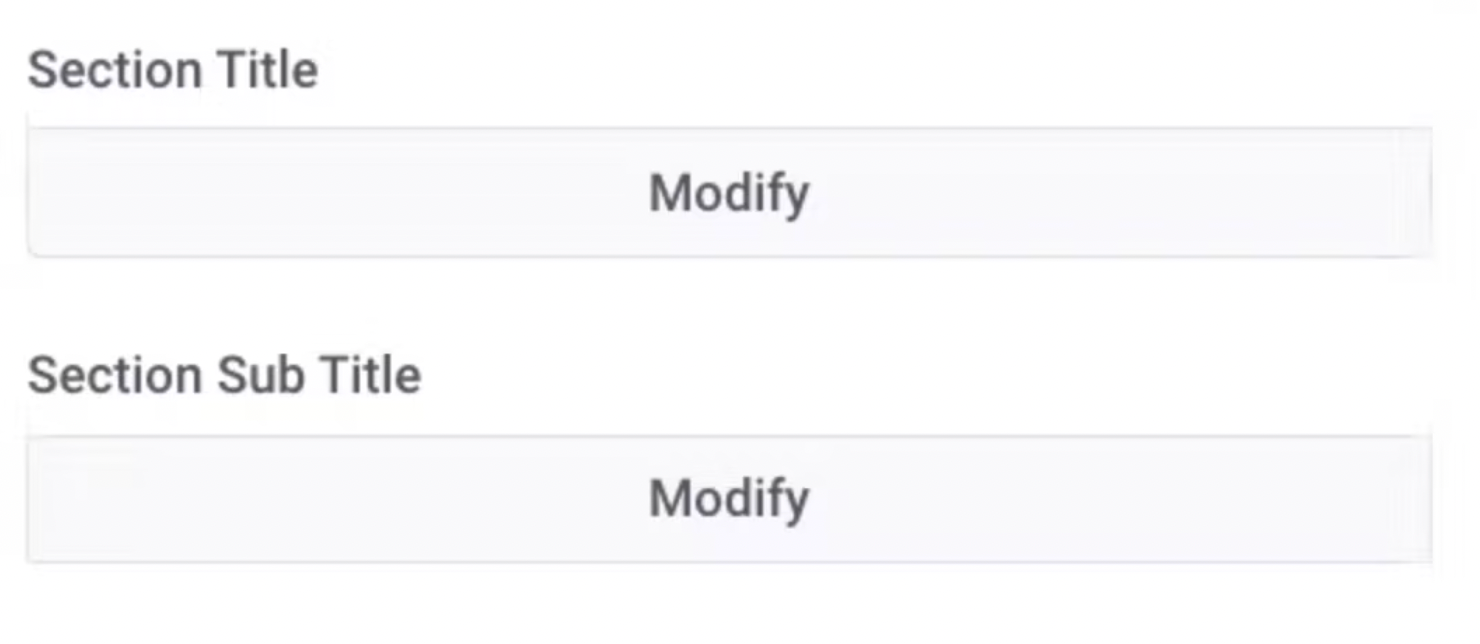
A new pane will open where you can update with your information. Once you have made your edits, click the Done button to save your updates
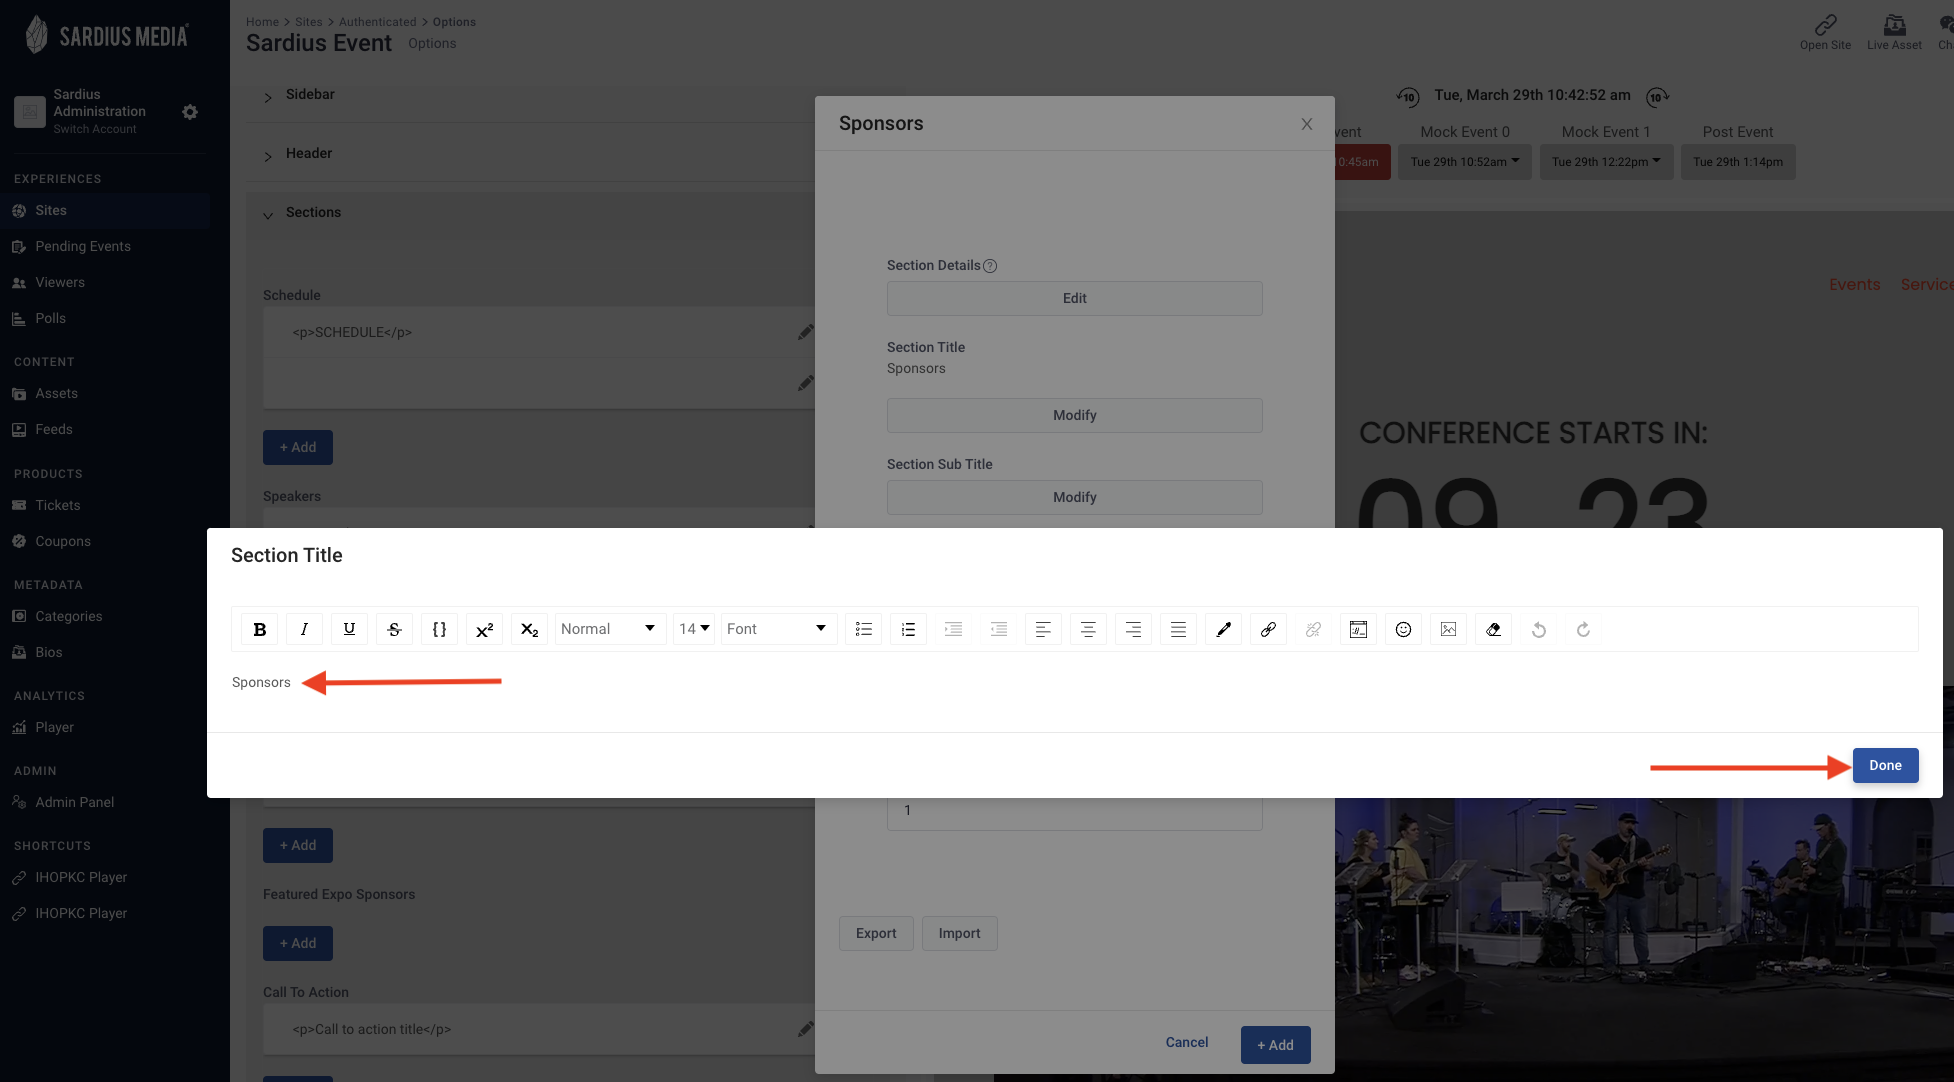

Next, add your List of Sponsors by clicking on the Edit button

A new pane will open for you to enter the Sponsor information for your Site

- Link URL: add a URL to hyperlink your Sponsor logo
- Image Width: adjust the width of your image according to the size of your logo and the placement on the Site
- New Window: opens the link in a new browser tab. Helpful Tip: Enabling this allows your audience to stay engaged with your event site, rather than redirecting them off of your page
- Modal Content: If you want your sponsor to open a modal rather than hyperlink to a website, create your modal content by clicking on Modify HTML
- Image URL: add your sponsor logo image
- Add Row: to add additional Sponsors, click on Add Rows. You can also remove rows (Sponsors) by clicking on the x at the end of each row
Click the blue Done button to save your changes
Updating the Sponsors Format

- You have the option to choose from a few different formats to display your sponsors by clicking on Format and selecting your desired format
- The options include: Grid, Slider, Marquee
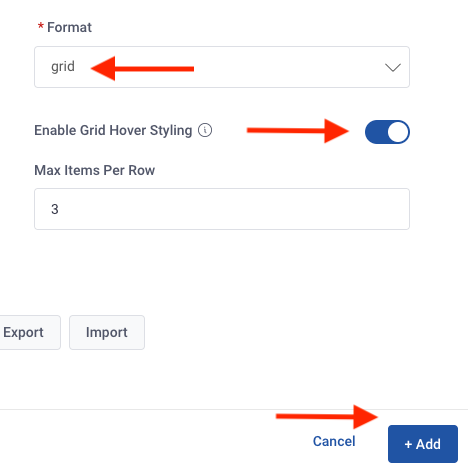
Grid Format
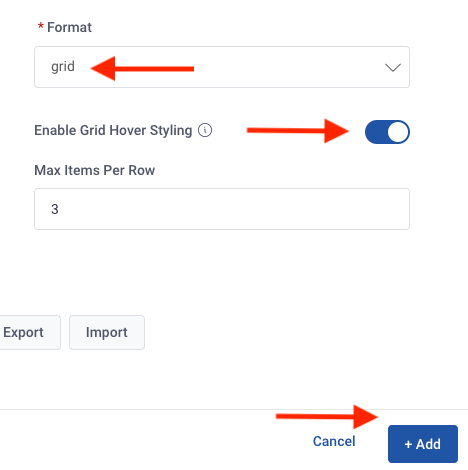
- If you select Grid, your content will be displayed on the page
- You can choose to enable Grid Hover Styling which will cause the Sponsor logo to react upon the hovering of the mouse. This makes it clear to a user that if they click on the image, something happens (either a hyperlink or a modal appears)
- Choose the maximum items per row by entering the number in the text box
- Click on +Add to save your changes
Slider Format
- If you select Slider, viewers will be able to manually click and scroll through the content
- Choose the maximum items per row by entering the number in the text box
- Click on +Add to save your changes
Marquee Format
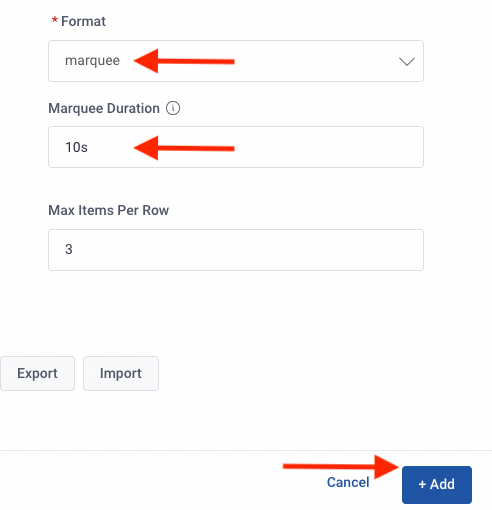
- Selecting Marquee enables the content to roll across the screen
- To set the speed of the movement across the screen, update the Marquee Duration by entering the seconds
- Click on +Add to save your changes
