Skip to content
  • There are no suggestions because the search field is empty.

Sections Setting - Speakers (Turnkey)

Use your Sections Setting to design the framework for each on your Site. Sections can include different elements such as your Schedule and how it will be displayed, a Speaker/bio section, Video on Demand (VOD) and Sponsors. You are also able to create new or remove sections.


How to Update Your Speakers


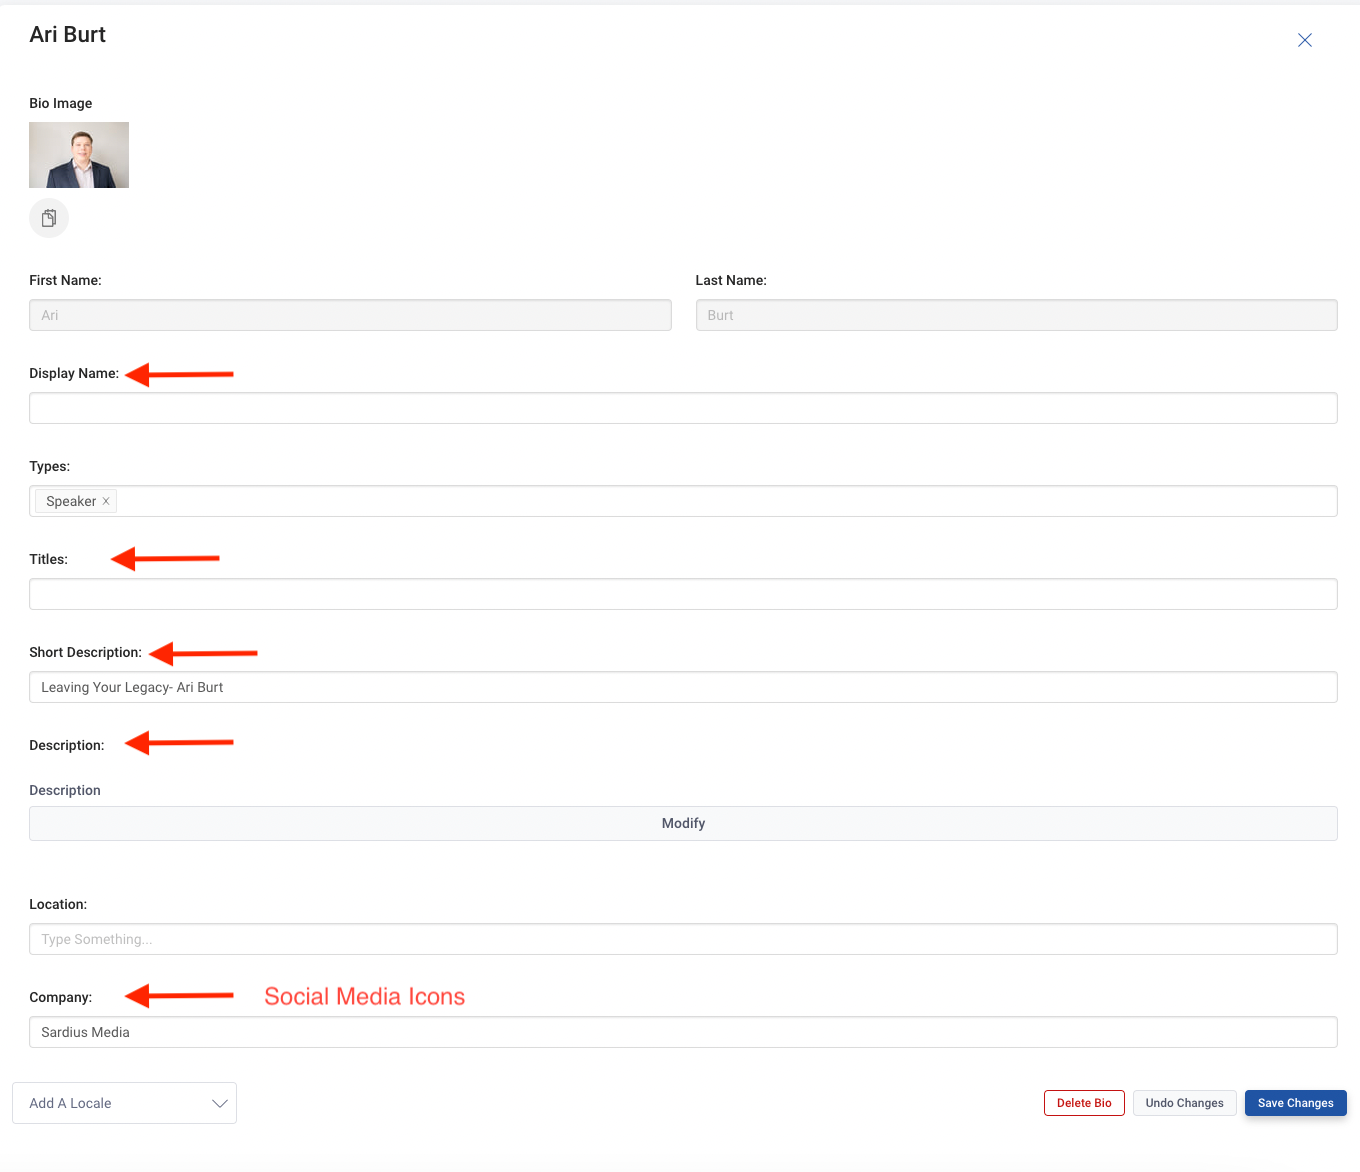
Helpful Tip: This section relies heavily upon your Metadata found in the Bios Section under Metadata on the Control Panel. Bios must first be created before they can be added to the Speakers section
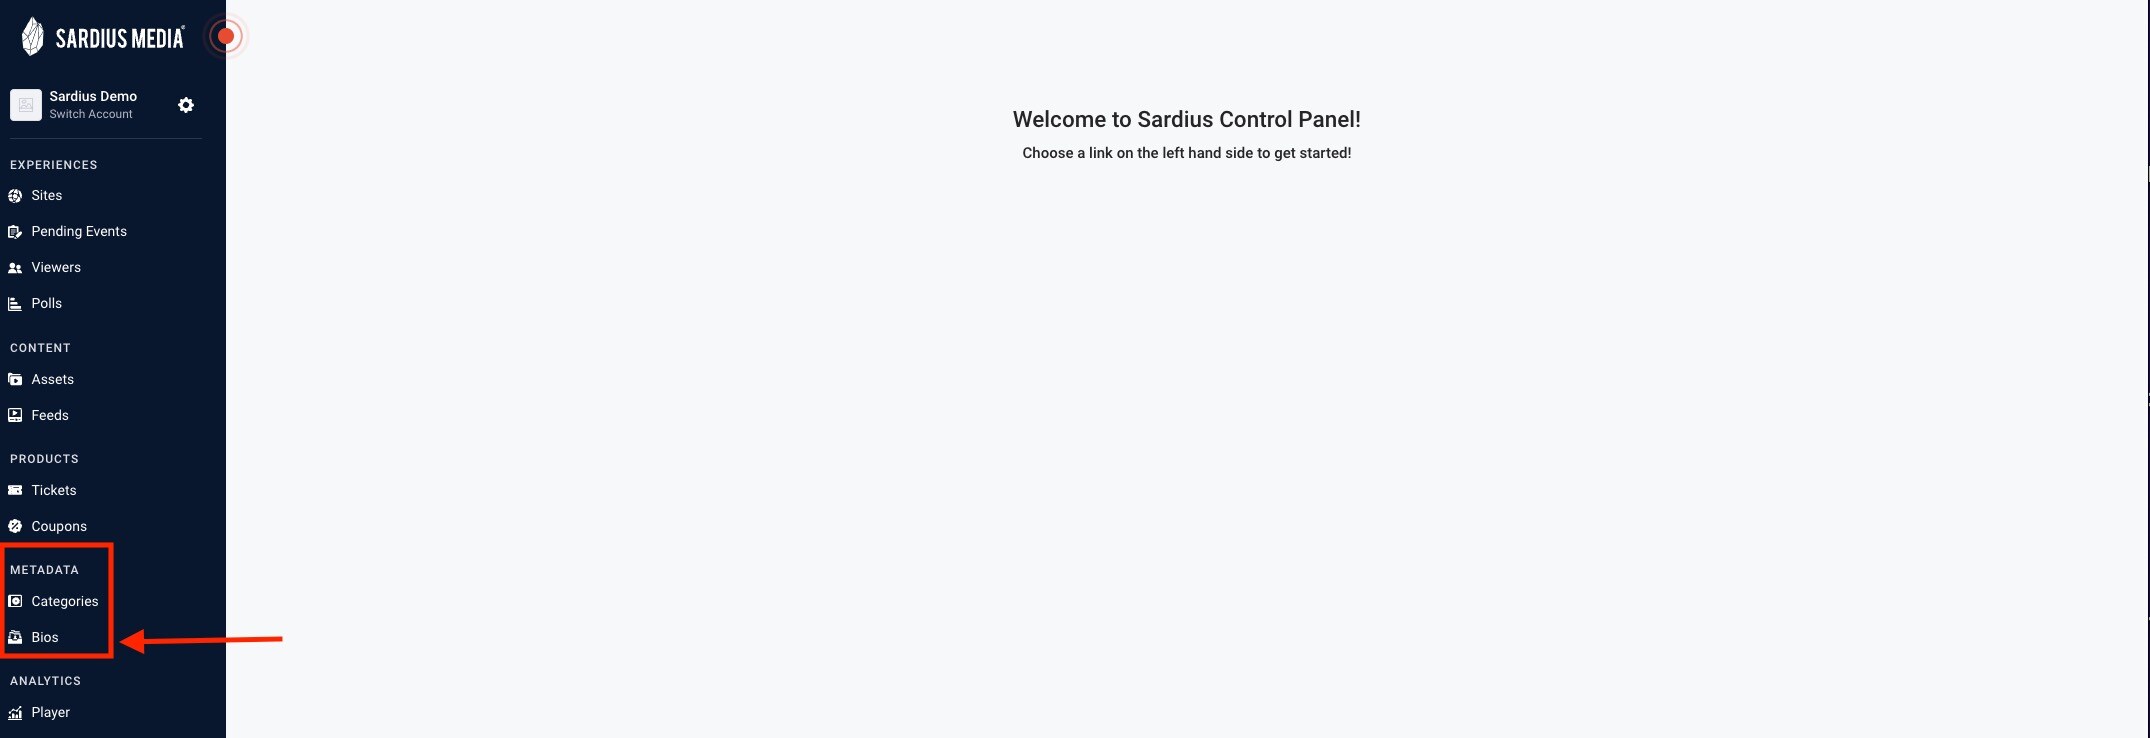
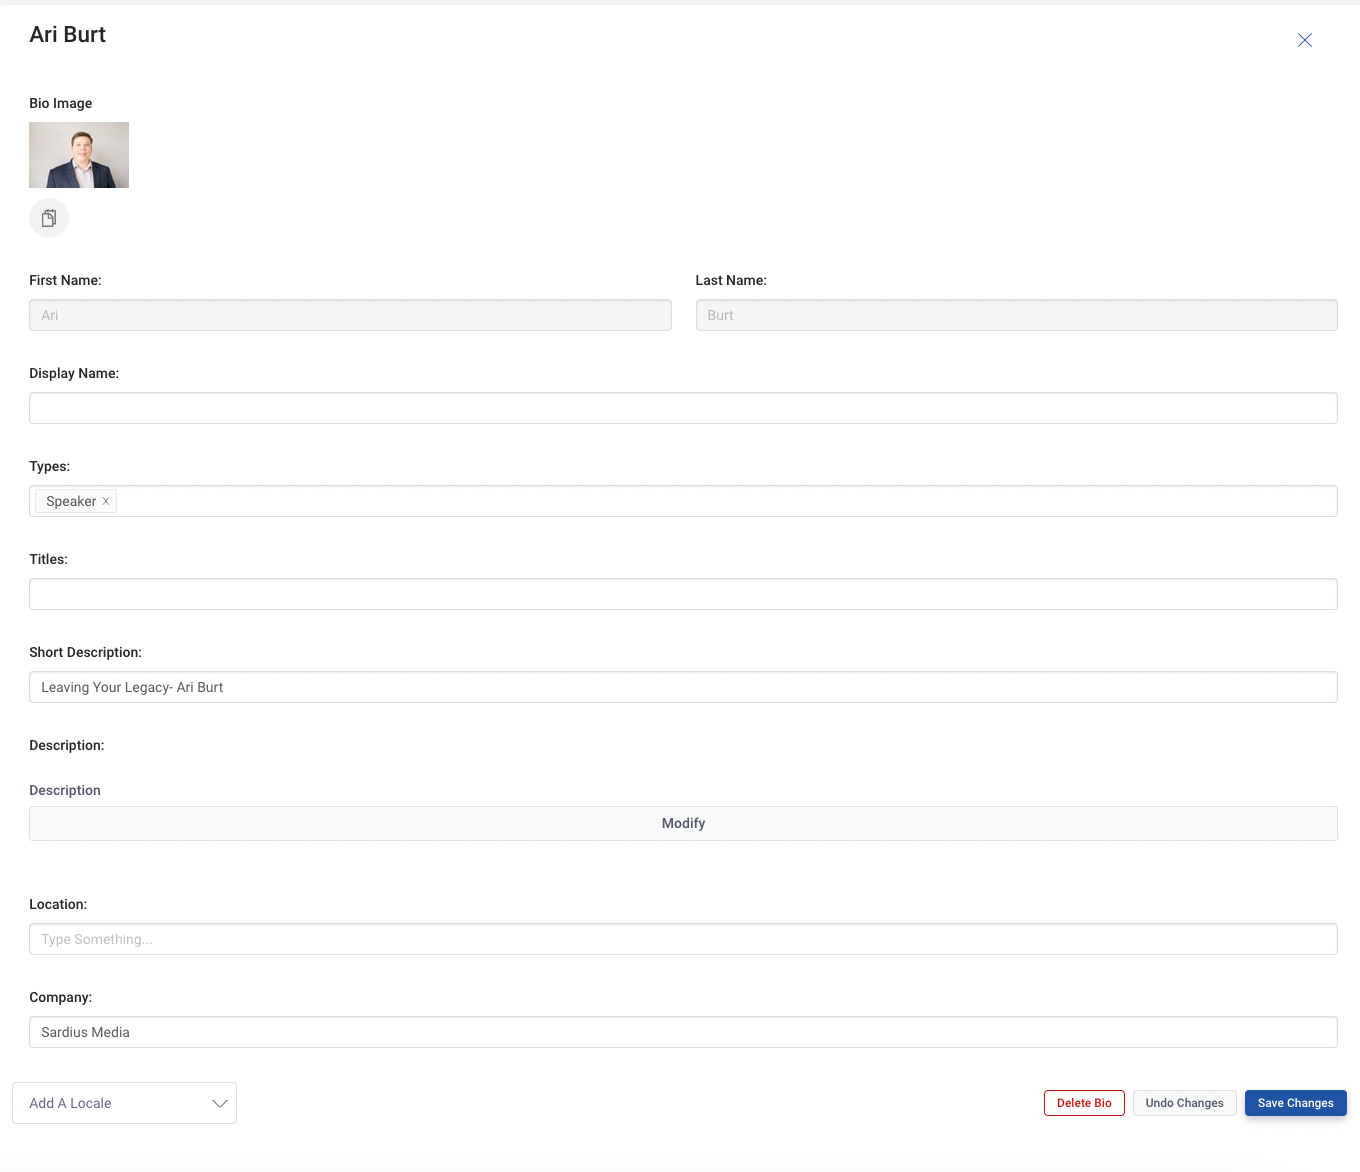
 

Screen Shot 2022-02-25 at 3.28.15 PM.png


You can create and update your content from this section.


Screen Shot 2022-02-25 at 3.27.10 PM.png


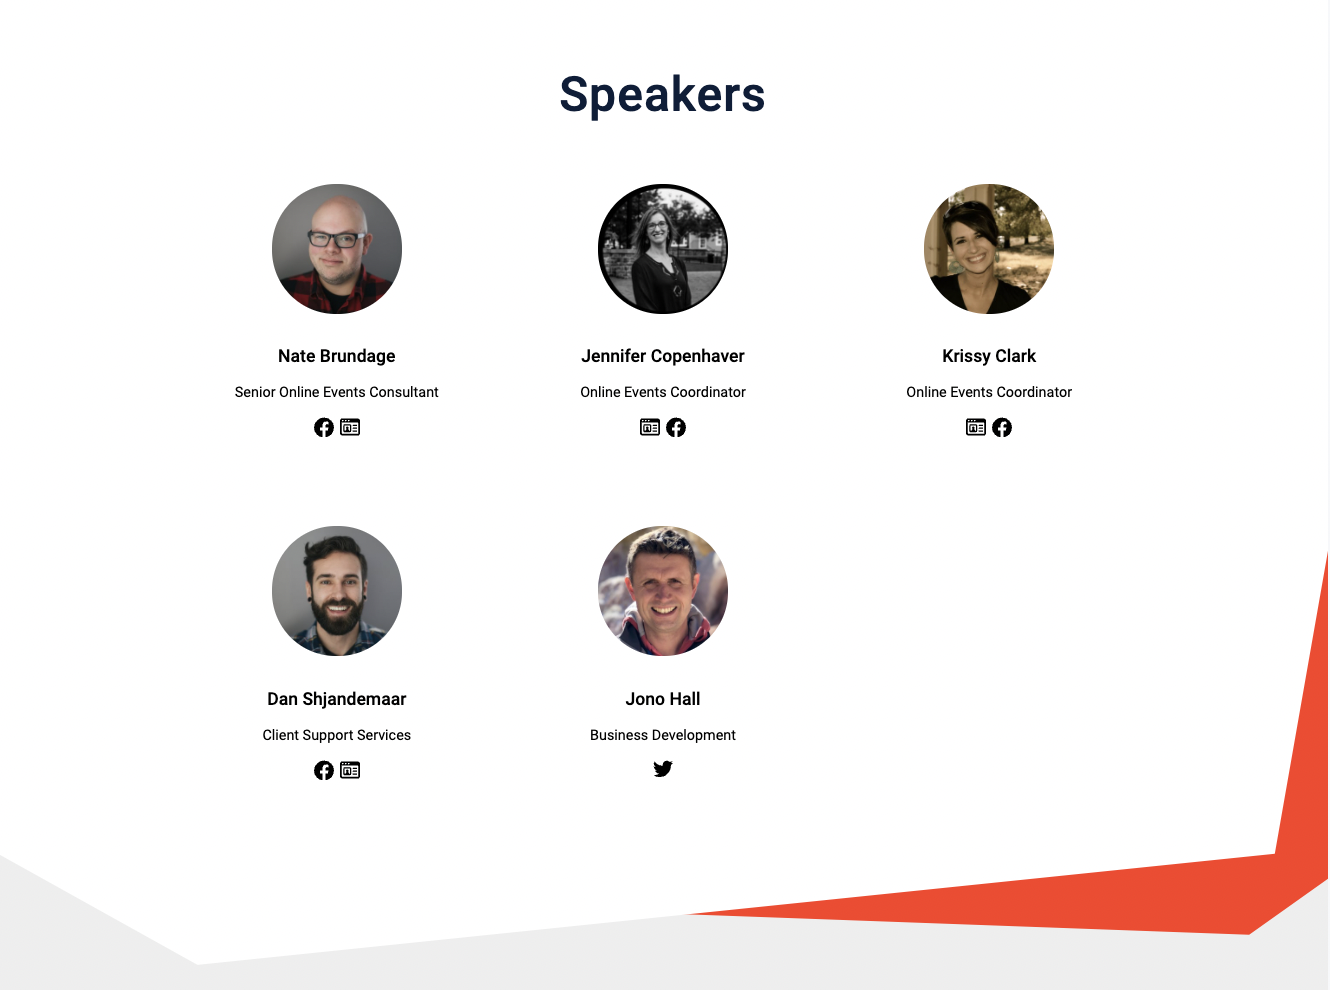
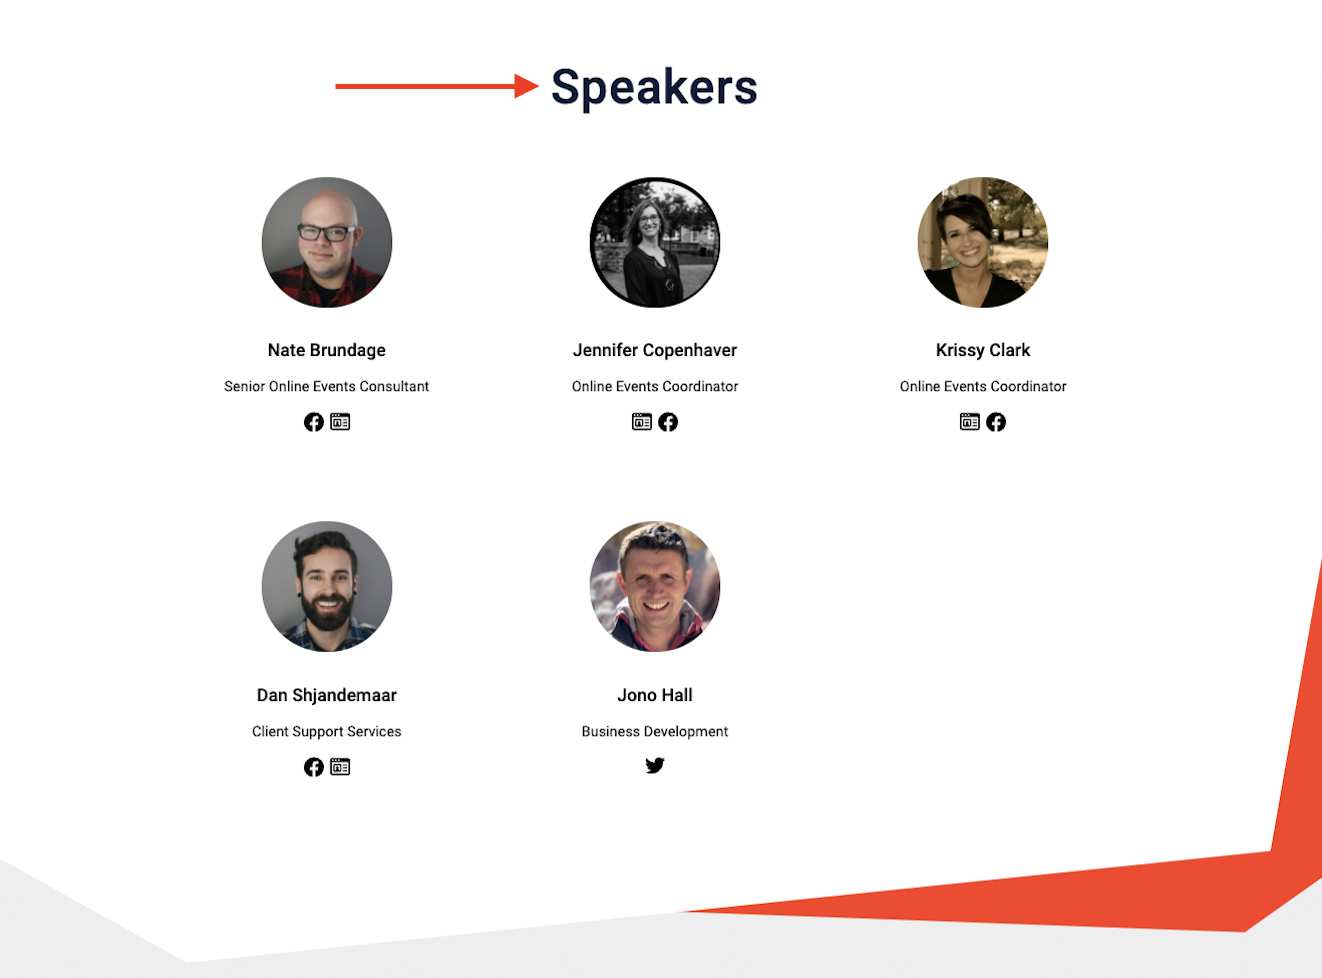
Speaker Example


To begin updating your Speakers Section, click on the Pencil Icon to get started.


Screen Shot 2022-02-25 at 3.10.28 PM.png
 
 
Next, click Edit under Section Details to begin updating this section.


Speakers Details Section  
This will open a pane for you to begin updating your Section Details.


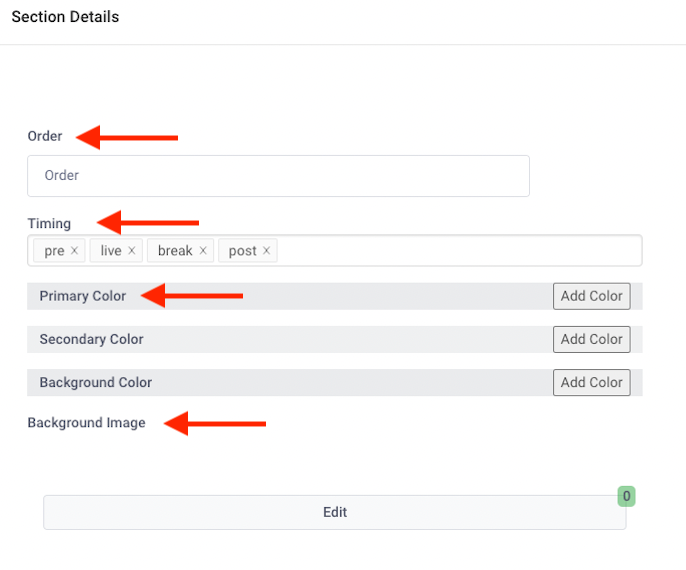
Begin with setting the Order for your VOD Section.


Screen Shot 2022-02-24 at 3.42.10 PM.png


Order: this determines where the schedule will be located on the page. 

Helpful Tip: You will adjust numerically the Order of Sections on your Site as you are setting up your layout. It is important to note that each Section will need a numerical spot. You will insert additional sections above or below each section by adding or subtracting the number. We recommend setting the Player at 10 as it is generally at the top of your Site. Use lower numbers to put the section above the Player (example: if you would the schedule above the player, you would note it the number 5)

  • Order Recommendation 
    • Player - 10
    • Featured Speakers - 20
    • Schedule - 30
    • Sponsors - 40 
    • VOD - 50
 
  • Timing: select the event state in which the schedule will be displayed 
    • To add an event state (example: live, post), select the state from the drop-down menu
    • To remove an event state (example: pre, break, post), click on the x to remove it 


  • Event States Defined:
    • PRE event state: what the site looks like, prior to the event starting
    • LIVE event state: what the site looks like during the scheduled Live event
    • BREAK state: what the site may look like during longer breaks in the schedule 
    • POST event state: what the site looks like after the live event concludes
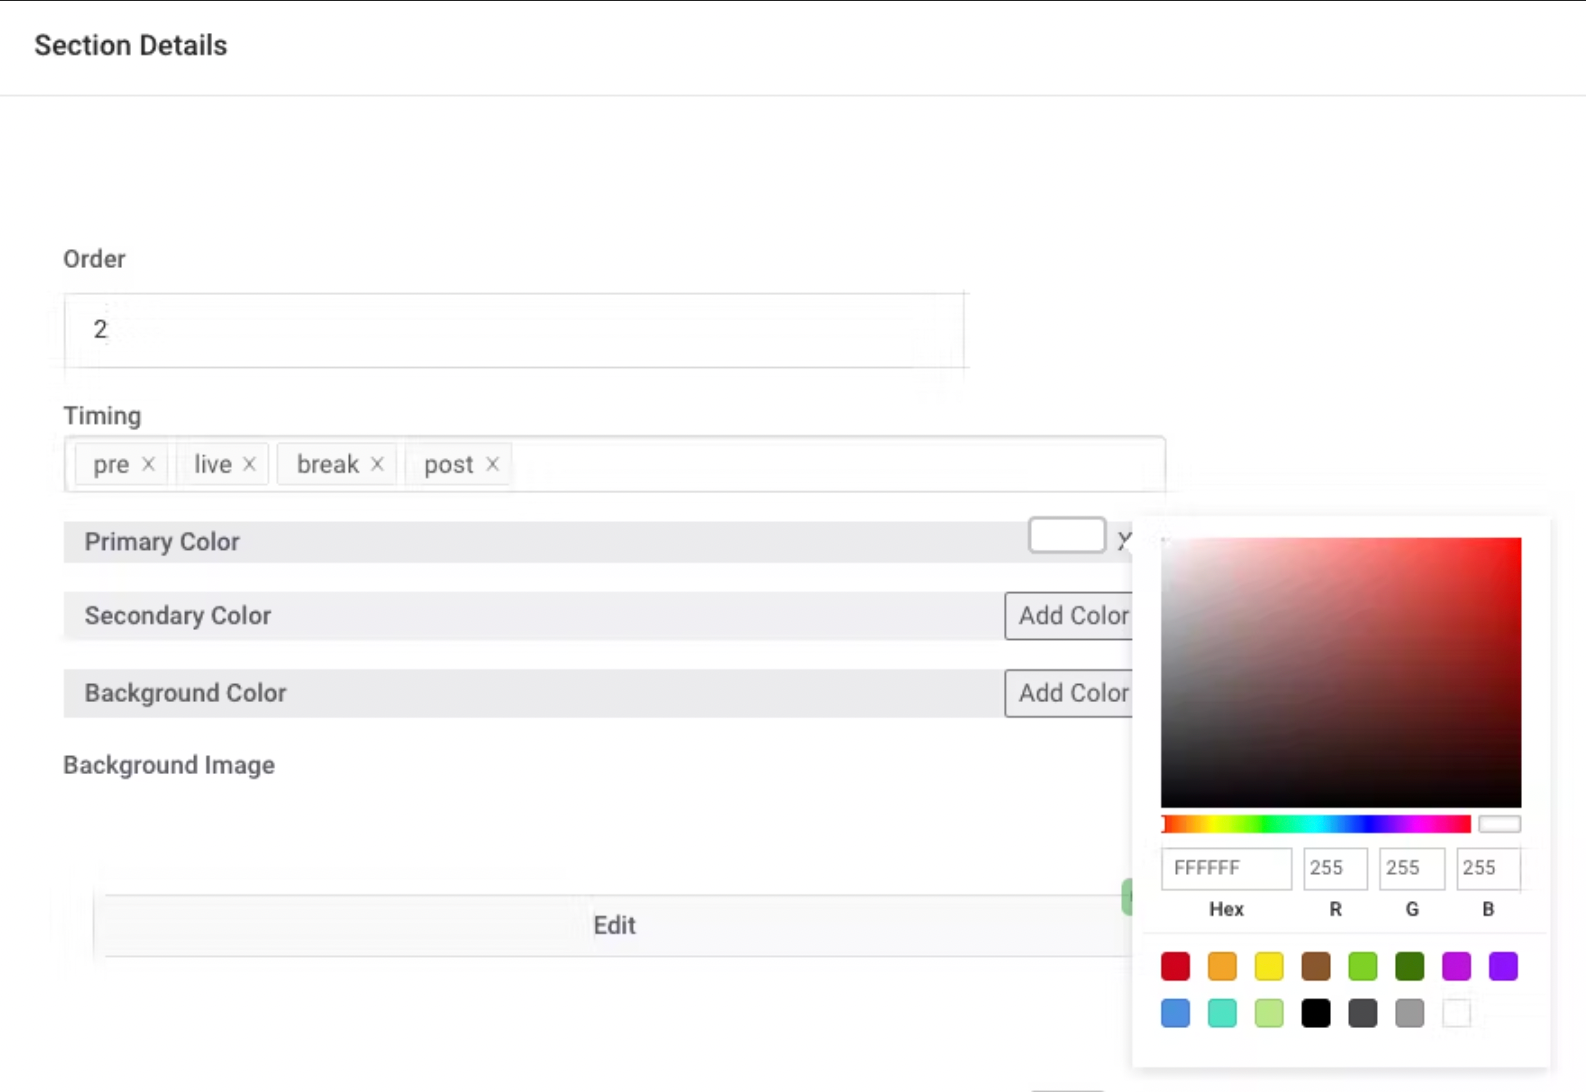
 
To update your Primary, Secondary, and Background Color, click on the color box next to each field to select a new coloror add your Hex#.


Screen Shot 2022-02-24 at 3.49.28 PM.png
 
To update your Background Image, click Edit to add an image.


Screen Shot 2022-02-24 at 3.51.11 PM.png
 
A new pane will open, click Add Row.


Screen Shot 2022-02-24 at 3.54.30 PM.png
 
Click on the Image Icon to choose from your library or to upload a new image.


Screen Shot 2022-02-24 at 3.57.41 PM.png
 
Select Done when complete.


Screen Shot 2022-02-24 at 3.57.58 PM.png


Helpful Tip: If you have any issues or questions updating your background image, don’t hesitate to reach out to the Sardius team for assistance
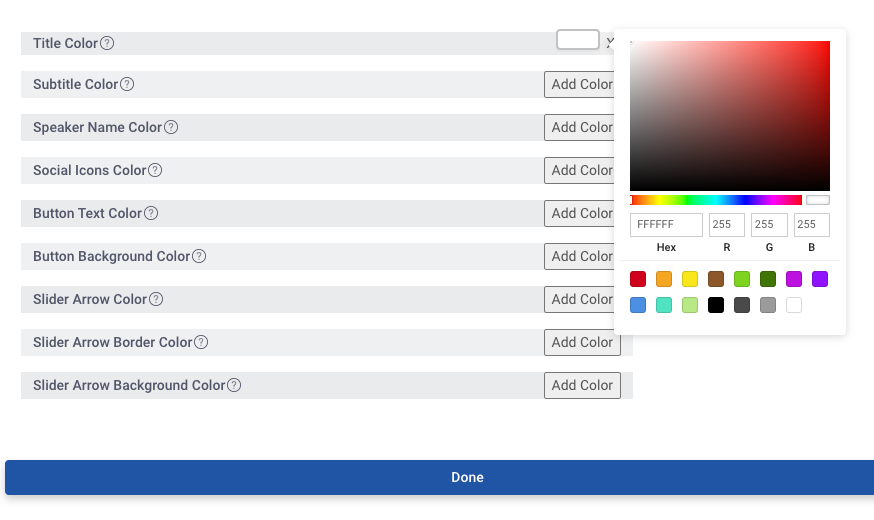
Next, select the Add Color color box next to each field to select a new color or add your Hex# for the Asset and Slider Arrow Colors.


Click the Done button to save your changes.


Screen Shot 2022-02-25 at 3.16.41 PM.png
 
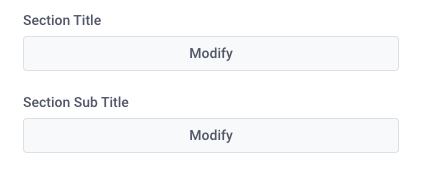
Speakers- Updating your Title and Section Sub Title


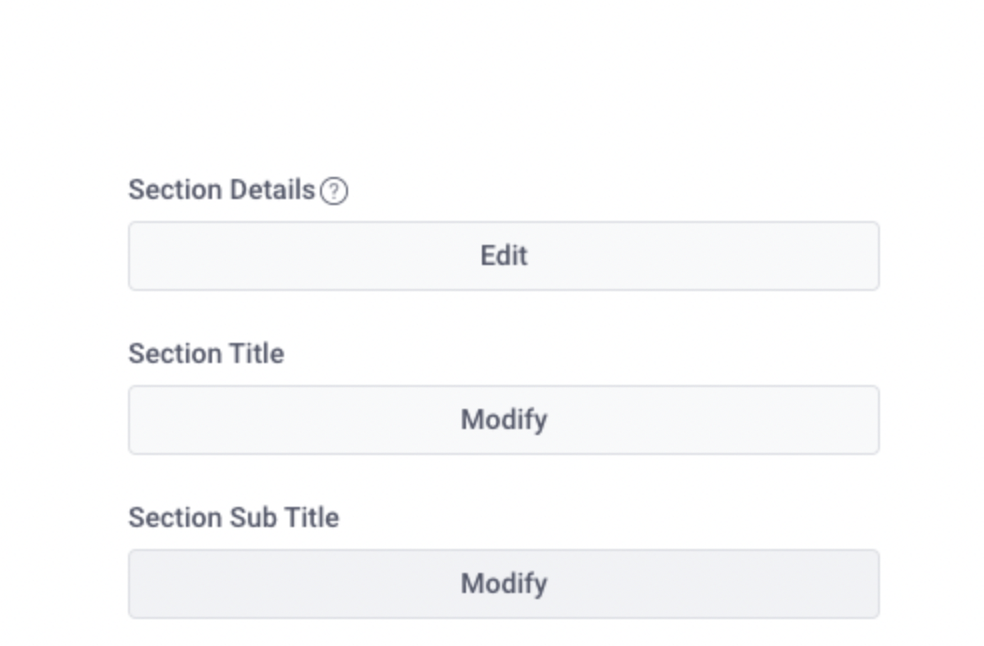
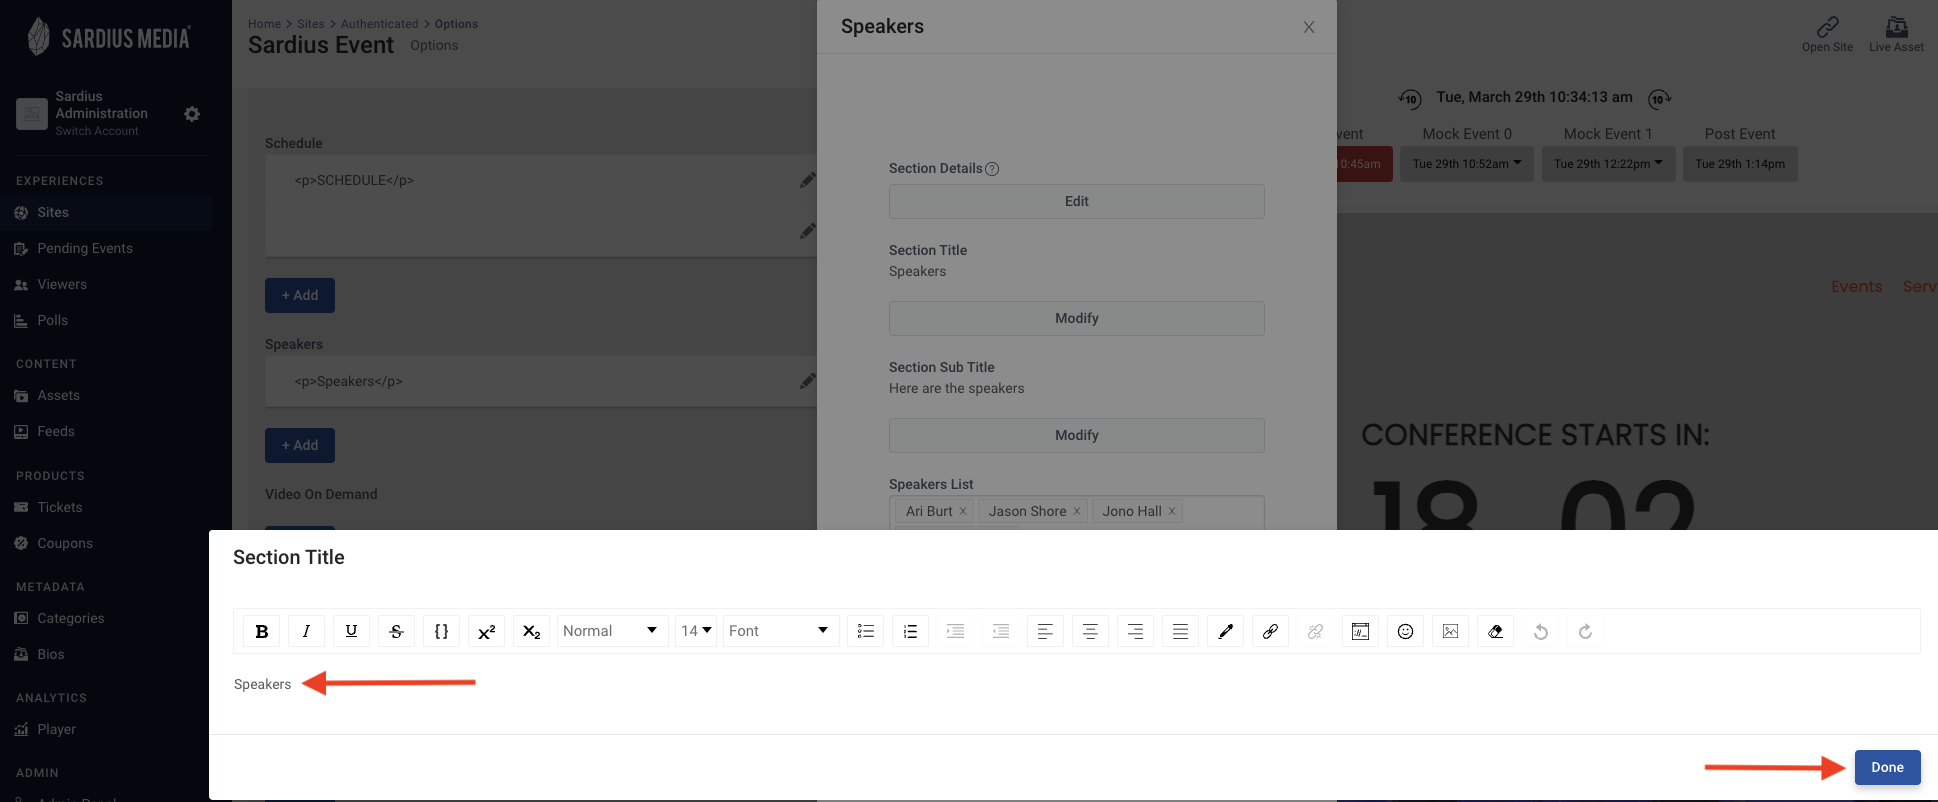
To update the Speaker Section Title and Subtitle, Select the Modify button.


Screen Shot 2022-02-25 at 3.18.54 PM.png
 
A  new pane will open where you can update with your information. Once you have made your edits, click on the Done button to save your updates.


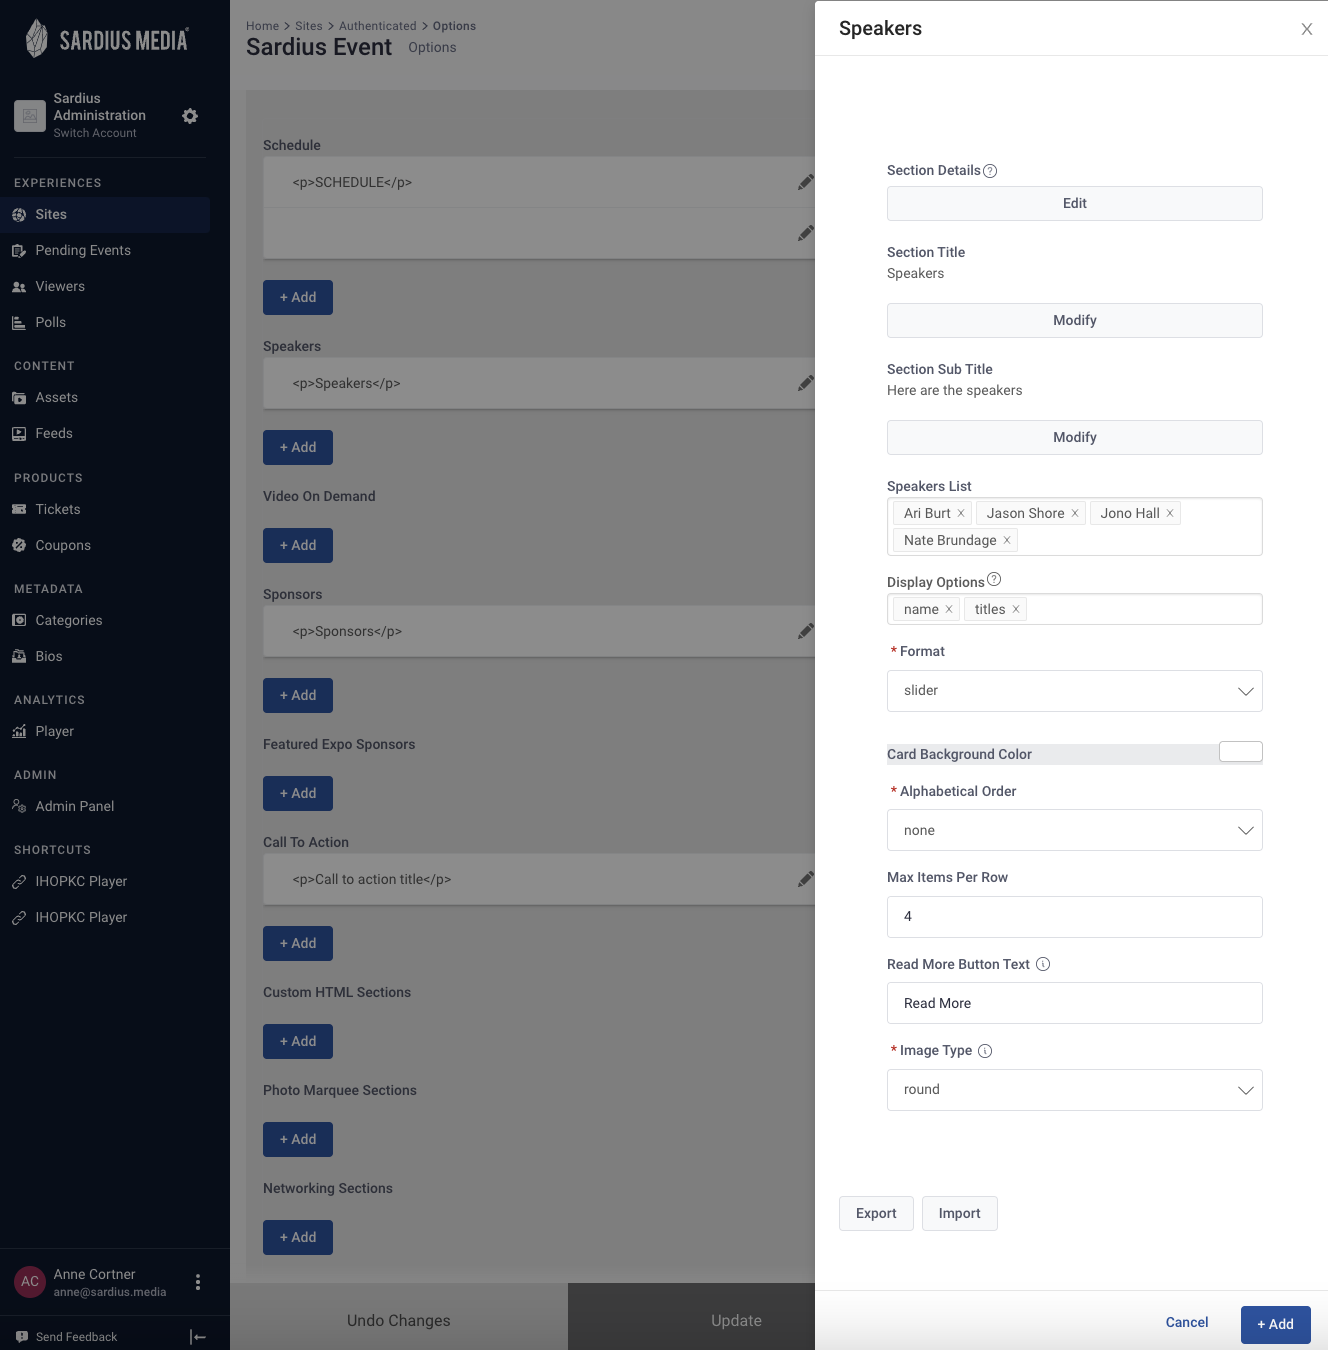
Next, add your List of Speakers by clicking in the field.


A list of pre-populated Speakers will appear in a drop-down list for you to select from. Click to add. You can also remove Speakers by clicking on the x.


Helpful Tip: This section relies heavily upon your Metadata found in the Bios Section under Metadata on the Control Panel
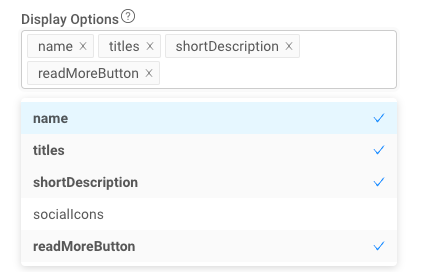
 
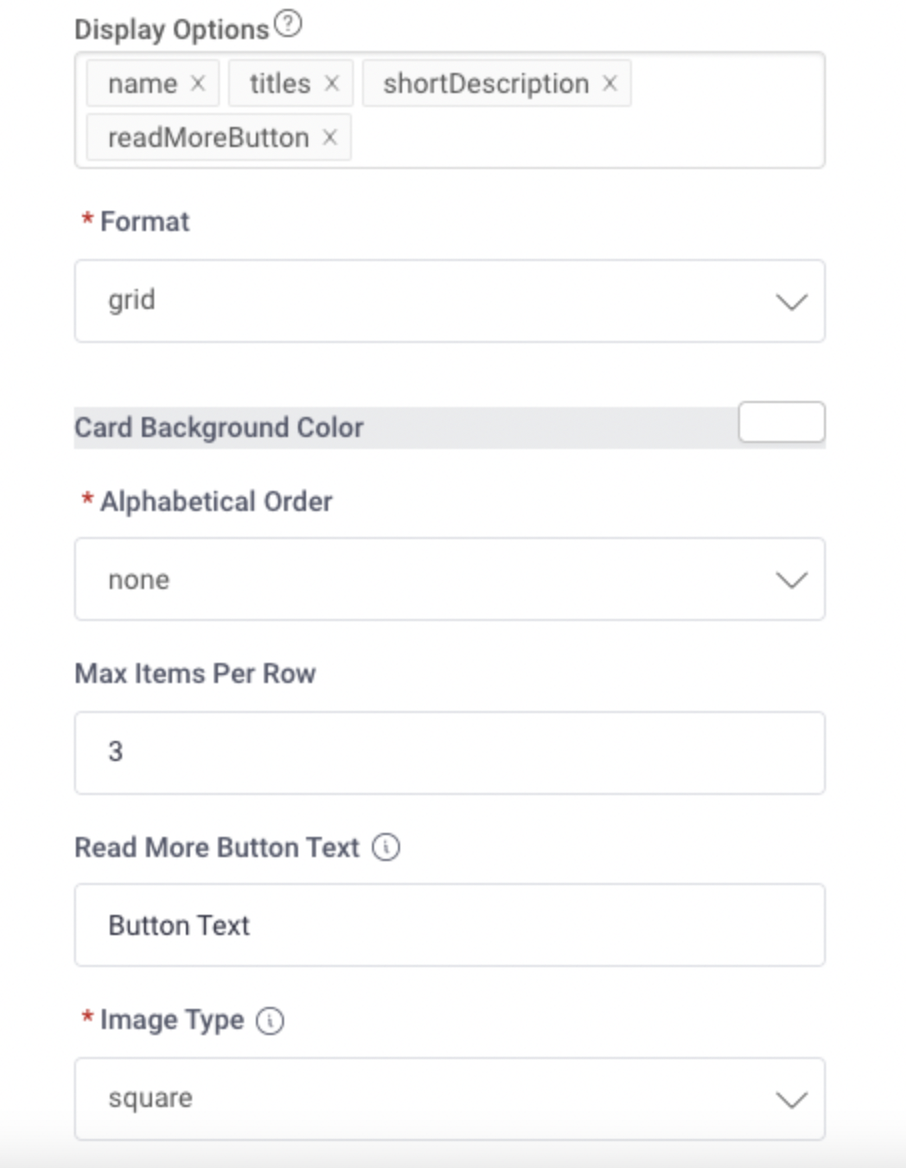
Next, set your Display Options to show which fields will be displayed on the page.


Screen Shot 2022-02-25 at 3.47.41 PM.png


Helpful Tip: This information pulls from your Metadata found in the Bios Section under Metadata on the Control Panel
 
Screen Shot 2022-02-25 at 3.27.10 PM.png
 
Speakers Format


Using the drop-down list, select how you would like to display Speakers on the page
Options:
  • Grid: all speakers will be displayed on the page
  • Sliders: scrollable (this format is recommended for larger quantities)
  • Flex: allows original image sizes to show, wrapping of rows and centers the last row of items
  • Marquee: the content to will auto-scroll across the screen (you will set the speed in seconds)
  • List: speakers will be displayed in a list
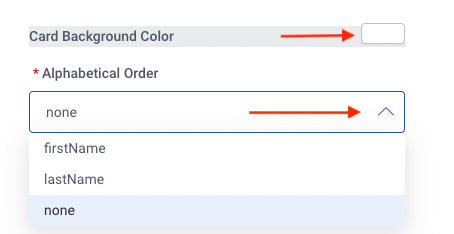
 
Next, select the Background Color by clicking on the color box to select a new color or add your Hex#.
 
Using the drop-down box, select if the Speakers will be displayed in Alphabetical Order. You can set this by selecting one of the following options: first name, last name, or none.


Screen Shot 2022-02-28 at 9.44.58 AM.png
 
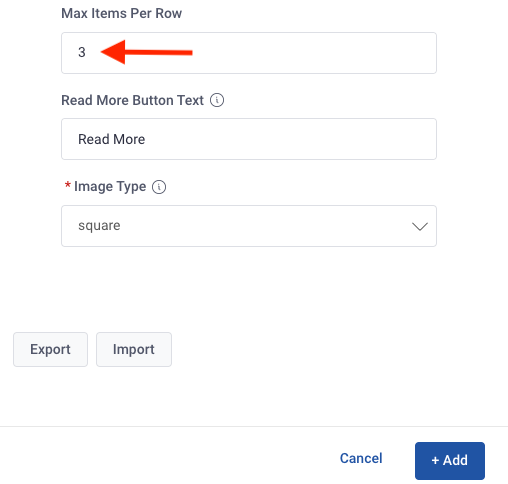
Continue, by determining the maximum number of Speaker bios that will be displayed per row and enter the number.


Screen Shot 2022-02-28 at 9.54.42 AM.png
 
Read More Button Text: this field only sets the text, to show the button, use the fields setting found in Display Options(under the Speakers List above).


Screen Shot 2022-02-28 at 10.06.31 AM.png

Helpful Tip: Read More appears when hovering over a Speaker headshot
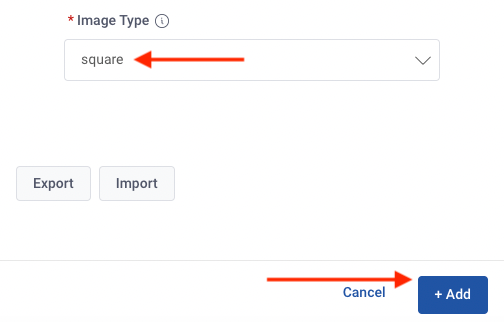
 
Image Type: using the drop-down, determine if the speaker image on the main page will be round or square.
 
Once selected, click the +Add to save your changes.


Screen Shot 2022-02-28 at 10.10.29 AM.png