
Sections Setting - Schedule (Turnkey)
Updated
Use your Sections Setting to design the framework for each Section on your Site. Sections can include different elements such as your Schedule and how it will be displayed, a Speaker/bio section, Video on Demand (VOD) and Sponsors. You are also able to create new or remove sections.
How to update your Schedule
Update your Schedule Section to configure how your schedule will be displayed, when it is displayed, and where on the page it will be visible
There are different options for how to display your schedule on your Site
- Entire schedule displayed (consider for shorter events)
- By Day (consider for multiple-day events) with clickable Session information that opens up on the same page (as a modal- “pop up window”)
Schedule Examples
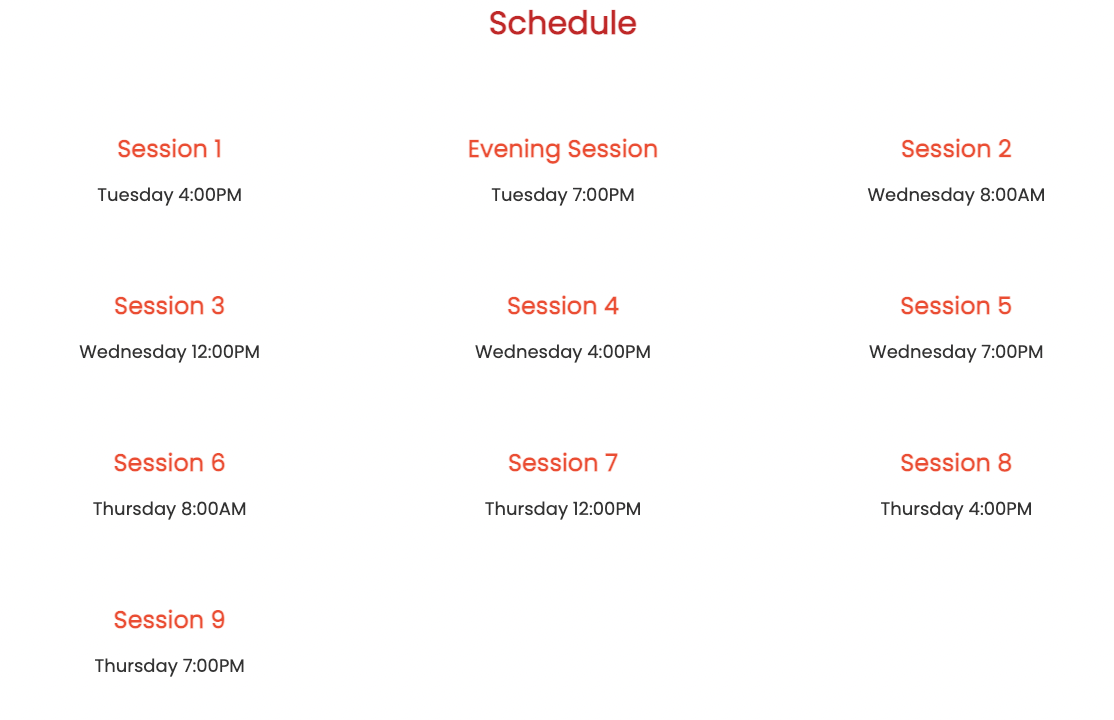
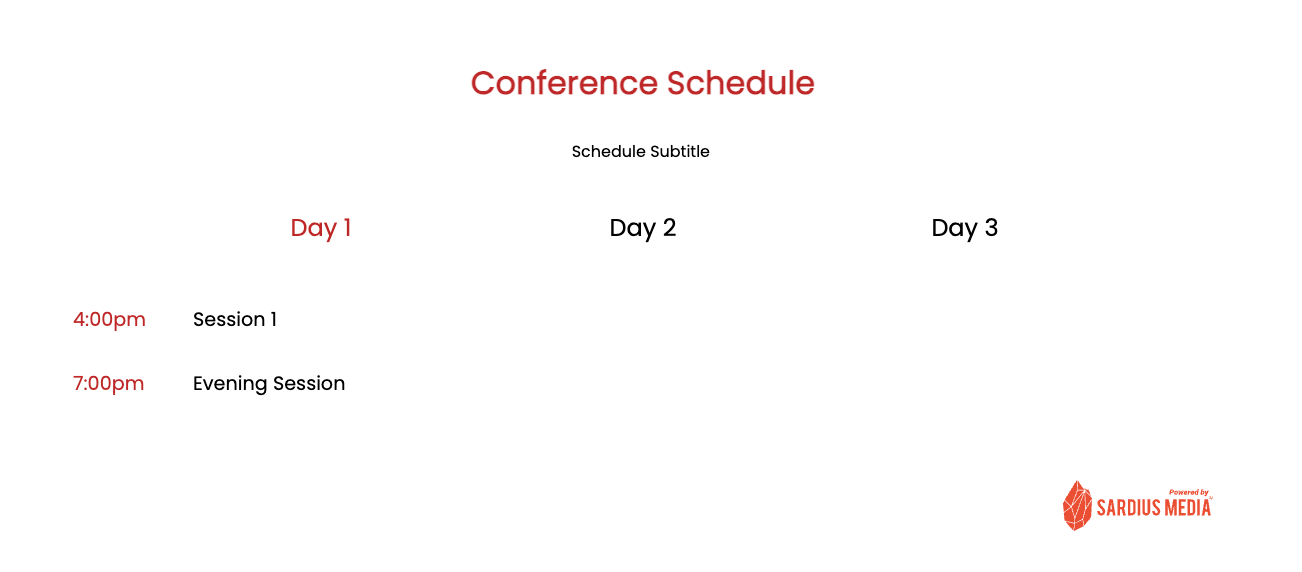
To begin updating your Schedule Section, click on the Pencil Icon to get started
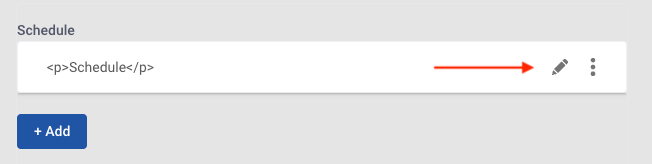
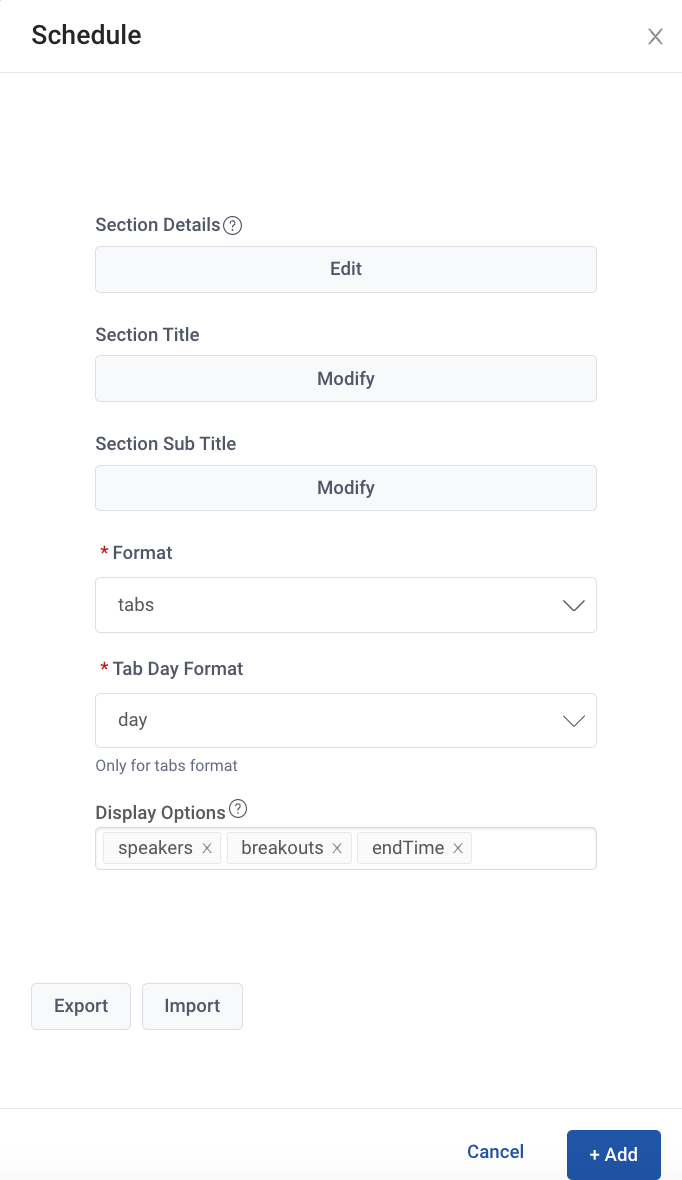
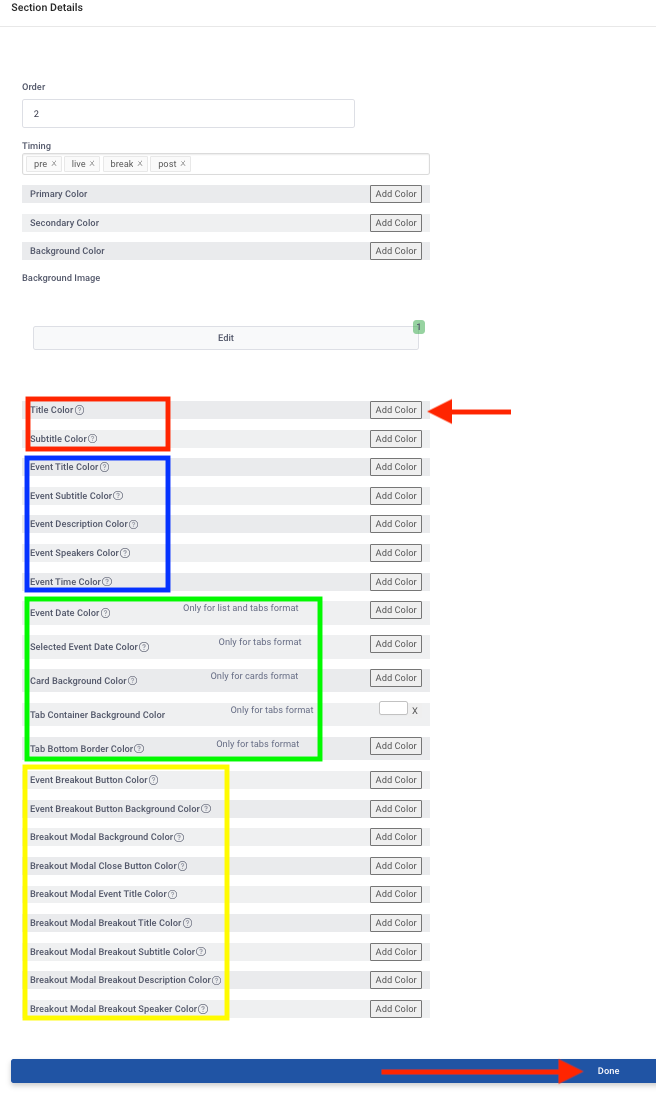
To update the elements of your Schedule, click on Edit under Section Details
Schedule Details Section
This will open a pane for you to begin updating your Section Details
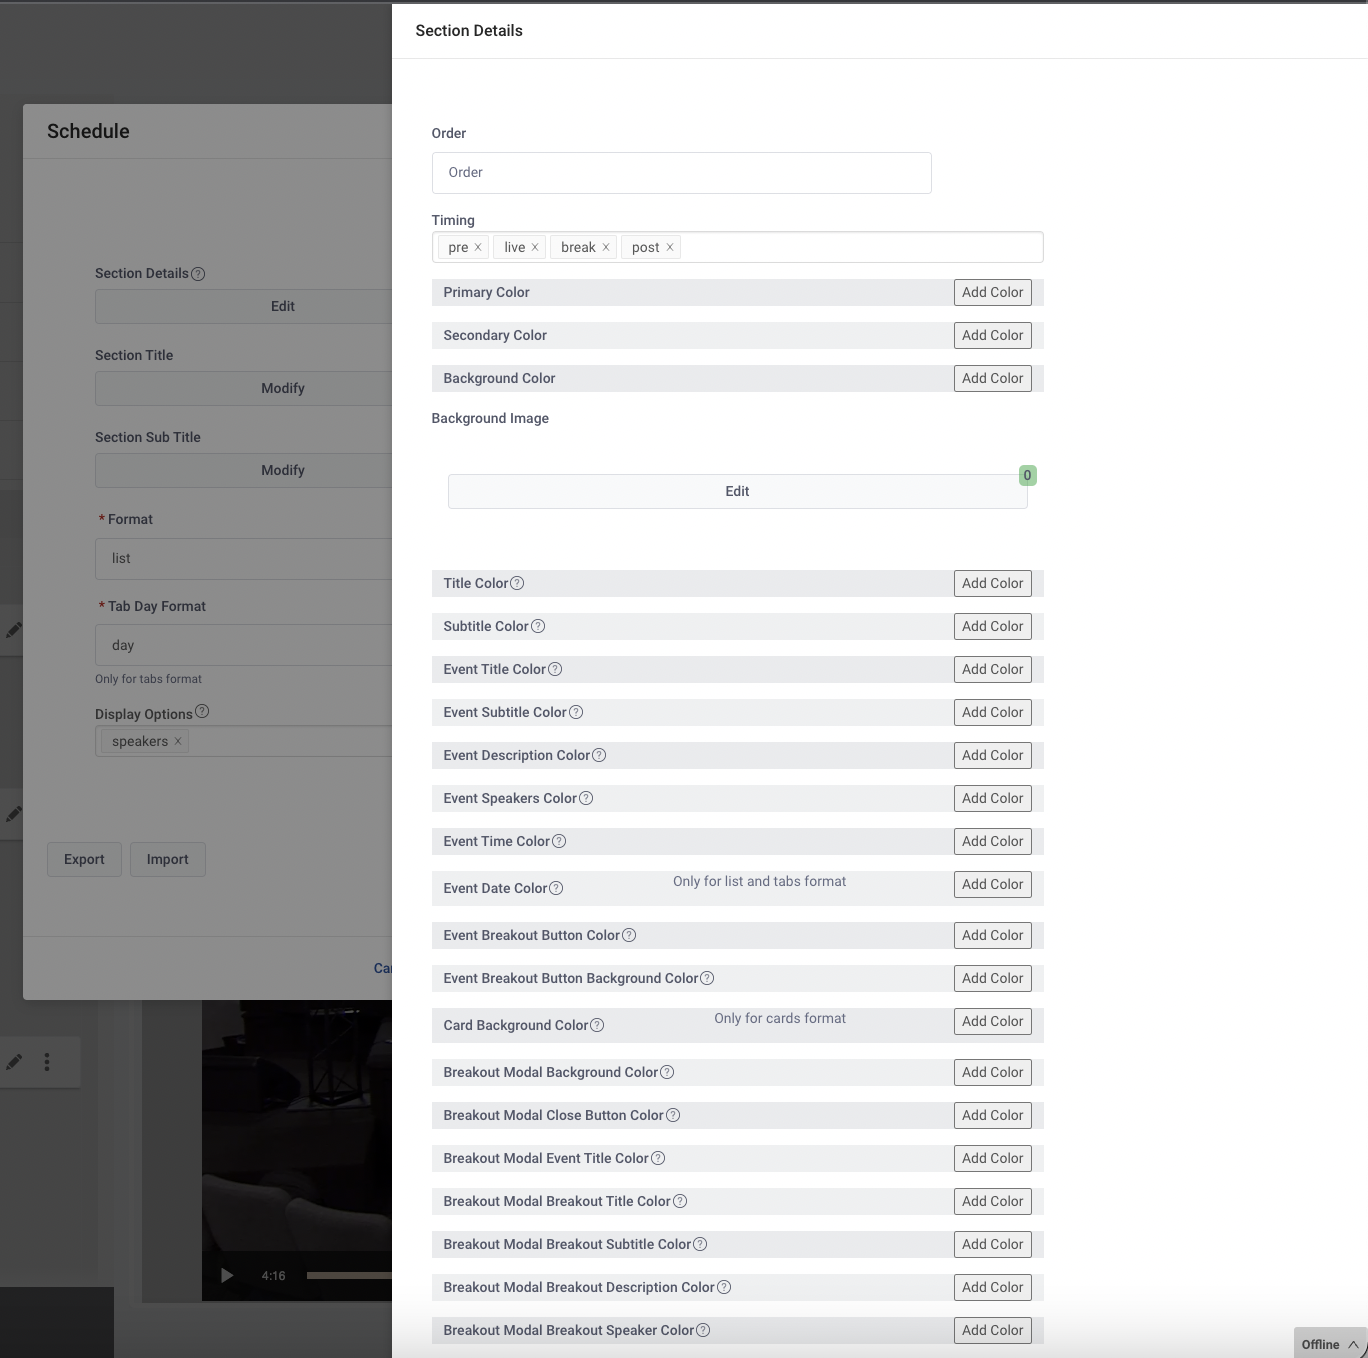
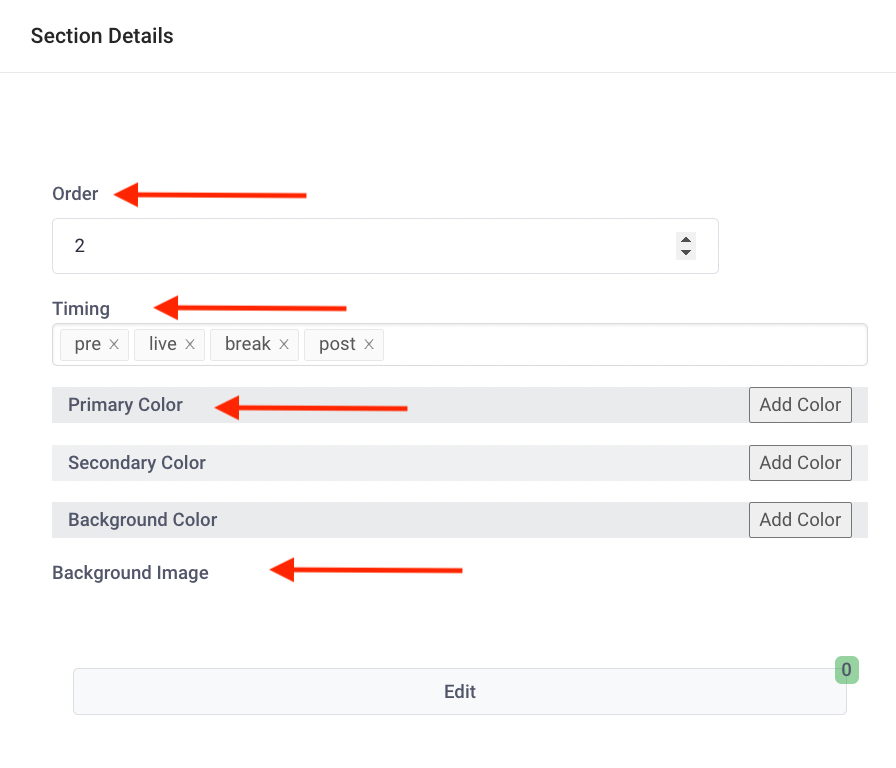
Begin with setting the Order for your Schedule Section
-
Order: this determines where the schedule will be located on the page
-
Helpful Tip: You will adjust numerically the Order of Sections on your Site as you are setting up your layout. It is important to note that each Section will need a numerical spot. You will insert additional sections above or below each section by adding or subtracting the number. We recommend setting the Player at 10 as it is generally at the top of your Site. Use lower numbers to put the section above the Player (example: if you would like the schedule above the player, you would note it as the number 5)
- Order Recommendation
- Player - 10
- Featured Speakers - 20
- Schedule - 30
- Sponsors - 40
- VOD - 50
- Order Recommendation
-
Timing: select the event state in which the schedule will be displayed
- To add an event state (example: live, post), select the state from the drop-down menu
- To remove an event state (example: pre, break, post), click on the x to remove it
-
Event States Defined:
- PRE event state: what the site looks like, prior to the event starting
- LIVE event state: what the site looks like during the scheduled Live event
- BREAK state: what the site may look like during longer breaks in the schedule
- POST event state: what the site looks like after the live event concludes
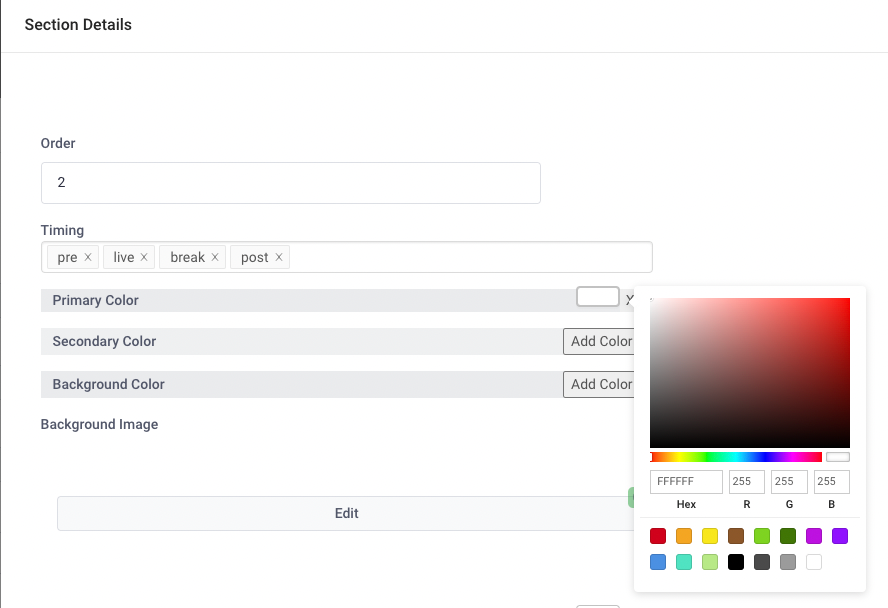
To update your Primary, Secondary, and Background Color, click on the color box next to each field to select a new color or add your Hex#
To update your Background Image, click Edit to add an image
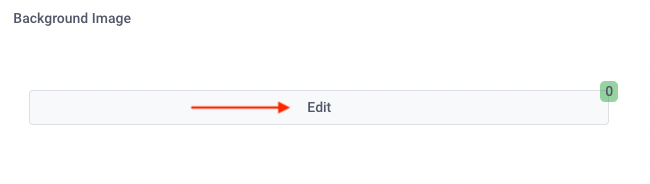
A new pane will open, click Add Row

Click on the Image icon to choose from your library or to upload a new image

Select Done when complete

Next, select the Add Color color box next to each field to select a new color or add your Hex#
Note the groupings below in colored boxes:
- Title/Subtitle Color (red outline)
- Event element Colors (blue outline)
- Event Colors that are only available for list and/or tabs format (green outline)
- Event Breakout Colors (yellow outline)
Click the Done button to save your changes

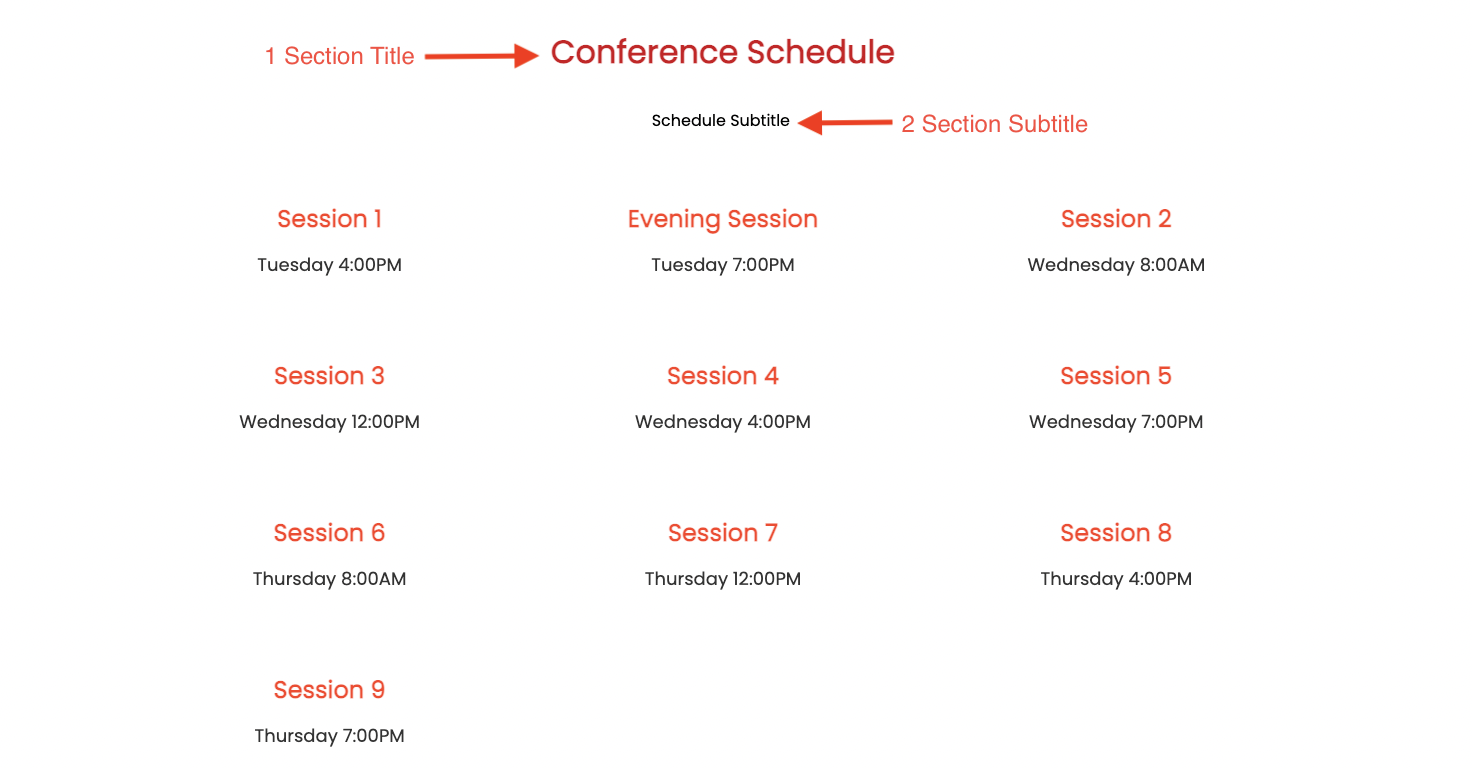
Schedule - Updating your Title and Section Sub Title
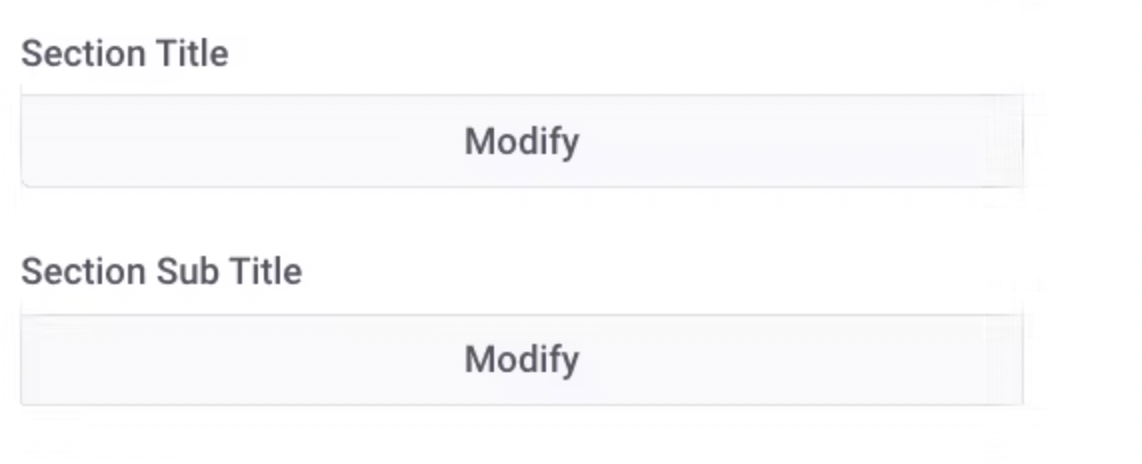
To update the Schedule Section Title and Subtitle, Select the Modify button
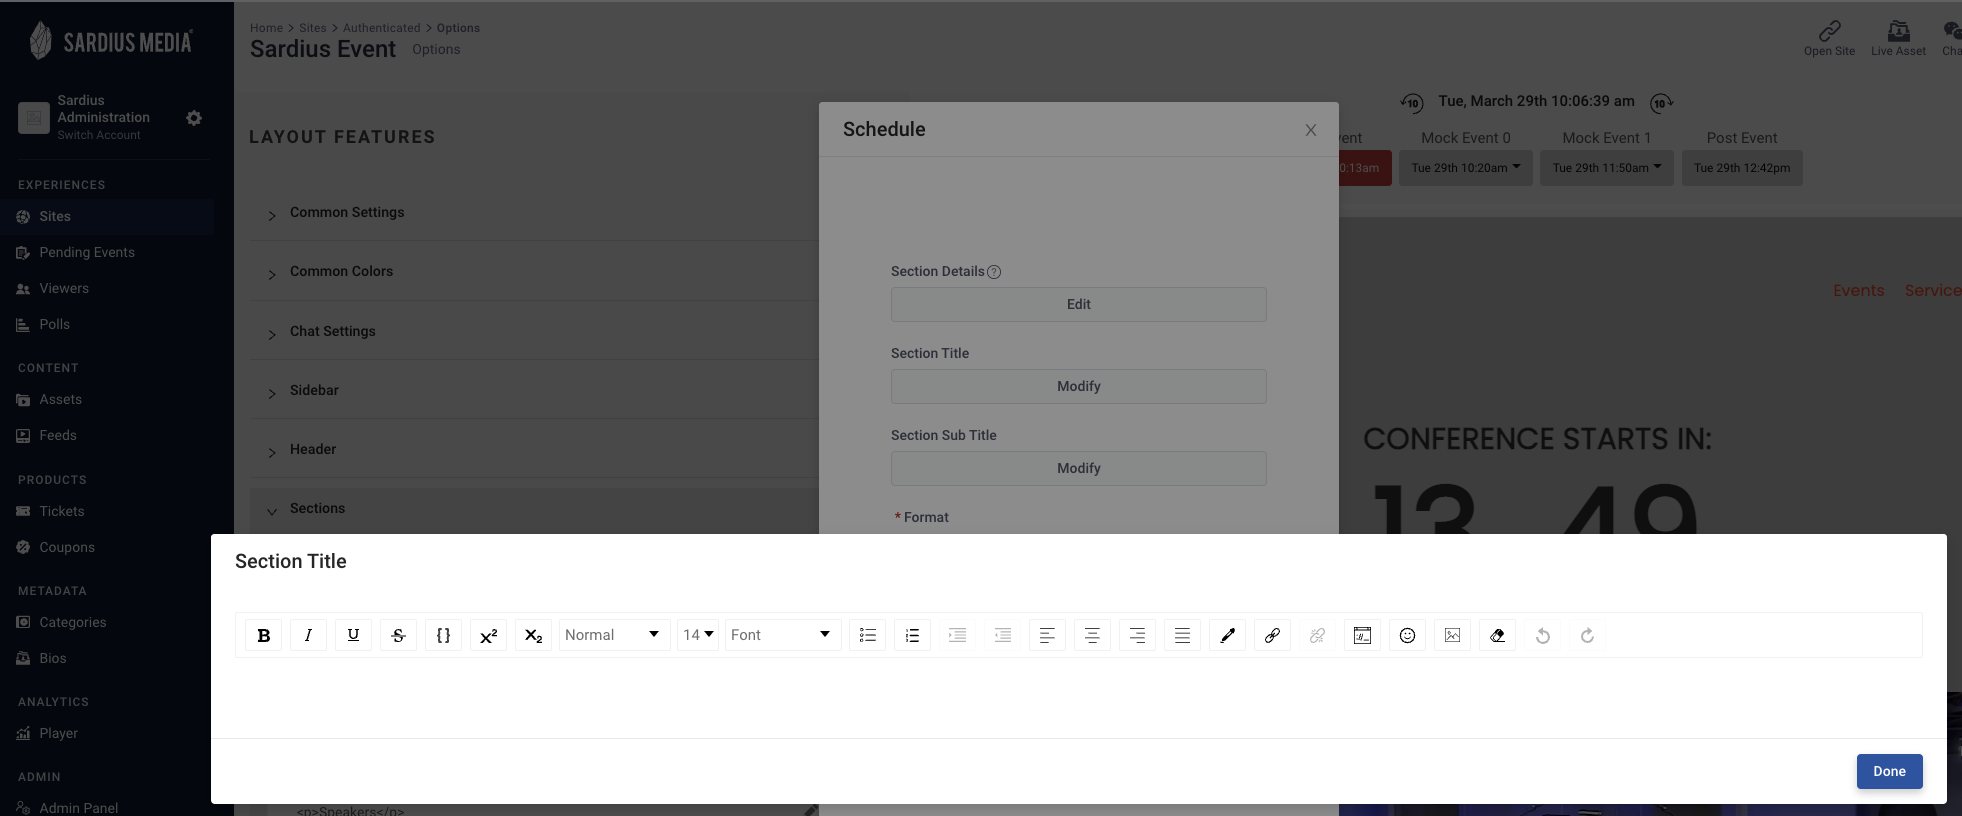
A new pane will open where you can update with your information. Once you have made your edits, click on the Done button to save your updates
Updating the Schedule Format (how it will be displayed on your watch page)
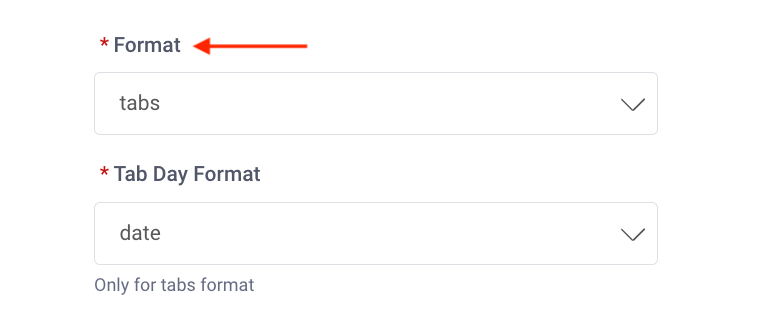
- You have the option to choose from a few different formats to display your schedule by clicking on Format and selecting your desired format
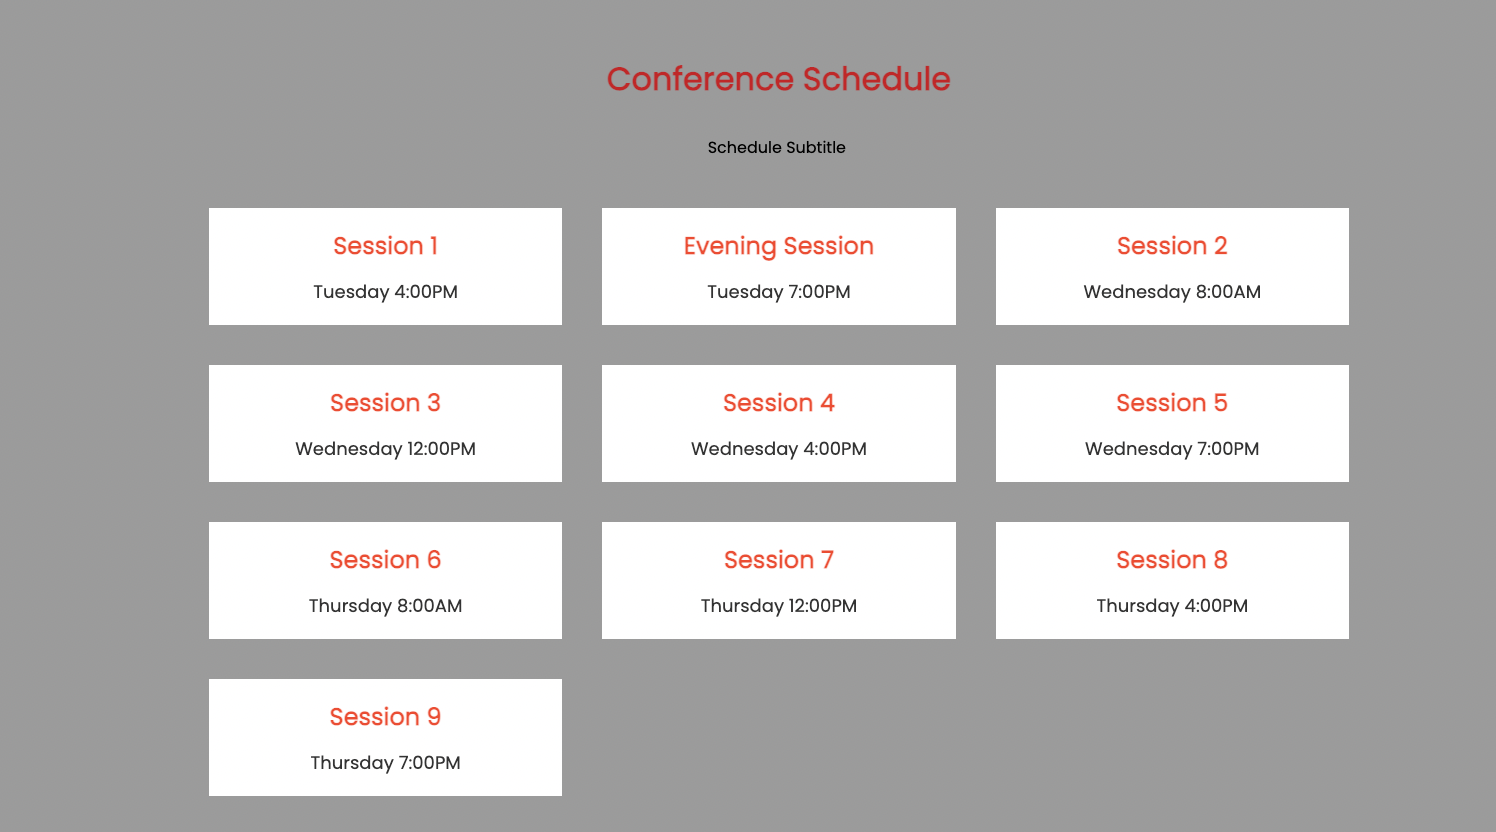
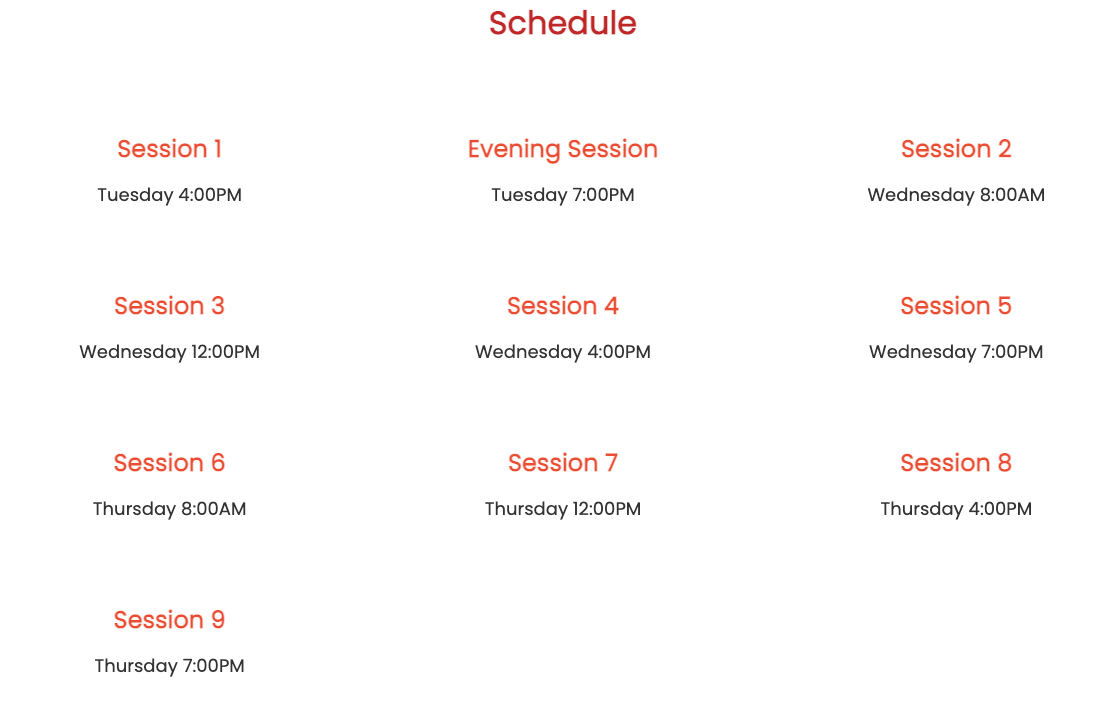
- The options include: Card, List, Tabs (display by Date or Day)
- If you select the Tabs Option, you are able to select if the schedule will be displayed by Date or by Day
Card View Example
List View Example
Tab View: Day View Example
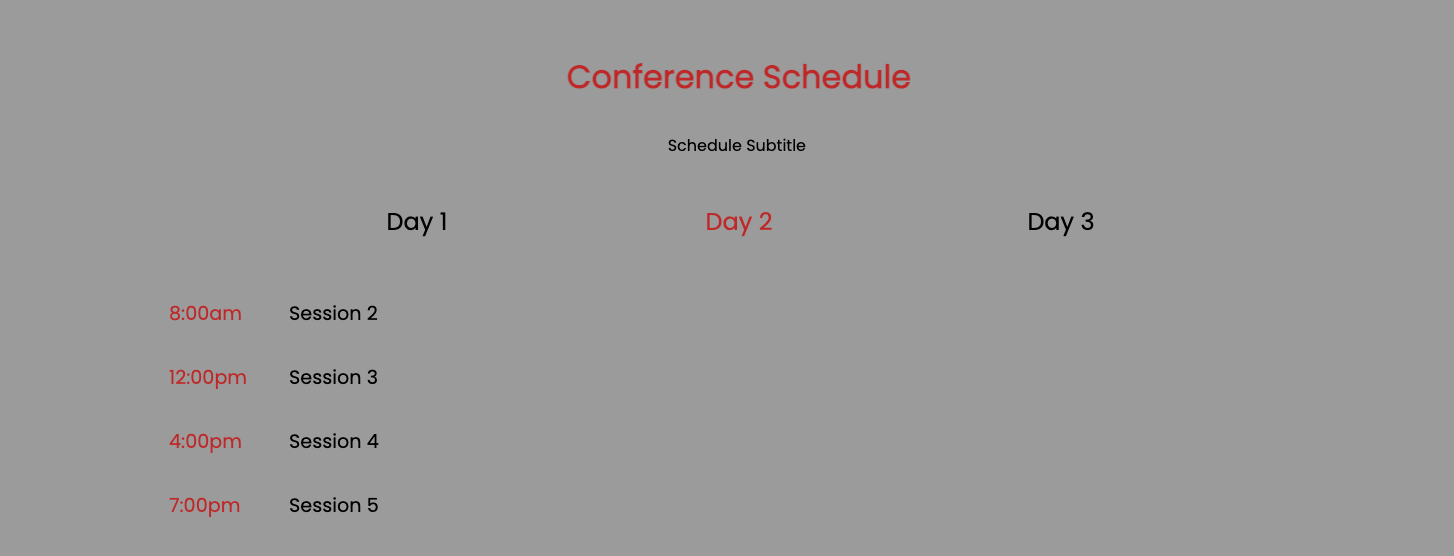
Tab View: Date View
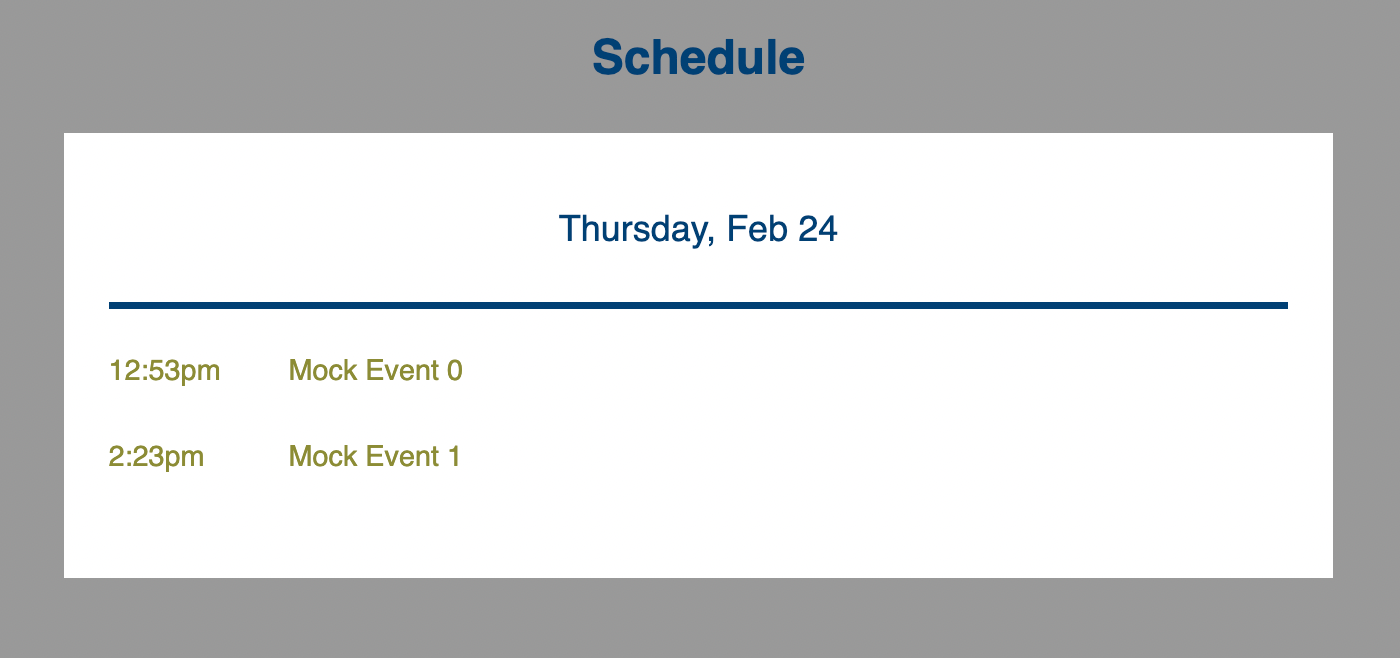
Next, update your Display Options of your Schedule
Click in the field to select from the drop-down box the field options available for your schedule on the main page. To remove an option from your page, simply click on the x to remove it
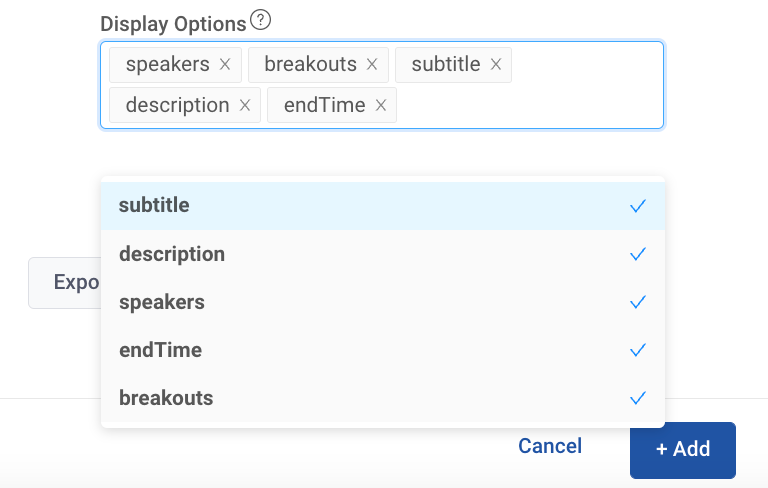
- Speakers: add speakers to your Schedule
- Breakouts: display your breakout sessions (Breakouts are scheduled through the Calendar feature)
- Subtitle: this text will be displayed on your Schedule (enter this content on your Event Schedule in the Calendar)
- Description: this text will be displayed on your Schedule (enter this content on your Event Schedule in the Calendar)
- EndTime: displays on your Schedule
Click on the blue +Add button to save your changes