
This article will guide you through pairing a Makito X4 Encoder. For the Makito X Encoder, click here.
Before powering up the Makito for the first time, please do the following:
- Unbox the Makito and place it in your production rack (or location where it will be used)
- Connect an SDI video signal to the Makito
- Connect a Network cable into the "Network" port
- Verify that the unit is at room temperature
- DO THIS LAST! Plug in the power cable. The Makito will automatically begin to power up.
To configure the Makito, you will need:
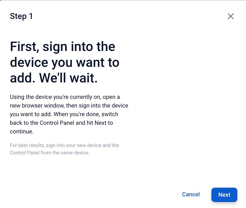
- A computer that is on the same network and subnet as the Makito in order to access the Makito UI.
- A separate window/tab on that same computer that is logged into the Sardius Control Panel.
Information on how to access the Makito's UI and other startup recommendations are available by clicking here: https://doc.haivision.com/MakitoX4Enc1.6.1/makito-x4-encoder-quick-start-guide/access-the-web-interface
Note: Prior to pairing your Makito with Sardius, please contact Sardius Support to make sure your channel(s) are configured for using a Makito.
Walkthrough
1. Log into your Sardius Control Panel
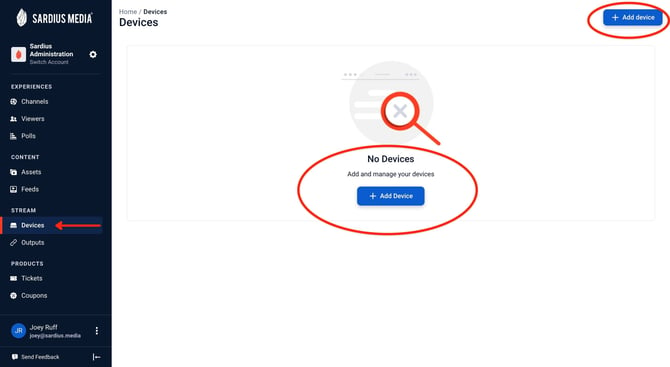
3. To pair a device, click the blue button that says + Add Device. This is found in the top right corner of the window at all times. If no device is currently paired (as in the photo above), the center of the screen will also have this button prominently displayed.
4. Select Haivision as the Encoder type.


Helpful Tip: If the encoder is still paired to a previous service, the Pair button will say Unpair. Please make sure the encoder is unpaired prior to pairing to Sardius Control Panel.
10. In the Sardius Control Panel, finish the pairing by clicking the button in the bottom right of the modal: Check for Device

Congratulations! Your Makito has been successfully paired to your account.