How to Create a Channel


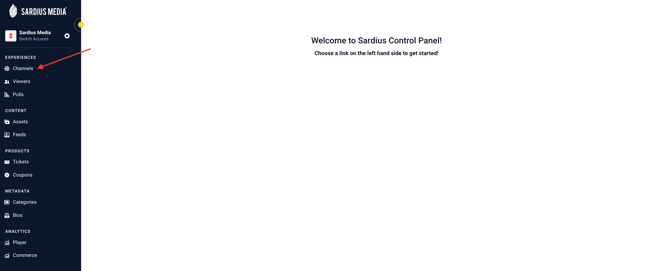
- If you have created a Channel, it will be displayed on your page
- If you have not created a Channel, you will see a message prompting you to Create Channel
- Online Events (to create and schedule your event experiences)
- On-Demand Library Platform (to display media content 24/7 in an on-demand video/audio catalog)
- Stream Only (player only to embed into a website)

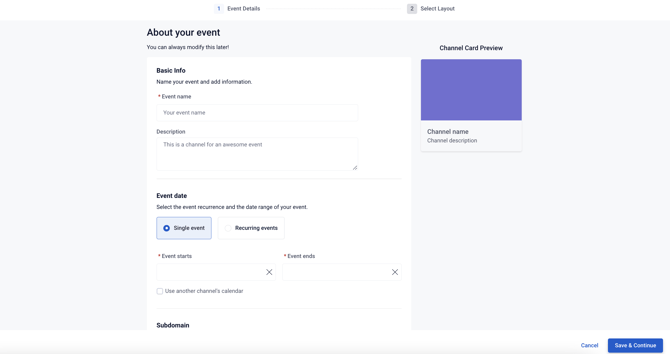
About Your Event

Basic Information
Add your Event Name (Title) and Description of your Event in the first two fields.
You are able to preview this information on the Channel Card Preview to the right of your screen

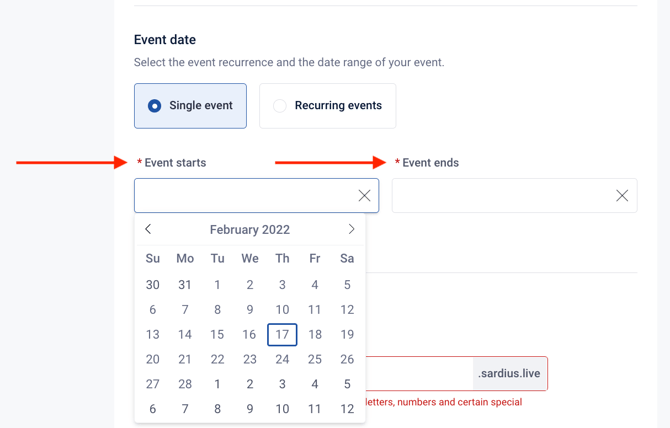
Add Your Event Dates
- Single event - one time event (it may occur over several days)
- Recurring events - weekly, monthly, or quarterly events

Customize Your Event URL

Note: The subdomain may only contain letters, numbers and certain special characters. It may need to be slightly adjusted to meet the requirements. This must be unique and cannot be changed later
Helpful Tip: Consider adding the year of your Event for your URL structure

Customize Your Channel Card Appearance
Choose the features associated with your event, from ticket sales to audience engagement.

Customize Your Channel Card Appearance
- Site Card Color - add the Hex # (color)
- Card Image - upload and select an image for your Channel Card
Helpful Tip: Consider adding your event logo image for your customized Channel Card

Save and Continue

Select Your Channel Layout
After selecting your Channel Layout, it will take a moment to create the channel.
With many options and Layouts to choose from, take a moment to preview each and discover the best option for your Channel.
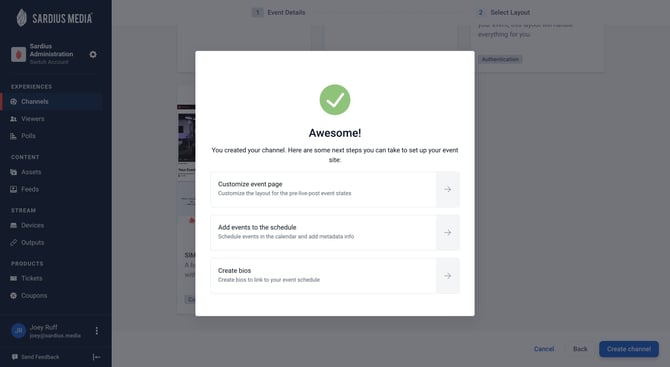
Once created, you will receive confirmation that you have successfully created your Channel!

