
Event Timeline - Pre-Event State (Turnkey)
Updated
Your PRE event state is the page that the audience will see prior to the event being live. Typically, access is given to viewers about 1 week prior to the event to allow them to familiarize themselves with the site and compliment pre-event marketing strategies pushing viewers to the event site.
To begin designing your Pre Event State, click on Features to open the Event Timeline Features Section 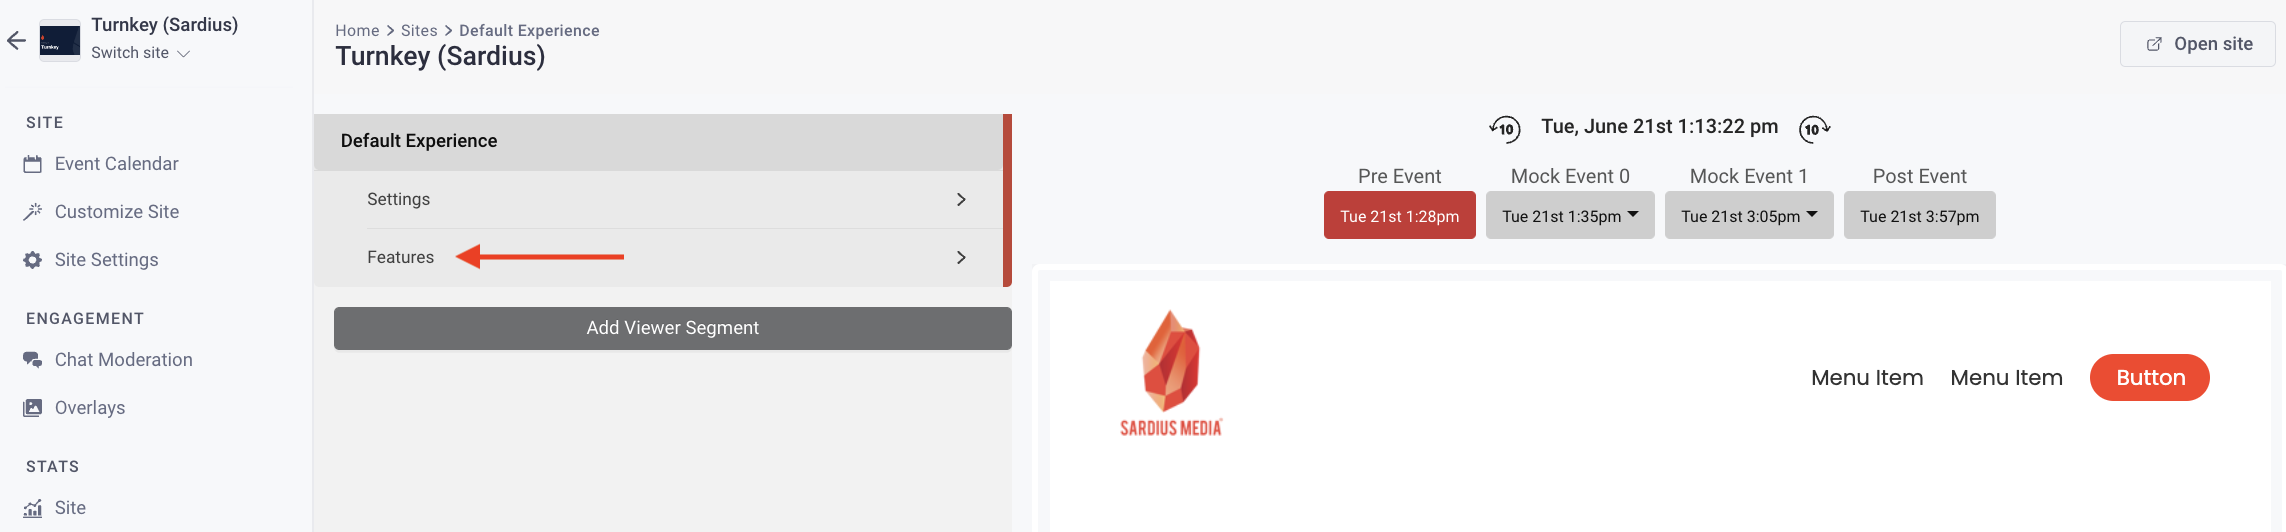
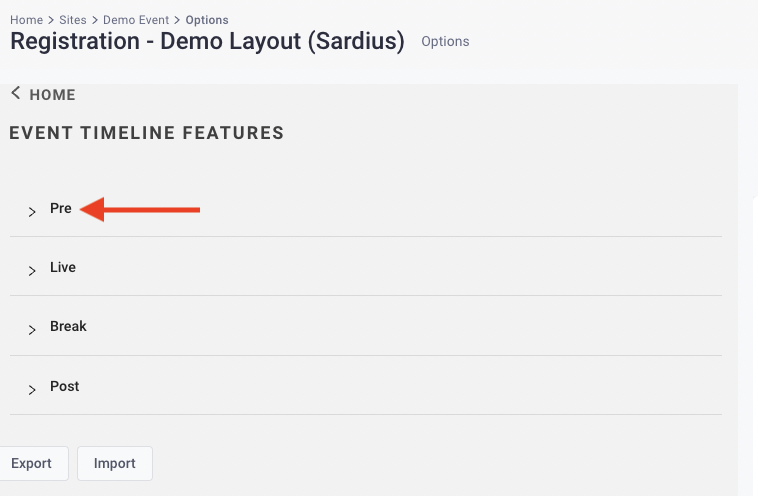
Next, select Pre to begin configuring your event state
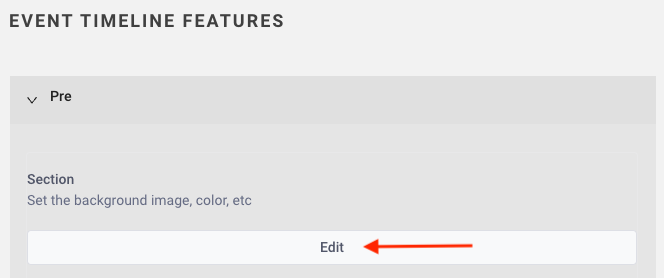
To update the background image, color, etc. click Edit
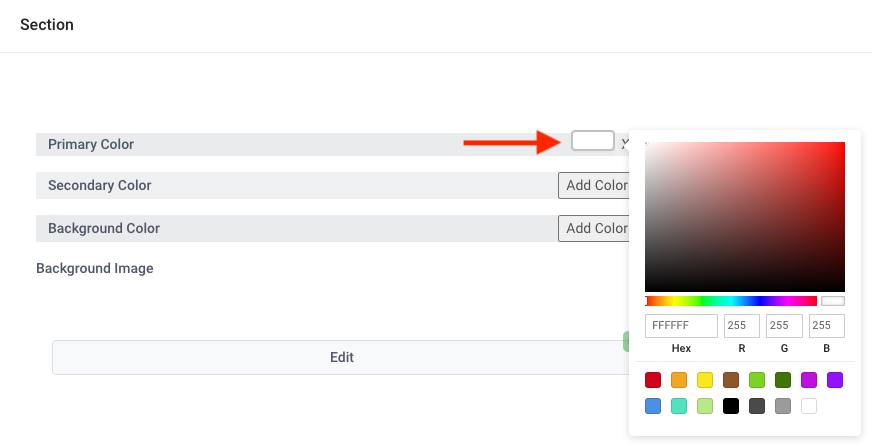
Next, to update your Primary, Secondary, and Background Color, click on the color box next to each field to select a new color or add your Hex#
To update your Background Image, click Edit to add an image
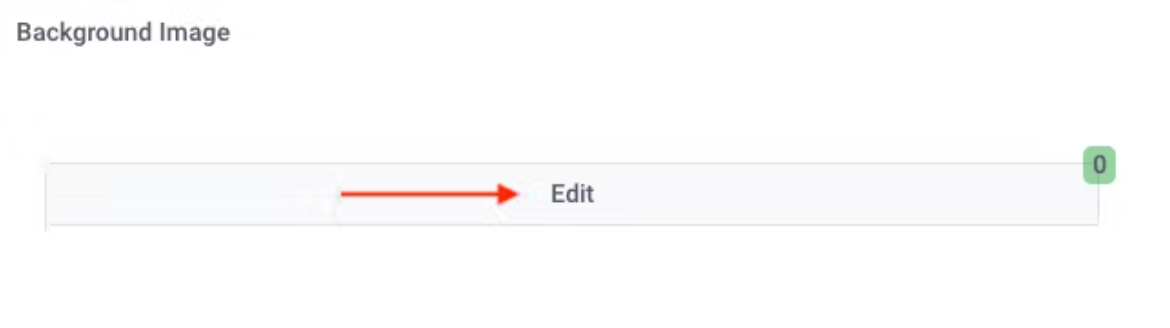
A new pane will open, click Add Row

Click on the Image Icon to choose from your library or to upload a new image

Select Done when complete

Helpful Tip: If you have any issues or questions updating your background image, don’t hesitate to reach out to the Sardius team for assistance
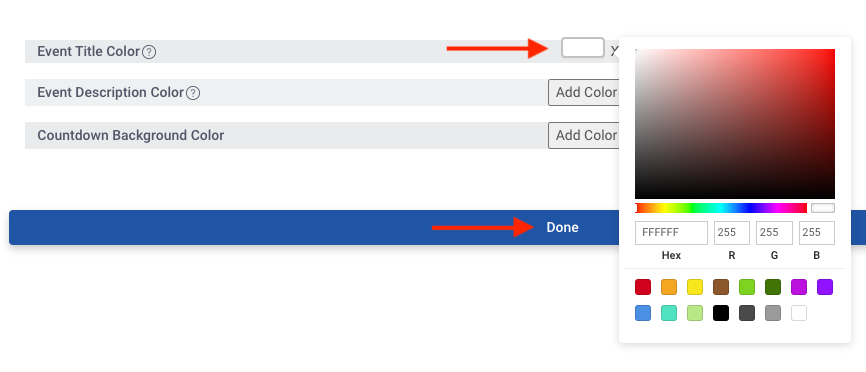
Next, select the Add Color color box next to each field to select a new color or add your Hex# to update the Event Title Color, Event Description Color, and Countdown Background Color
Click the Done button to save your changes
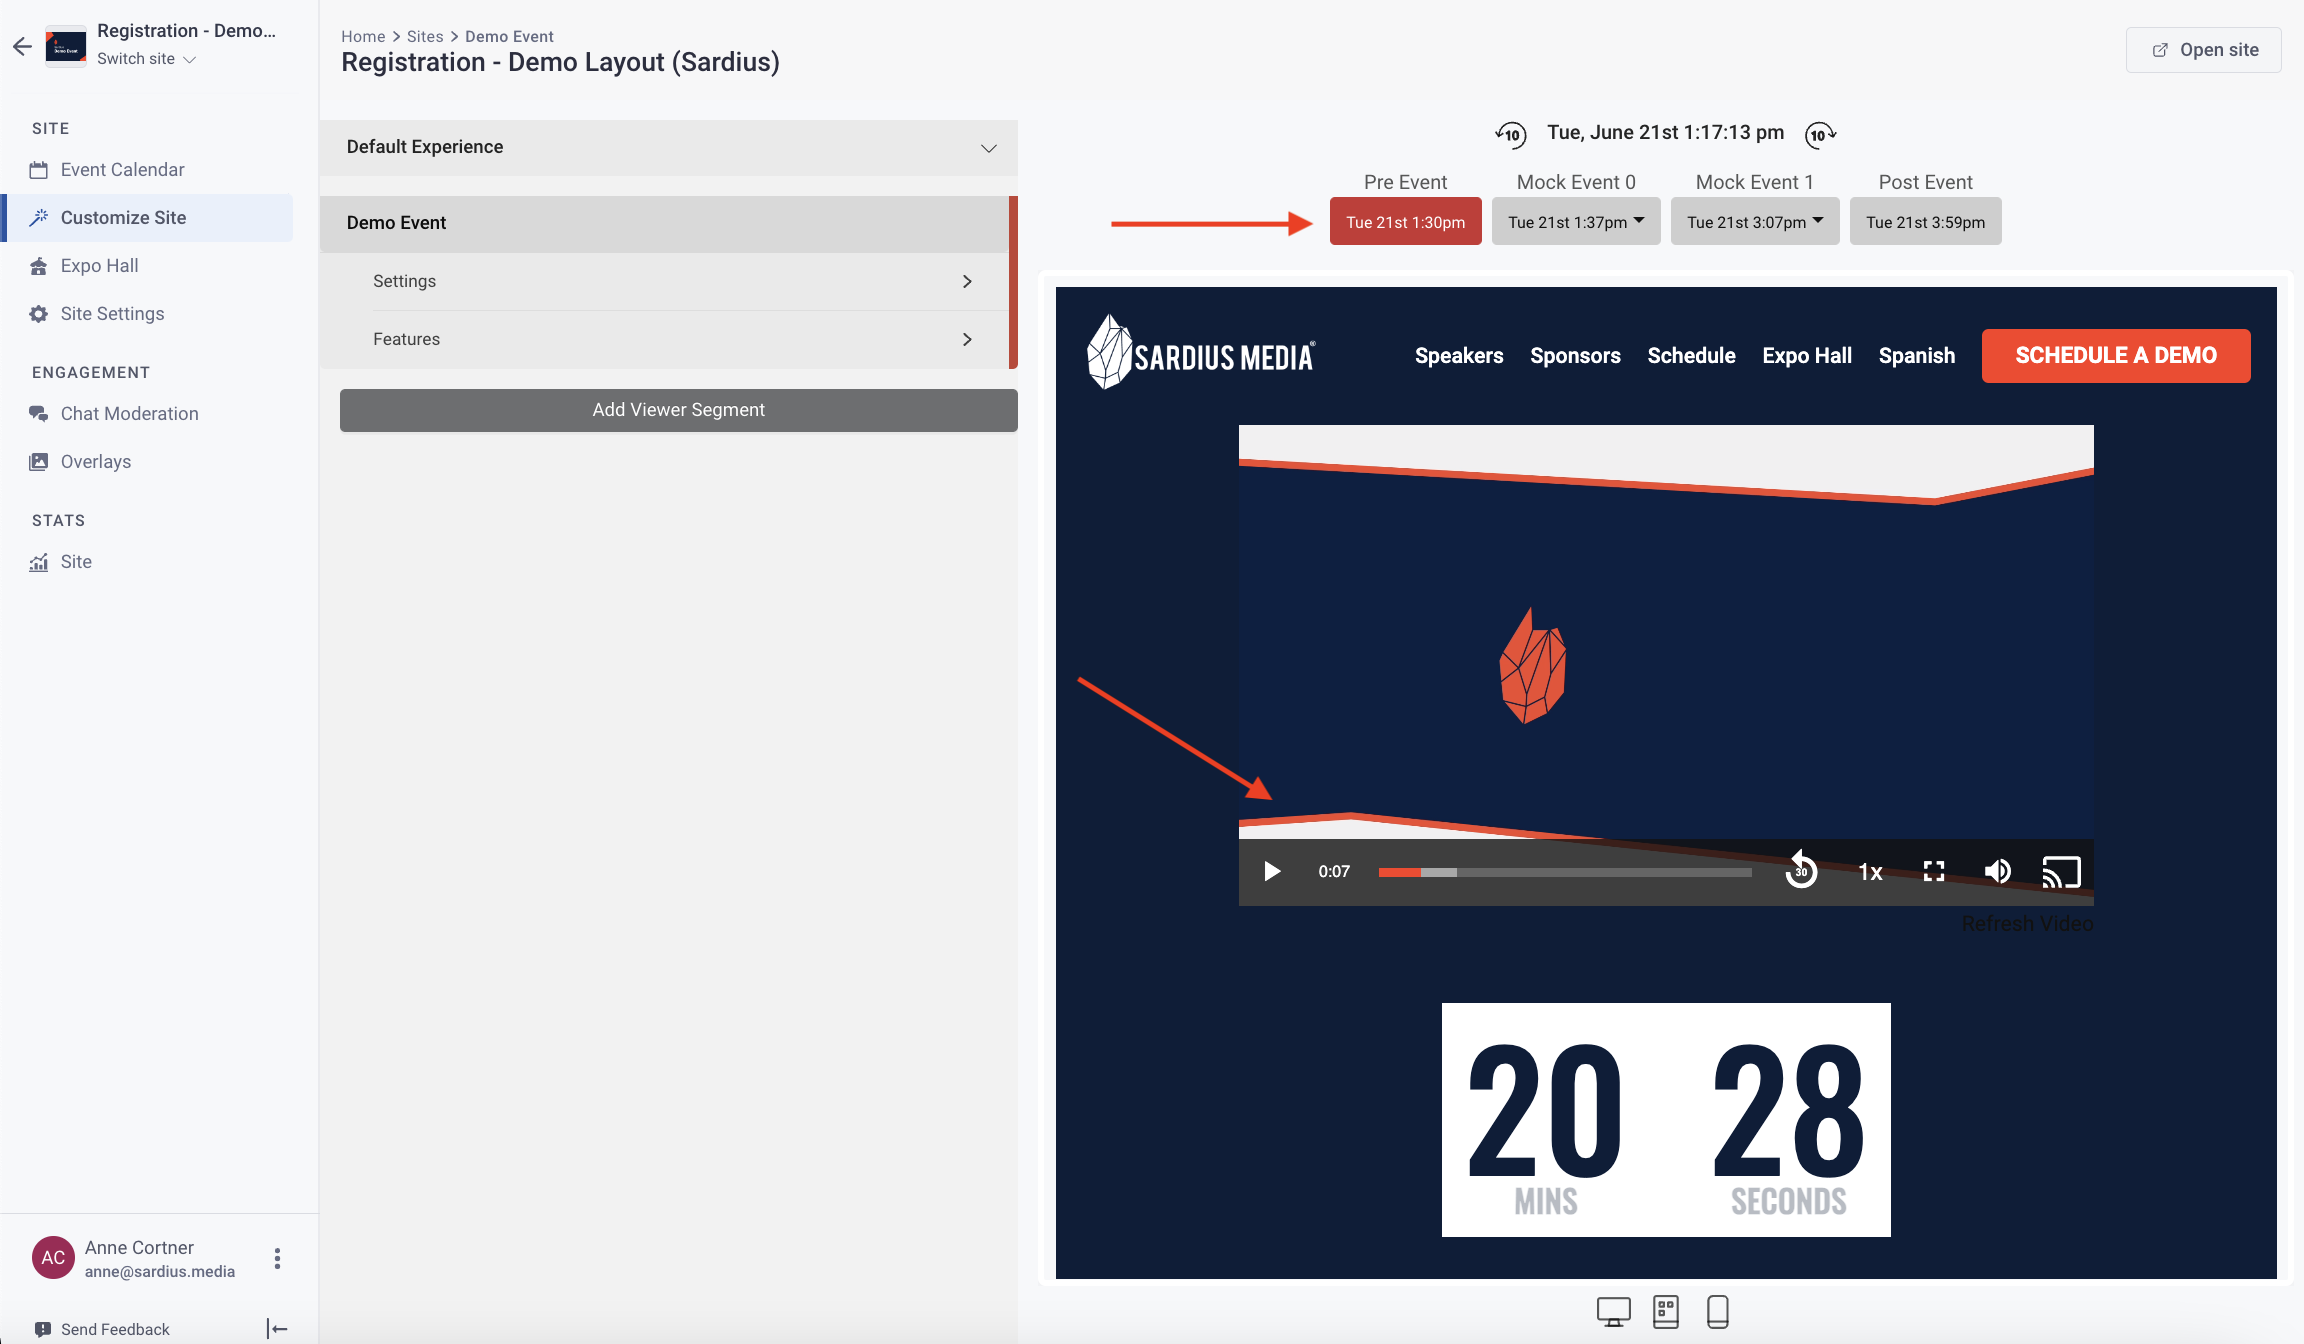
Pre Event Image or Video
Determine if you will display a Pre Event Image or Video on the page. The center pane will show any changes.
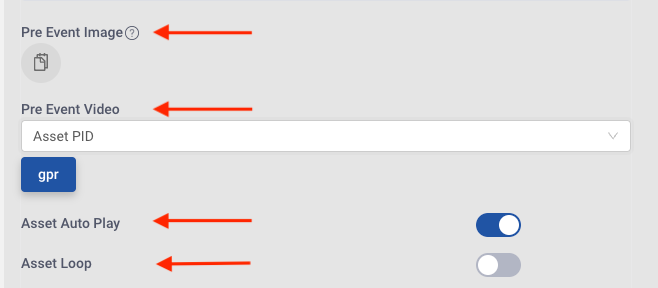
To add a Pre Event Image, click on the icon to upload an image or select one from your library. If you would prefer to show a Pre Event video, leave the field empty
To add a Pre Event Video, click on the drop-down to select your asset
Toggle on if you would like the asset to auto play as soon as the viewer opens the page (instead of viewer having to press a play button on the video)
You are able to Toggle on to have the video asset loop (the video will play again and again)
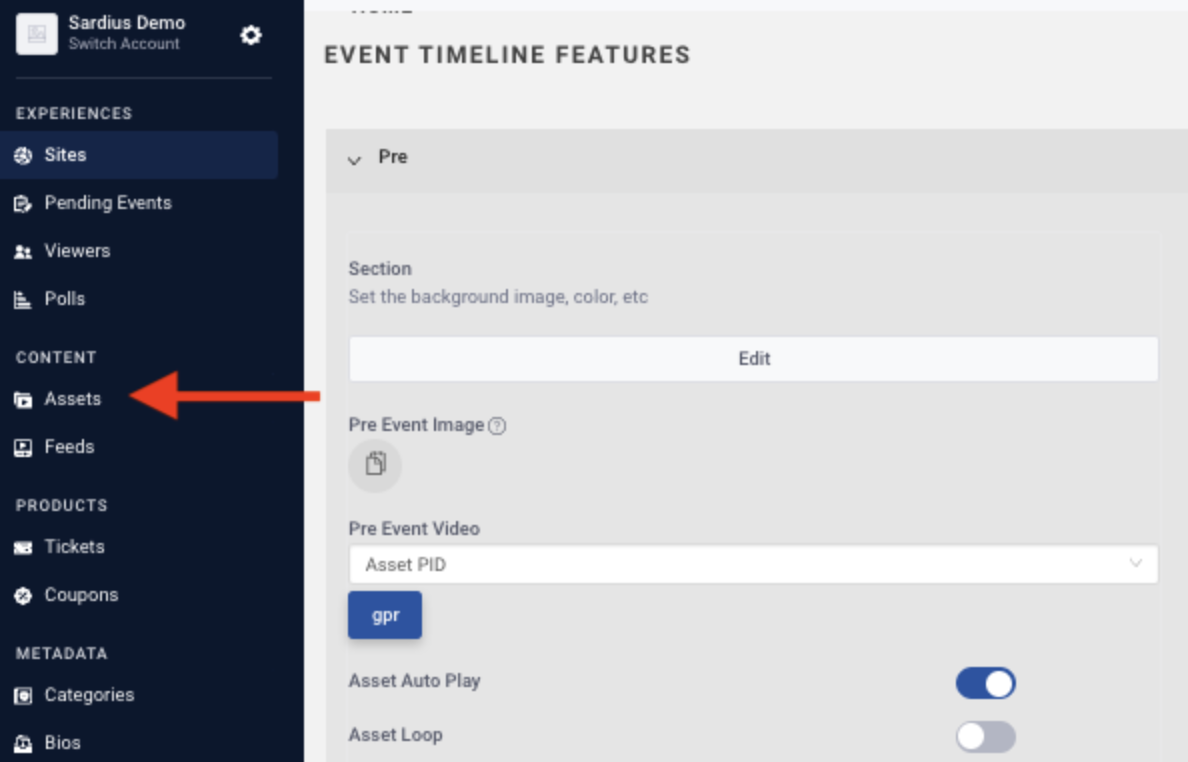
Pre Event Title & Description Example
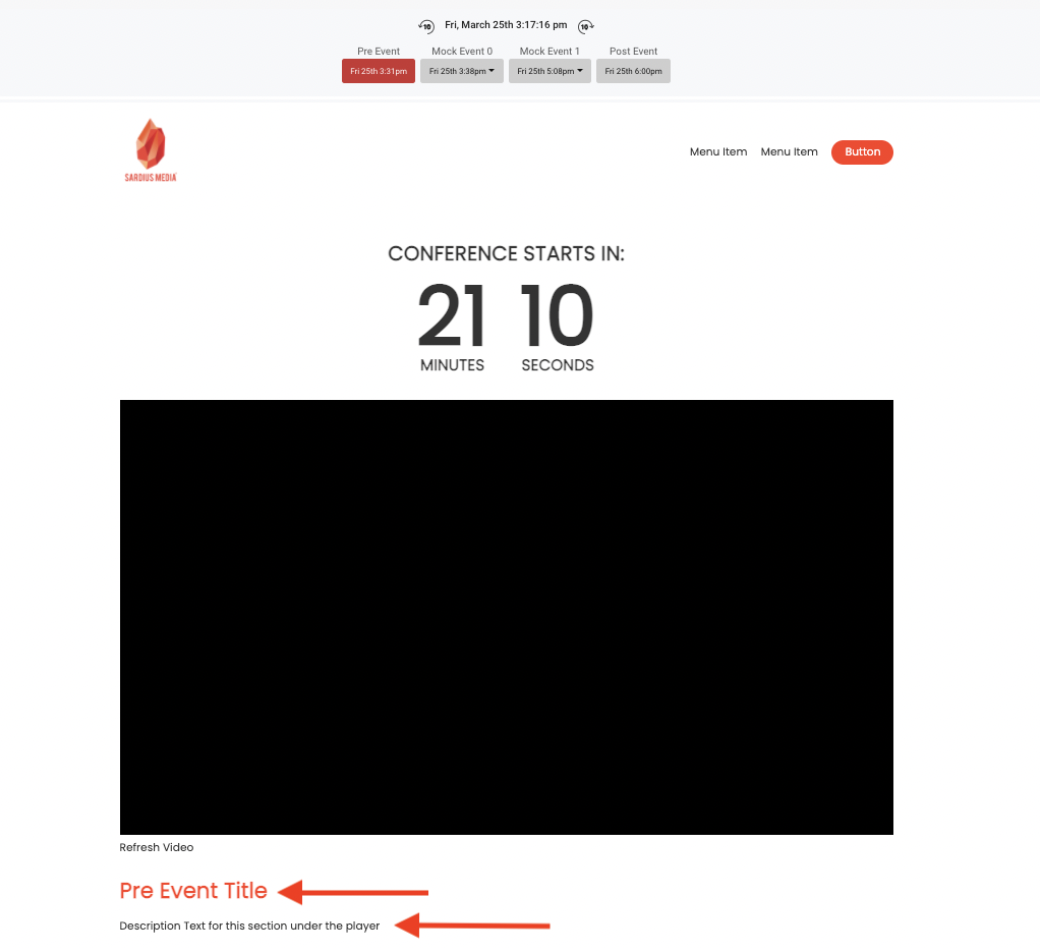
Countdown to Next Event

- Use the Toggle, to enable the Countdown to Next Event feature. This will show a countdown timer on the page
- If you would like to customize the text, simply add custom Countdown language by entering the modified text into the Countdown Text field
- To show Double Digits in the Countdown (including 0s for single digits), turn the Toggle on
- To separate the countdown time with a colon (:), Toggle on the Countdown Separator
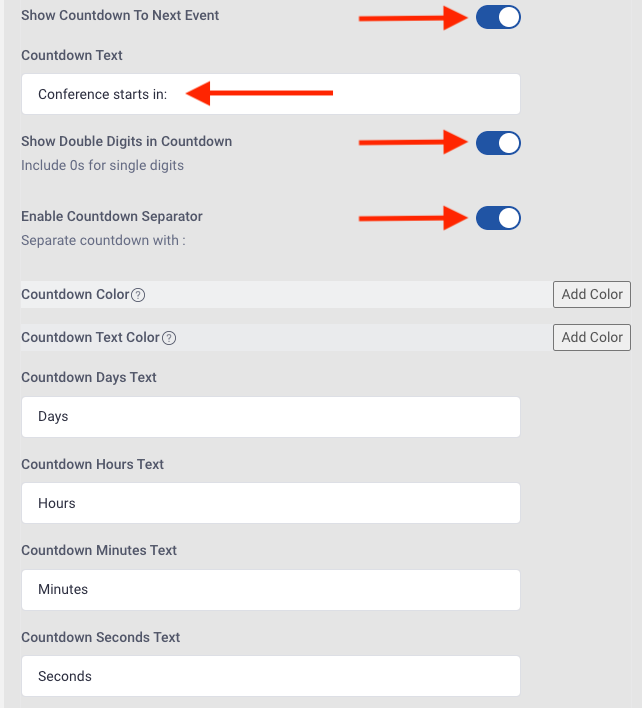
Updating Countdown Color

Countdown Color: Numbers
Countdown Text Color: Title and text
Select the Add Color color box next to each field to select a new color or add your Hex# to update
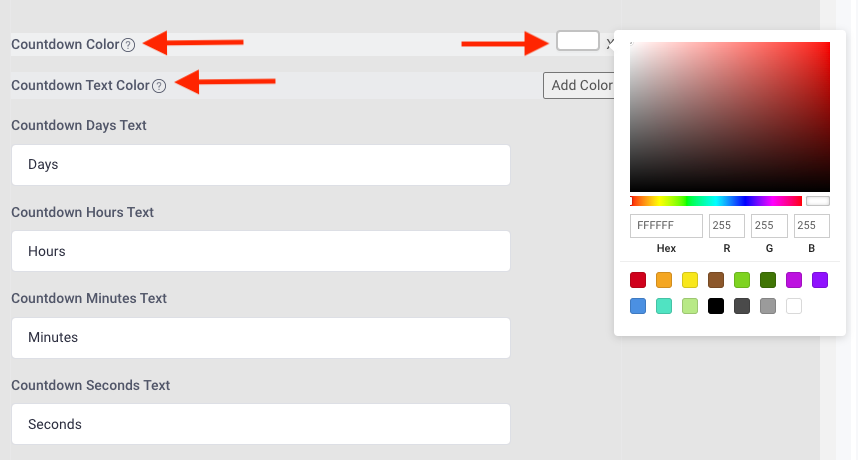
Next, determine if you would like to show Countdown Text in the following format:
- Days
- Hours
- Minutes
- Seconds
Determine if you would like to display a Card (Call to Action) on the page in the pre-event state. An example would be an advertisement of a featured product at your event. You have the option to place the Card above, below, or to the right of the player
Card Example:****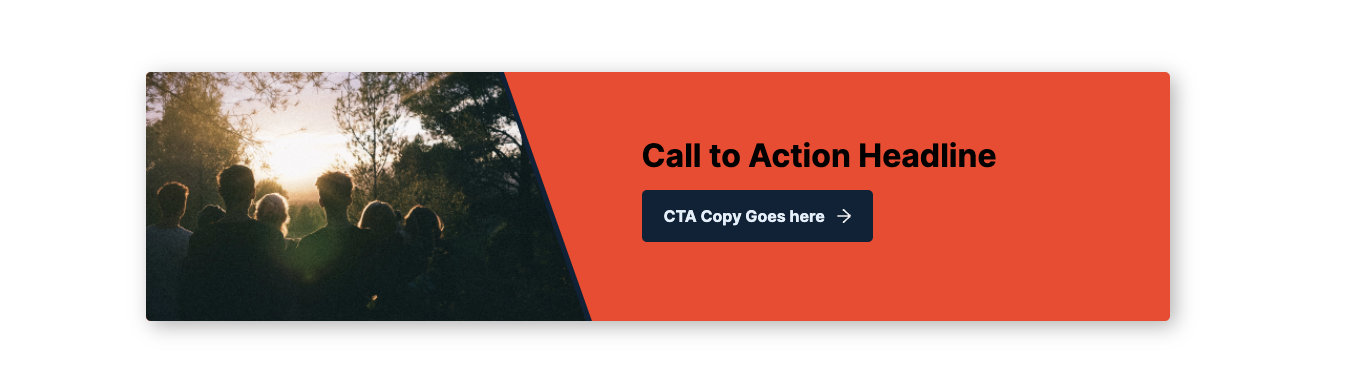
To begin, click on the Pencil Icon
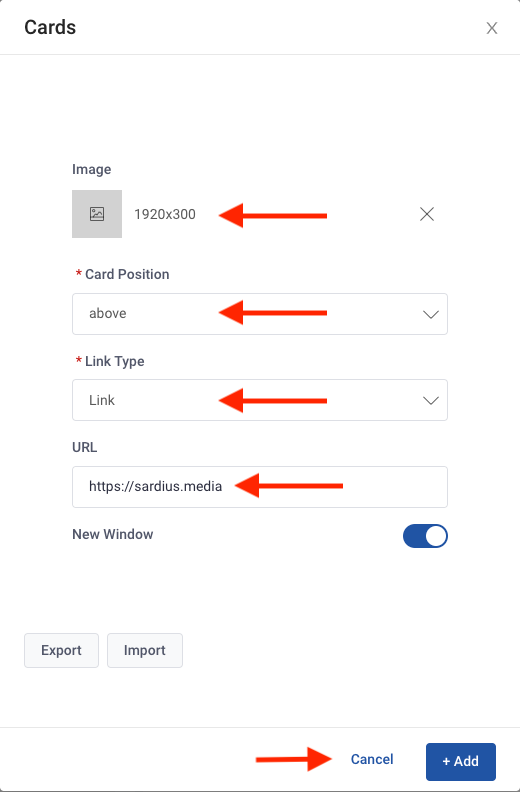
Next, select your Card Position (where it will be placed on the page) by clicking on the dropdown arrow and selecting the location:
- Above the player
- Below the player
- Right of the player
To select if the Card will have a URL link (that will take the viewer to another page), or be a pop-up modal window, select Link Type
- Link: add the URL
- Modal: pop-up window
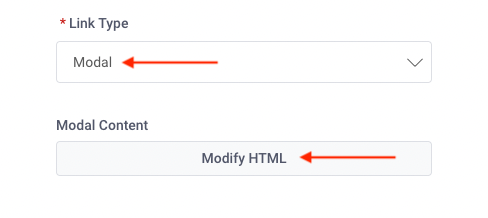
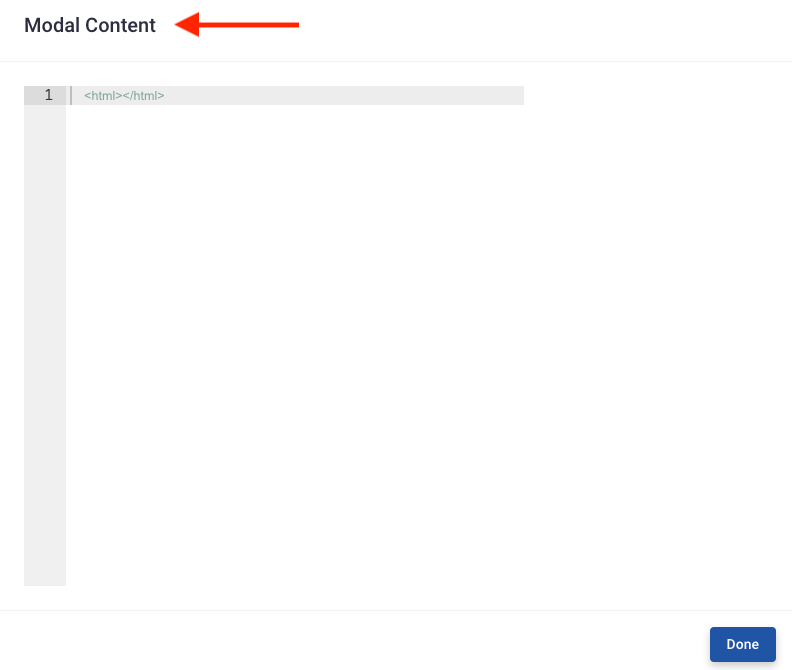
Modify the HTML with your content by clicking on the button to add the text. Once you have added your text, click on the blue Done button to save your changes
Now that you have updated your Pre-event state, select the Update button to save your changes before continuing.