
Add a New Bio
Updated
Bios allow you to display short profile information for speakers, hosts, artists, or team members within your event or channel. They’re designed to give viewers quick context about the people featured in your content. Each bio can include details like a name, title, description, and profile image. Bios can be linked to videos, sessions, events, or collections to help personalize the viewing experience and provide professional or background information at a glance.
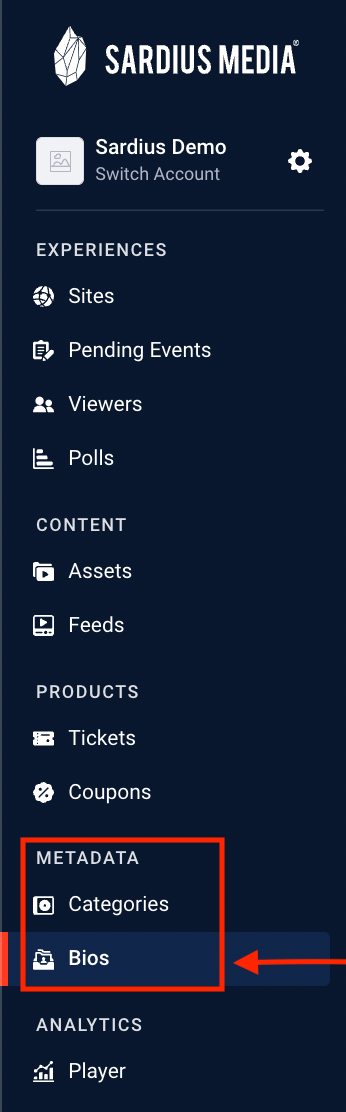
In the SCP (on left side of the page), click on Bios (located under Metadata) to begin.
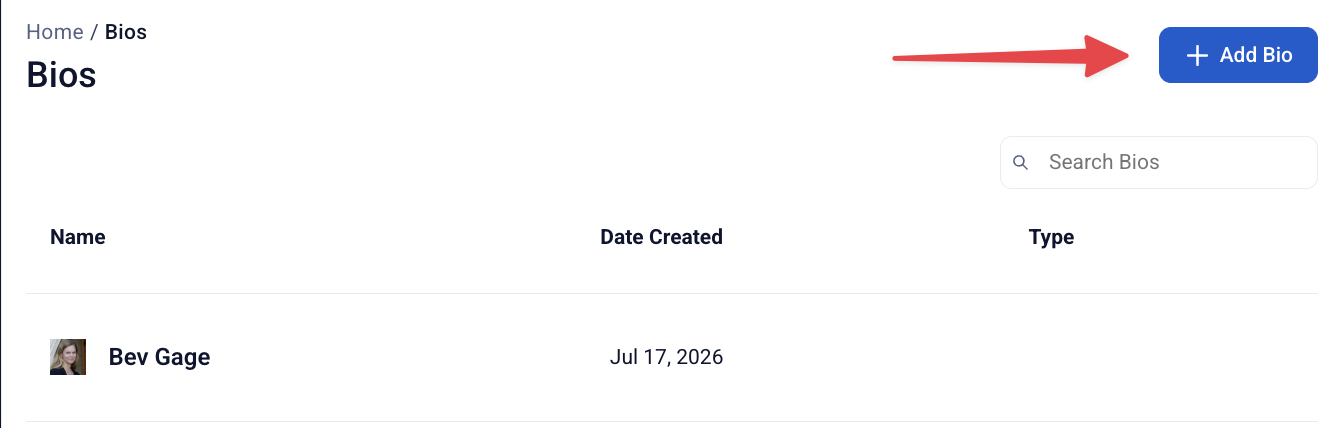
Once you click on the Bios, if you have created any content in this section, you will see this information appear (Name, Date Created, Type - ex. Speaker, Worship Leader, etc.)
To Create a new Bio, click on the blue +Add New Bio button on the top right of page
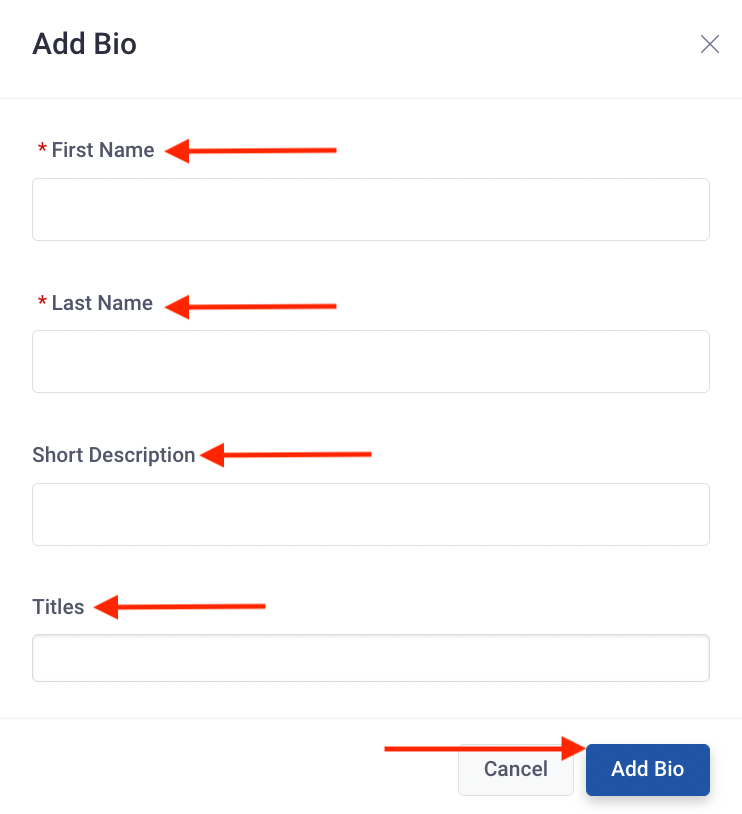
Next, enter the First Name, Last Name, Short Description and Titles to the Bio and click on the blue Add Bio button. In this step, please only use the following characters:
- Uppercase and lowercase characters
- Numbers
- Periods and dashes
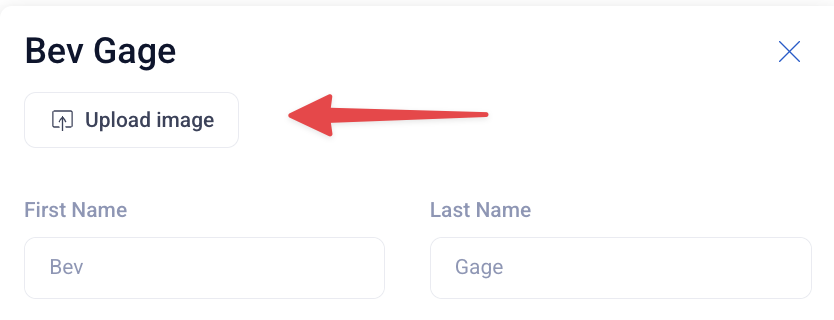
Once you have created a Bio, click on Bio Image to update a photo or select a file from your Image Gallery.
If your Display Name is different from your Bio name, add the updated information to Display Name. Note, this is the information that will be visible to the public
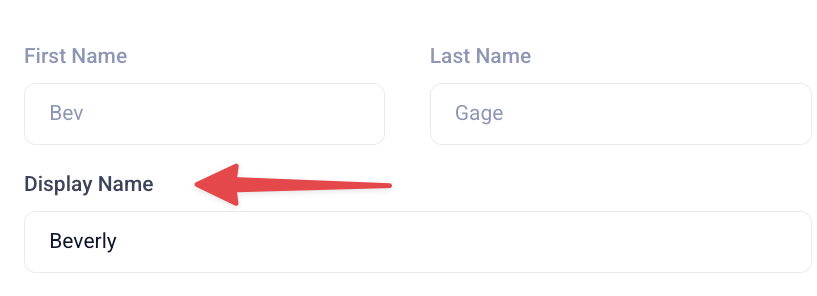
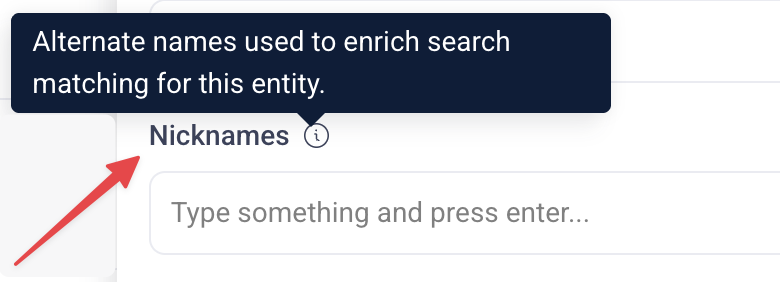
Under Display Name, you'll see a Nicknames field — alternate names like stage names or shorthand you'd use to search for this person. This can be used to enrich search matching.
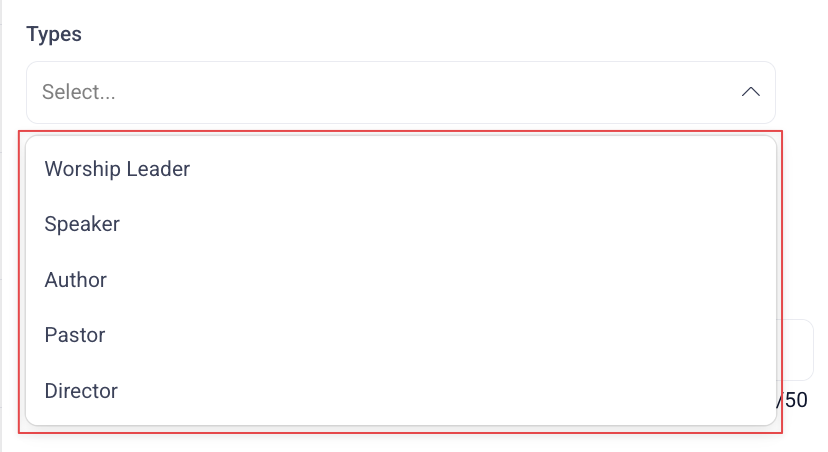
Next, select Types to add Speaker (note: this list cannot be added to)
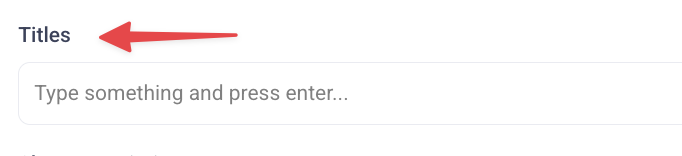
Next, click on Titles add a title to the bio (example: Lead Pastor, Project Manager, etc.)
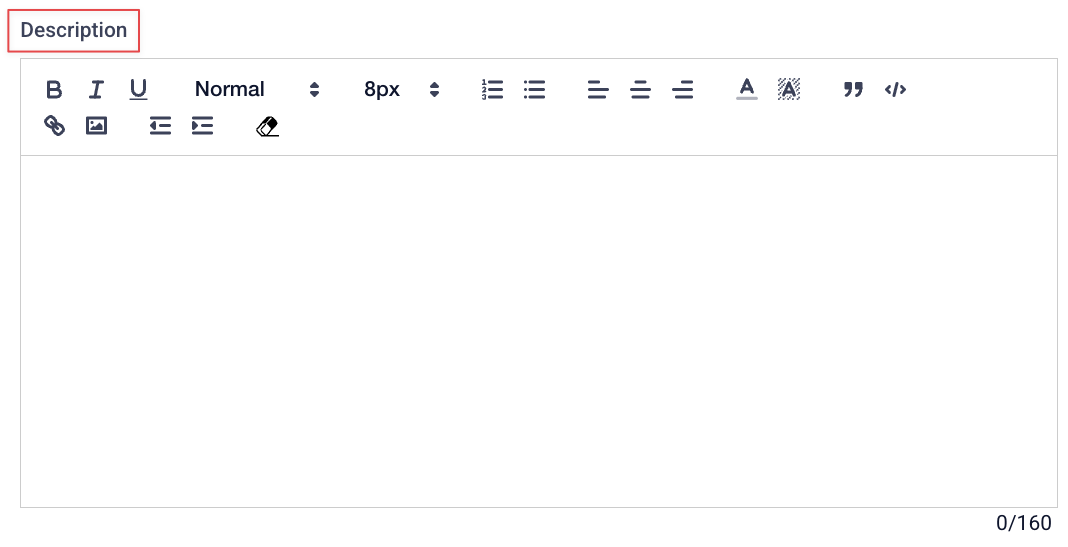
You can add a short description but generally the Description field is what is utilized most often.

Click on the blue Done button to save your changes
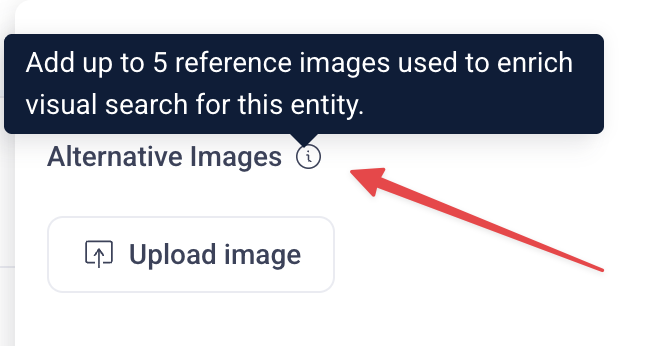
After Description, you'll see Alternative Images — click Upload image to add more photos of this person or object. This is available on every account, giving you more photos on file for this bio.
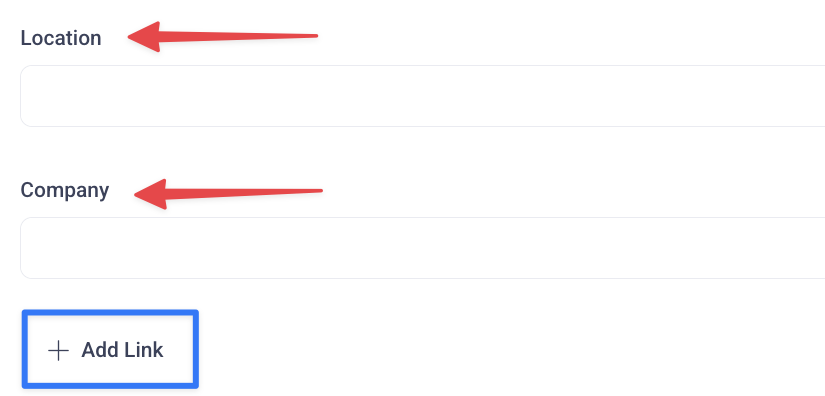
Next, add the Location to your Bio by entering the text in the field. You can also add your Company name by typing the information in the text field. By clicking Add Link, you can enter your Social Media information.
Add your Link Title by add the text in the field.
Click on the drop-down arrow to select your Link Type
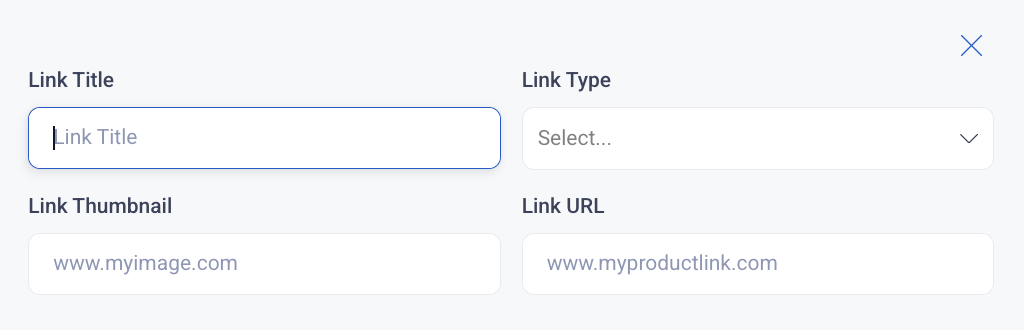
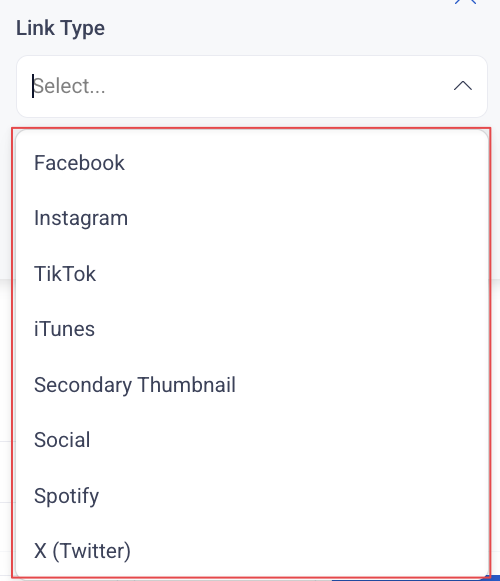
To continue, add your Link Thumbnail and **Link URL
**
If you have additional Social Media handles that you would like to add onto the bio, click Add Link again to continue
Anytime during the process of updating the bio, you can edit by clicking Delete, Undo Changes or Save

Once you have completed your Bio, select the Save Changes button to save your information and update the bio.